All rights reserved © 2026
Often we need to change a color to another color in our design project, sometimes we don’t know which color to choose, much less what exact color will be considered an inverted color. Inverting colors in Adobe Photoshop transforms your images by replacing each color with its opposite on the color wheel. This technique can create striking visual effects, help with photo editing, or simply allow you to look at your work in a new way. Whether your project involves working with a background layer or a complex composition, the simple steps below will make it easy to create inverted photos and images in your work.
The simplest way to invert all colors in your entire image is using the Invert command:
The simplest way to get an inverted image is by turning white into black, red into cyan, green into magenta, and blue into yellow. The color scheme will be completely inverted. When using this method, it permanently affects the entire layer, so it’s best to duplicate the layer first if you want to keep the original.


For a more flexible approach that preserves your original image:
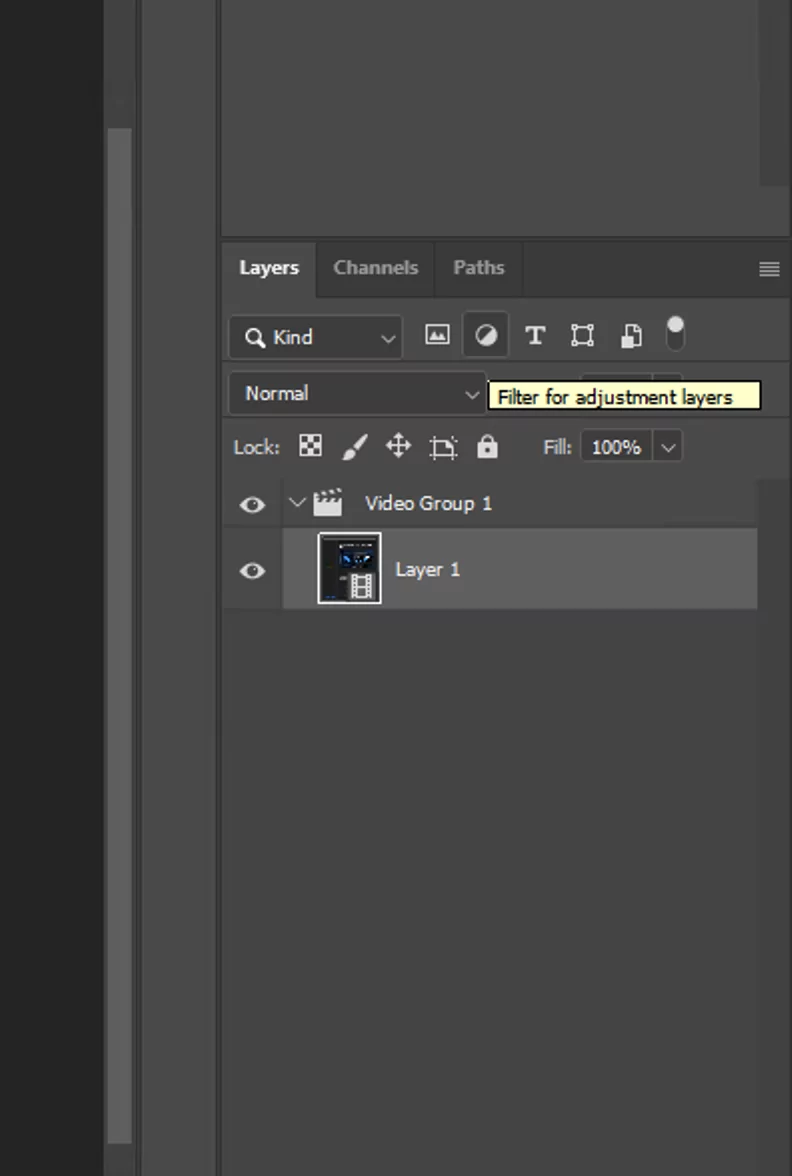
The great thing about this inverted layer method is that you can turn the effect on and off by clicking the eye icon next to the adjustment layer, or remove it completely without affecting the original. You can also change the opacity of the Inverted Colors adjustment layer to create a partial inversion effect, or change the brightness levels by adjusting the layer’s opacity.


To invert colors in only part of your image:
Best used when you want to control exactly which parts of the image will be inverted. You can adjust the opacity of the brush for subtle effects, or use selection tools before painting to create clean edges.
By the way, if you are interested in where to get additional brushes and how and install, I recommend reading this guide “How to Install Brushes in Adobe Photoshop”
For more creative control within the Adobe Photoshop ecosystem:
The best option is when you want to create color shifts rather than full inversion. For example, inverting only the blue channel creates a yellowish, vintage look, while inverting only the red channel creates a cyan-dominated effect. You can combine this with adjusting the color balance to fine-tune the result.


You can create artistic effects by combining inverted colors with other Photoshop tools:
It is mainly used when you want to significantly increase contrast while retaining some of the original color information. Explore Photoshop’s blend modes to discover unique combinations with inverted photos.
Color inversion isn’t just a creative effect – it has practical uses in design and photo editing workflows:
Color inversion can also be combined with blend modes for even more creative possibilities. Try setting your inversion adjustment layer’s blend mode to Luminosity to invert brightness values while keeping colors similar, or use Color blend mode to invert the hues while preserving luminosity.
If your inversion doesn’t look right, check these common problems:
I have revealed all the most convenient tools for color inversion in Adobe Photoshop and I am sure that following this guide you will easily master this issue. If you like to study the possibilities of Photoshop, and need information other than color inversion, I recommend you to go to the section of guides where I have already revealed not a few tools and methods of work.