Practical How-To
1) Import for decisions, not for hoarding.
Create an Import preset that adds keywords, applies a neutral profile you trust, and builds Standard or 1:1 previews (SSD helps). Use a dated folder structure plus a job code so you can find things when the phone rings in six months.
2) Cull with intent.
Flag or star by story value, not technical perfection. Use Survey view for near-dupes. Reject brutal misses immediately; don’t let them slow your eye.
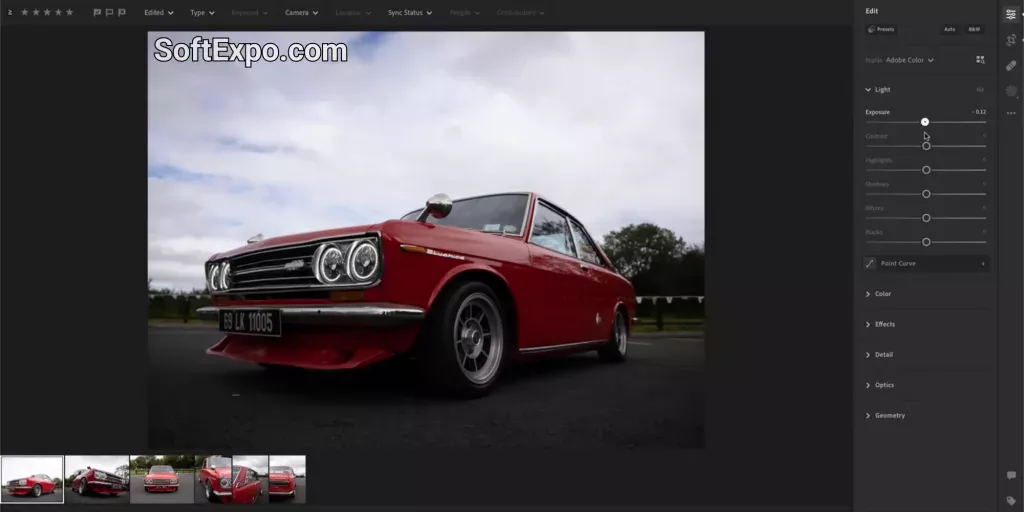
3) Start global, then local.
White balance → exposure → Contrast/Blacks/Whites → presence tools. Move to masking: Select People for skin and eye work, Select Sky for atmospheric control, and Select Landscape to gently separate foreground from background. You’ll spend less time wrestling brush edges.
4) Color with a plan.
HSL for targeted bands, Curves for overall character, and Point Color (where applicable) to nudge stubborn hues across a set. Save looks as presets so the next set starts closer.
5) Detail that doesn’t scream “over-processed.”
Run Denoise (AI) on the worst cases, then a modest Sharpen with masking so textures pop without sandblasting skin. It’s faster — and cleaner — than global noise reduction at high ISO.
6) Sync responsibly.
Sync groups that share light; avoid blasting one look across mixed conditions. Use Auto-Sync only when you’ve tested it on a small selection.
7) Export once, correctly.
Create named presets (client socials, web JPEGs, print TIFFs), and write output naming like 2025-08-23_Client_Event_Set03_v04.jpg. Queue, confirm, done. Maintaining a standalone installer for the latest version across bays keeps exports predictable across the team.
Pro Tips That Actually Ship
- Let Collections do the talking. Build a “Deliver” Collection that mirrors your export sets. When it’s empty, you know you’re not done.
- Use GPU where it matters. Enable full acceleration in Preferences; the 2025 builds add GPU-preview generation, which makes zoom-to-check cycles feel instant on modern cards.
- One look per lighting scenario. Save time by building a preset per lighting family (overcast, tungsten, mixed stage). Apply on import; tweak locally after.
- Cameras first, lenses second. Apply lens profiles at the start so your geometry and vignetting are “true” before color work.
- Stop chasing perfect white balance. Nail a series average, then use masks to warm faces or cool skies — the human eye forgives more than scopes do.
Comparisons with Similar Tools
Capture One Pro 16.6.4.3044. Faster tethering and Session discipline make it a studio favorite; color tools feel like a light meter in software. If your world is live capture and client monitors, you might prefer it. For library scale and batch consistency, Lightroom Classic still wins.
Serif Affinity Photo. A superb layer editor for composites and pixel surgery. Use it when you need masks, blends, and complex retouch that exceed Classic’s local tools — but keep your asset management in Classic.
CameraBag Pro 2025. Great for quick, stylized film looks and batch “finish” passes on both photo and video. As a finishing companion to Classic it’s fun and fast; it’s not a replacement for a deep RAW workflow.
System Requirements
- OS: Windows 10 (22H2) or Windows 11 (21H2 or later).
- CPU: Intel or AMD with AVX2 support; ARM via emulation.
- RAM: 8 GB minimum, 16 GB+ recommended.
- GPU: DirectX 12-capable; 2 GB VRAM minimum (4 GB for 4K+). For full acceleration and AI tools like Denoise and Reflection Removal, plan for 8 GB dedicated or 16 GB shared.
- Storage: At least 8 GB free for install; SSD/NVMe strongly recommended for catalog, previews, and cache.
- Notes: August 2025 adds GPU-generated previews; keep drivers current and pin one latest version across the team to avoid drift.
Frequently Asked Questions about Lightroom Classic
1. Can Lightroom Classic handle both long-term archives and one-off jobs?
Yes. Use a single master catalog with Collections for most people; use separate job catalogs only when you need isolation for performance or collaboration.
2. What’s the safest way to keep edits consistent across a big set?
Build a baseline preset per lighting scenario and sync in groups. Use AI masks for faces/skies/landscapes to keep local corrections aligned.
3. Do I still need Photoshop for serious retouching?
For heavy layer work or composites, yes — round-trip a 16-bit TIFF. For typical portrait cleanup and tonal control, Classic now covers most needs.
4. Is Denoise (AI) worth it over classic noise reduction?
On high ISO or underexposed files, yes. It preserves detail better with fewer artifacts; use it selectively to keep exports fast.