All rights reserved © 2026

GIMP (GNU Image Manipulation Program) stands as one of the most powerful free photo editing software available today. Whether you’re looking to enhance family photos, create digital art, or pursue graphic design projects for your website, GIMP provides professional-level tools without the hefty price tag of commercial alternatives like Adobe Photoshop.
This guide walks you through everything you need to start editing images with GIMP. Following this gimp tutorial, you’ll learn the essential tools, basic techniques, and practical workflows that help you transform ordinary photos into stunning visuals.
Installing GIMP takes just minutes. Just download Gimp from our website and follow the installation instructions. The software runs smoothly on Windows, Mac, and Linux computers. As an open-source program, GIMP user communities actively contribute to its development, and you can even access the source code if you’re technically inclined. Once installed, launch the program to see the main workspace.
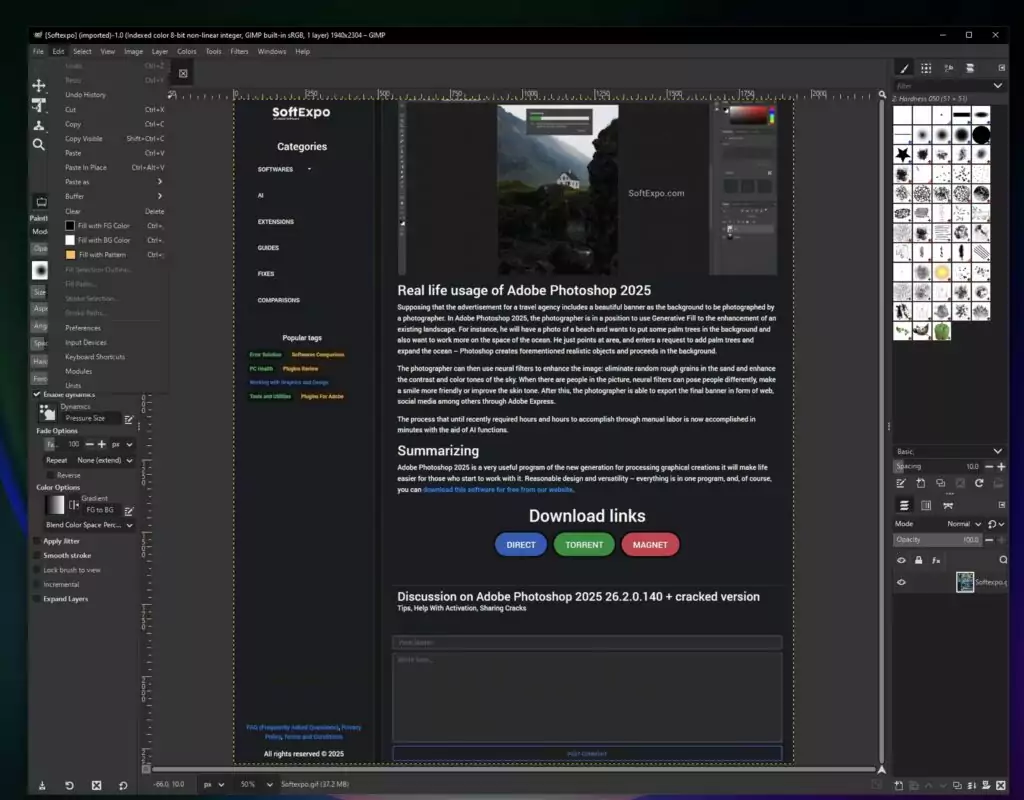
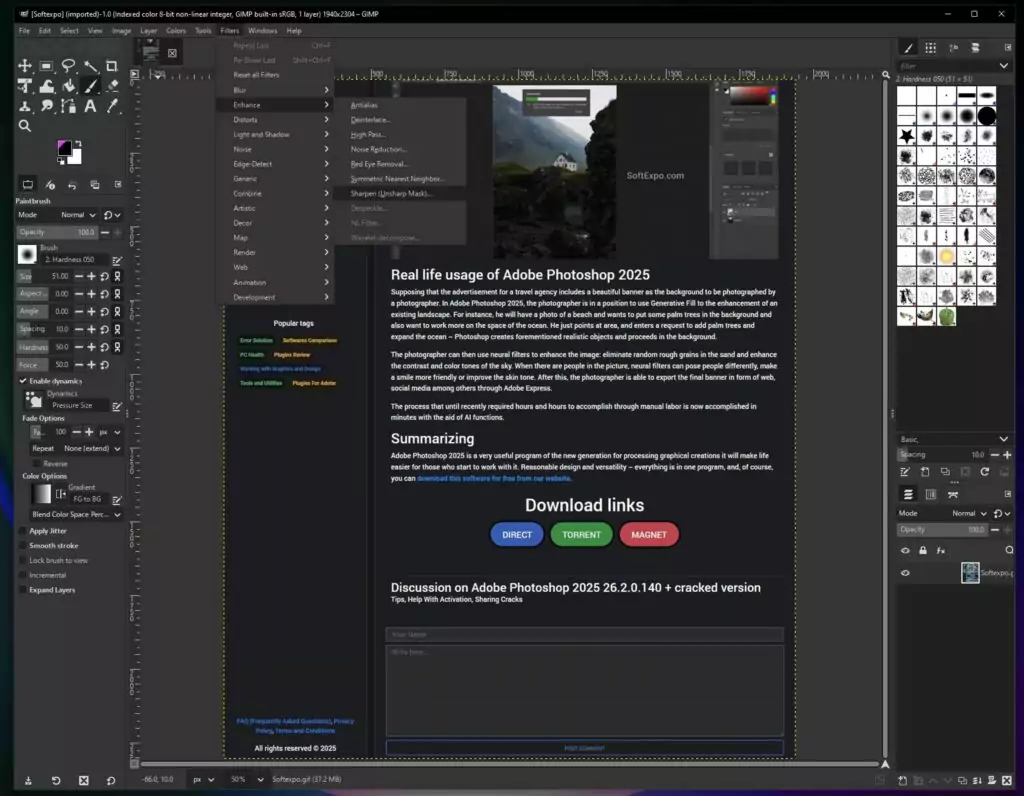
The GIMP interface might seem overwhelming at first glance. Three main windows appear: the toolbox on the left, the main editing canvas in the center, and layers panel on the right. You can customize this layout by dragging windows around or switching to single-window mode through the Windows menu.
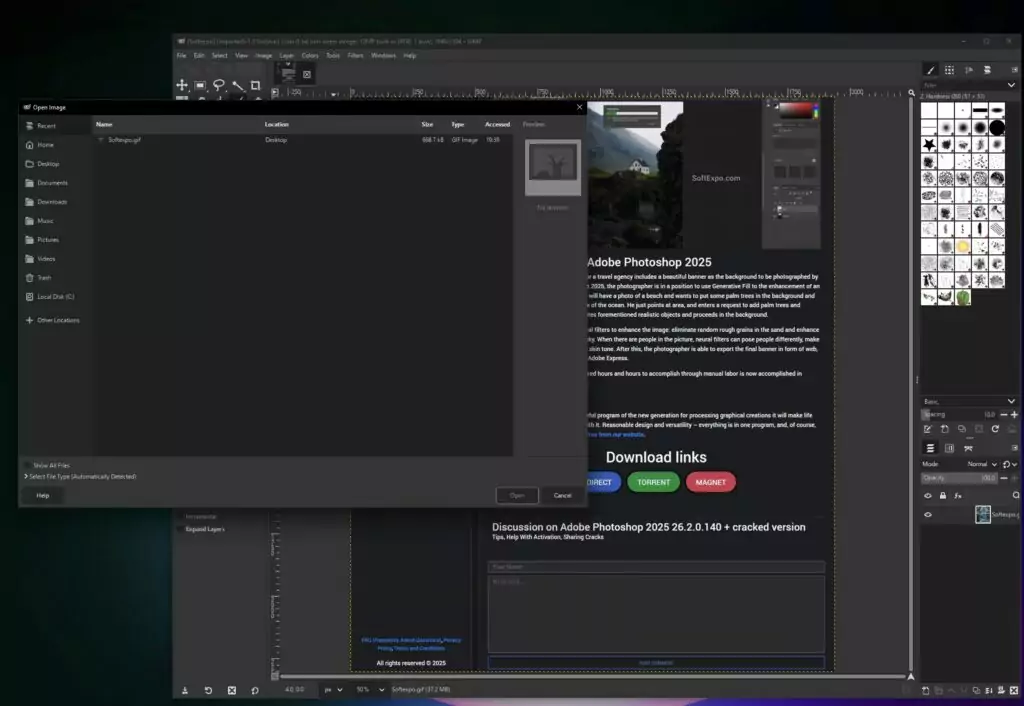
Opening your first image is straightforward. Click File > Open and browse to your photo. GIMP supports numerous file formats including JPEG, PNG, TIFF, and even Photoshop’s PSD files. For best results, work with high-resolution images whenever possible to maintain image quality throughout your editing process. Unlike some alternatives like Affinity Photo, GIMP handles large files efficiently without requiring expensive hardware.
Understanding layers forms the foundation of advanced editing. Think of layers as transparent sheets stacked on top of each other. Each layer can contain different elements of your composition. The Layers panel shows all layers in your project, letting you hide, reorder, or adjust their opacity.
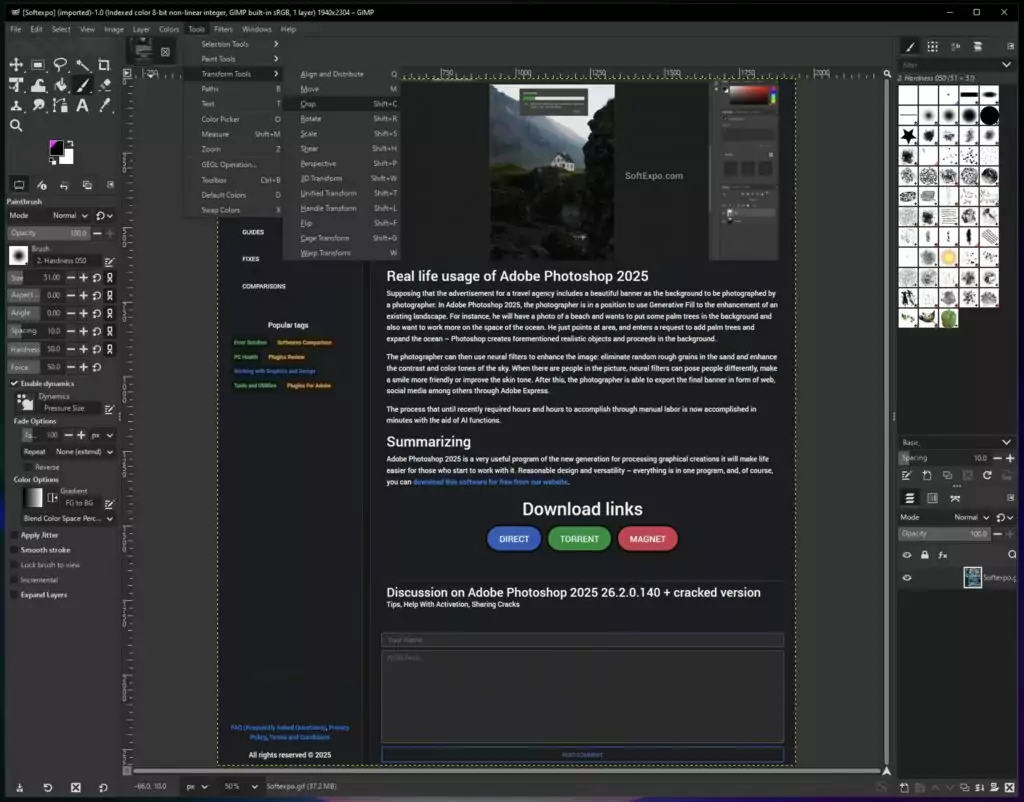
The toolbox contains all essential editing tools. Familiarize yourself with these key instruments: the selection tools for isolating parts of your image, the paintbrush for adding color, the clone tool for removing unwanted elements, and the text tool for adding typography. Each tool has customizable options that appear in the tool options dock below the toolbox.
Before diving into complex edits, adjust your preferences. Navigate to Edit > Preferences to set up your workspace. Important settings include default image size, grid spacing, and tool behavior. Setting these preferences early saves time during future editing sessions.
Photo enhancement begins with basic adjustments. Open any photo and explore the Colors menu. Here you’ll find tools to correct exposure, adjust color balance, and enhance contrast. The Levels tool proves especially useful for fixing dark or washed-out photos. Move the black and white sliders inward until your image shows proper contrast.
Cropping improves composition dramatically. Select the Crop tool from the toolbox, then drag across your image to define the new boundaries. Use the Rule of Thirds guide option to position key elements at intersection points. Press Enter to apply the crop and remove unwanted areas.
Removing blemishes or unwanted objects requires the Clone tool. Hold Ctrl (Cmd on Mac) and click on a clean area to set your source point. Then paint over the blemish to replace it with the sampled texture. Work with a soft brush and sample frequently from nearby areas for natural-looking results.
Color correction transforms dull photos into vibrant images. The Color Balance tool lets you adjust shadows, midtones, and highlights separately. Slight adjustments toward warmer tones often improve portraits, while cooler tones enhance landscapes. The Hue-Saturation tool adds punch to specific colors without affecting the entire image.
Sharpening brings out details in soft images. Apply the Unsharp Mask filter (Filters > Enhance > Unsharp Mask) with conservative settings. Start with Radius at 1.0 and Amount at 0.5, then adjust based on your image. Too much sharpening creates ugly halos around edges, so apply it sparingly.
Creating selections unlocks advanced editing possibilities. The Rectangle and Ellipse tools make geometric selections, while the Free Select tool lets you trace irregular shapes. For complex selections, use the Fuzzy Select tool to grab areas of similar color. Add to selections by holding Shift, or subtract by holding Ctrl.
Layer masks provide non-destructive editing power. Add a mask to any layer by right-clicking and selecting Add Layer Mask. Paint with black on the mask to hide parts of the layer, or white to reveal them. This technique lets you blend multiple images seamlessly or apply effects to specific areas.
Working with text opens creative possibilities. Select the Text tool and click on your canvas to add words. The tool options let you change font, size, color, and alignment. For advanced typography, convert text to a path (right-click the text layer > Text to Path) to create custom shapes and effects.
Batch processing saves hours when editing multiple photos. While GIMP lacks built-in batch features, the free BIMP plugin adds this functionality. Process entire folders of images with consistent adjustments like resizing, watermarking, or color correction.
Creating digital art starts with understanding brushes. GIMP includes various brush presets, but you can create custom brushes for unique effects. Experiment with brush dynamics to make strokes respond to pressure (if using a graphics tablet) or velocity for more natural painting.
Photo restoration brings old memories back to life. Scan old photos at high resolution, then use GIMP’s healing tools to fix tears, remove dust spots, and correct faded colors. The Healing tool works like the Clone tool but blends better with surrounding pixels. For severe damage, reconstruct missing areas by sampling from similar parts of the image.
Filters add creative effects quickly. Explore the Filters menu to find blur effects, distortions, and artistic renderings. The G’MIC plugin extends GIMP with hundreds of additional filters. Popular effects include vintage photo treatments, HDR tone mapping, and various blur styles for portrait backgrounds.
Keyboard shortcuts accelerate your workflow significantly. Learn essential shortcuts: Ctrl+Z for undo, Ctrl+C/V for copy/paste, and spacebar for temporary hand tool. Customize shortcuts through Edit > Keyboard Shortcuts to match your working style. Professional editors rarely touch menus, relying entirely on keyboard commands.
Exporting images properly preserves your hard work. Use File > Export As to save in various formats. Choose JPEG for photos with quality set between 85-95. Select PNG for images needing transparency. Always keep your original XCF file (GIMP’s native format) to preserve layers and editing capability.
Color management ensures consistent results across devices. Enable color management in Preferences and assign appropriate color profiles to your images. This becomes crucial when preparing images for print or maintaining consistency across different screens.
Non-destructive editing techniques protect your original image. Duplicate layers before applying filters or adjustments. Use adjustment layers when possible, and rely on layer masks instead of erasing. This approach lets you revise edits later without starting over.
Performance optimization keeps GIMP running smoothly. Allocate more RAM to GIMP through Preferences > System Resources. Set tile cache size to at least half your available RAM. For large files, consider working with proxy images at reduced resolution, then apply edits to the full-size version.
Understanding file formats helps you choose appropriately. Use XCF for works in progress, JPEG for finished photos, PNG for graphics with transparency, and TIFF for archival storage. Each format serves specific purposes, balancing quality against file size.
GIMP transforms from simple photo editor to professional creative tool once you master its capabilities. Regular practice with real projects accelerates learning faster than following tutorials alone. Start with basic photo corrections, then gradually explore advanced techniques as your confidence grows. The investment in learning GIMP pays dividends through the powerful editing capabilities you’ll gain, all without spending money on expensive software.