How to Circle Text in Photoshop: A Simple Tutorial
Working with text is a time-consuming and important process when creating various designs. That’s why adding outlines to text in Adobe Photoshop is a great way to make fonts more visible, especially against complex backgrounds or images. Text outlining improves readability and emphasizes the personality of a graphic design project, no matter what niche the project is in. And while some prefer to use Adobe Illustrator for text stroke and outlining, Photoshop also offers powerful text stroke capabilities that work seamlessly within the Adobe Creative Cloud ecosystem. I would also like to emphasize that the techniques described in this guide will also work for text outlining in Photoshop CC and Photoshop Elements. Ready? Then let’s get started!
Using Layer Styles for Text Outlines
The most flexible and easy method of outlined text in Adobe Photoshop is to use layer styles through the blend menu:
Open your Photoshop document and create a text layer using the Text Tool (T) from the contextual task bar.
Type your text and format it as desired (you can use any fonts from your system or Adobe Fonts library).
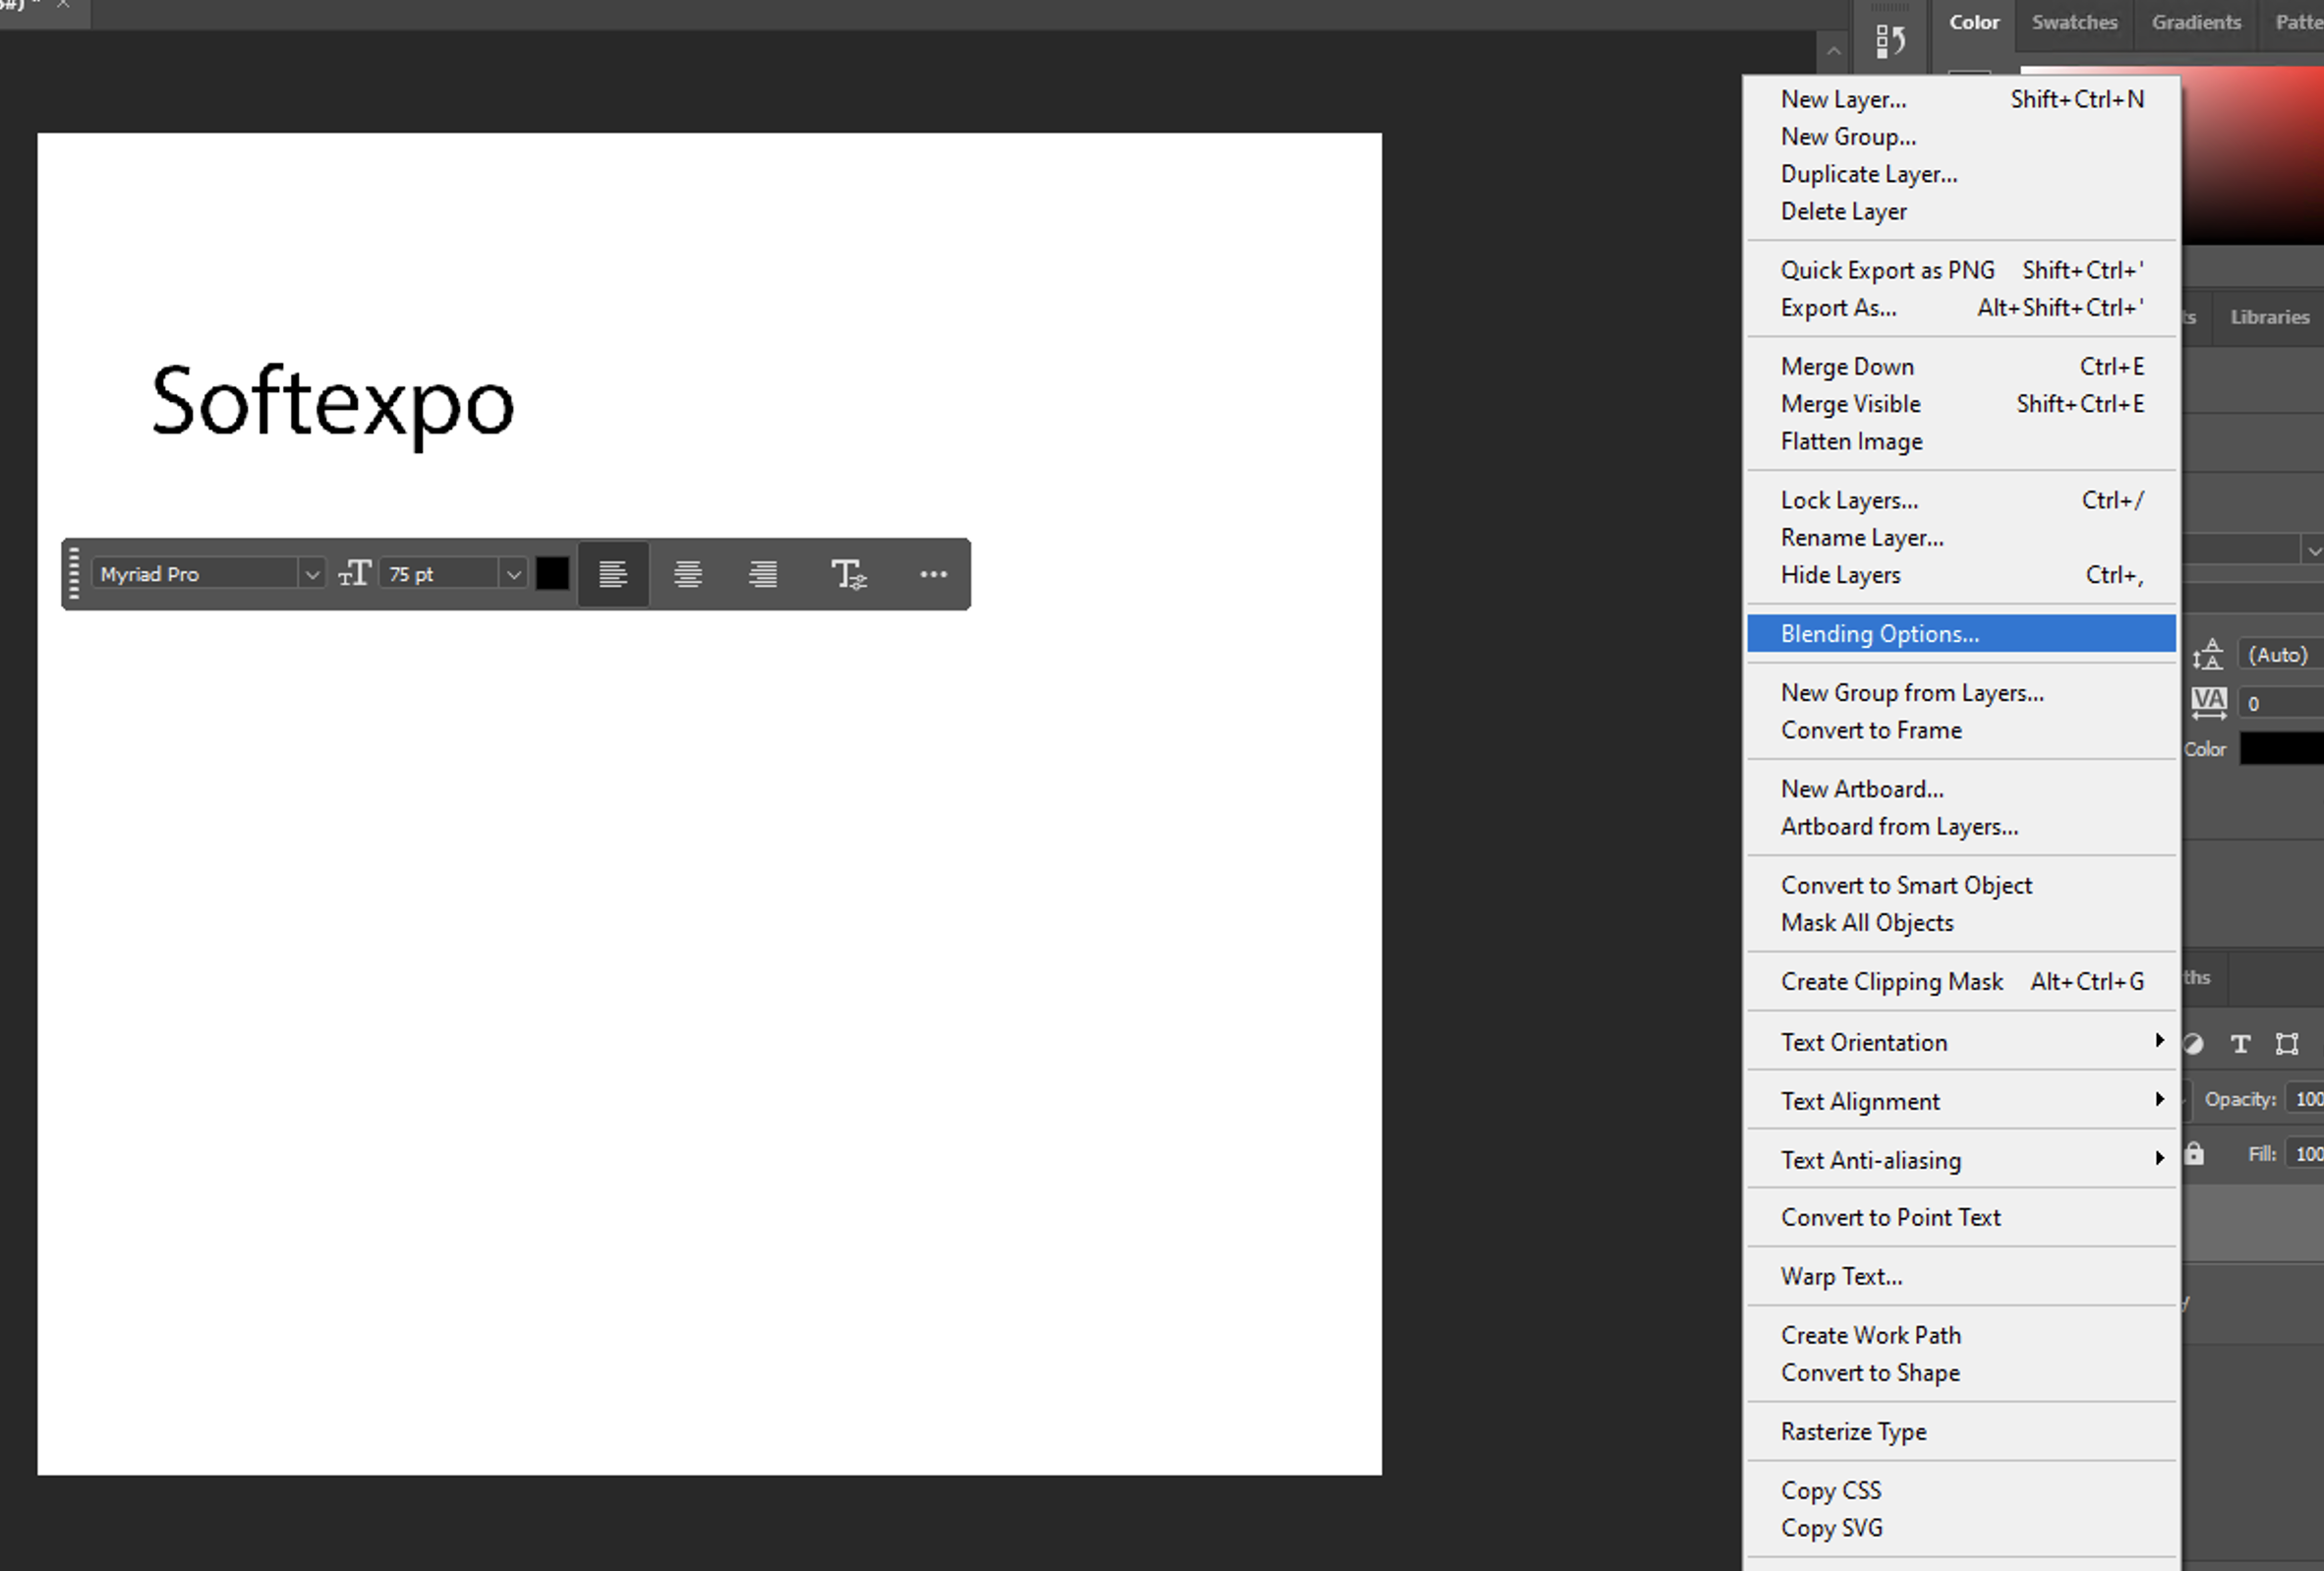
With your text layer selected in the Layers panel, access Layer Styles using one of these methods:
Double-click on the text layer (not on the layer name)
Right-click on the layer and select “Blending Options”
Click the “fx” icon at the bottom of the Layers panel and select “Stroke”
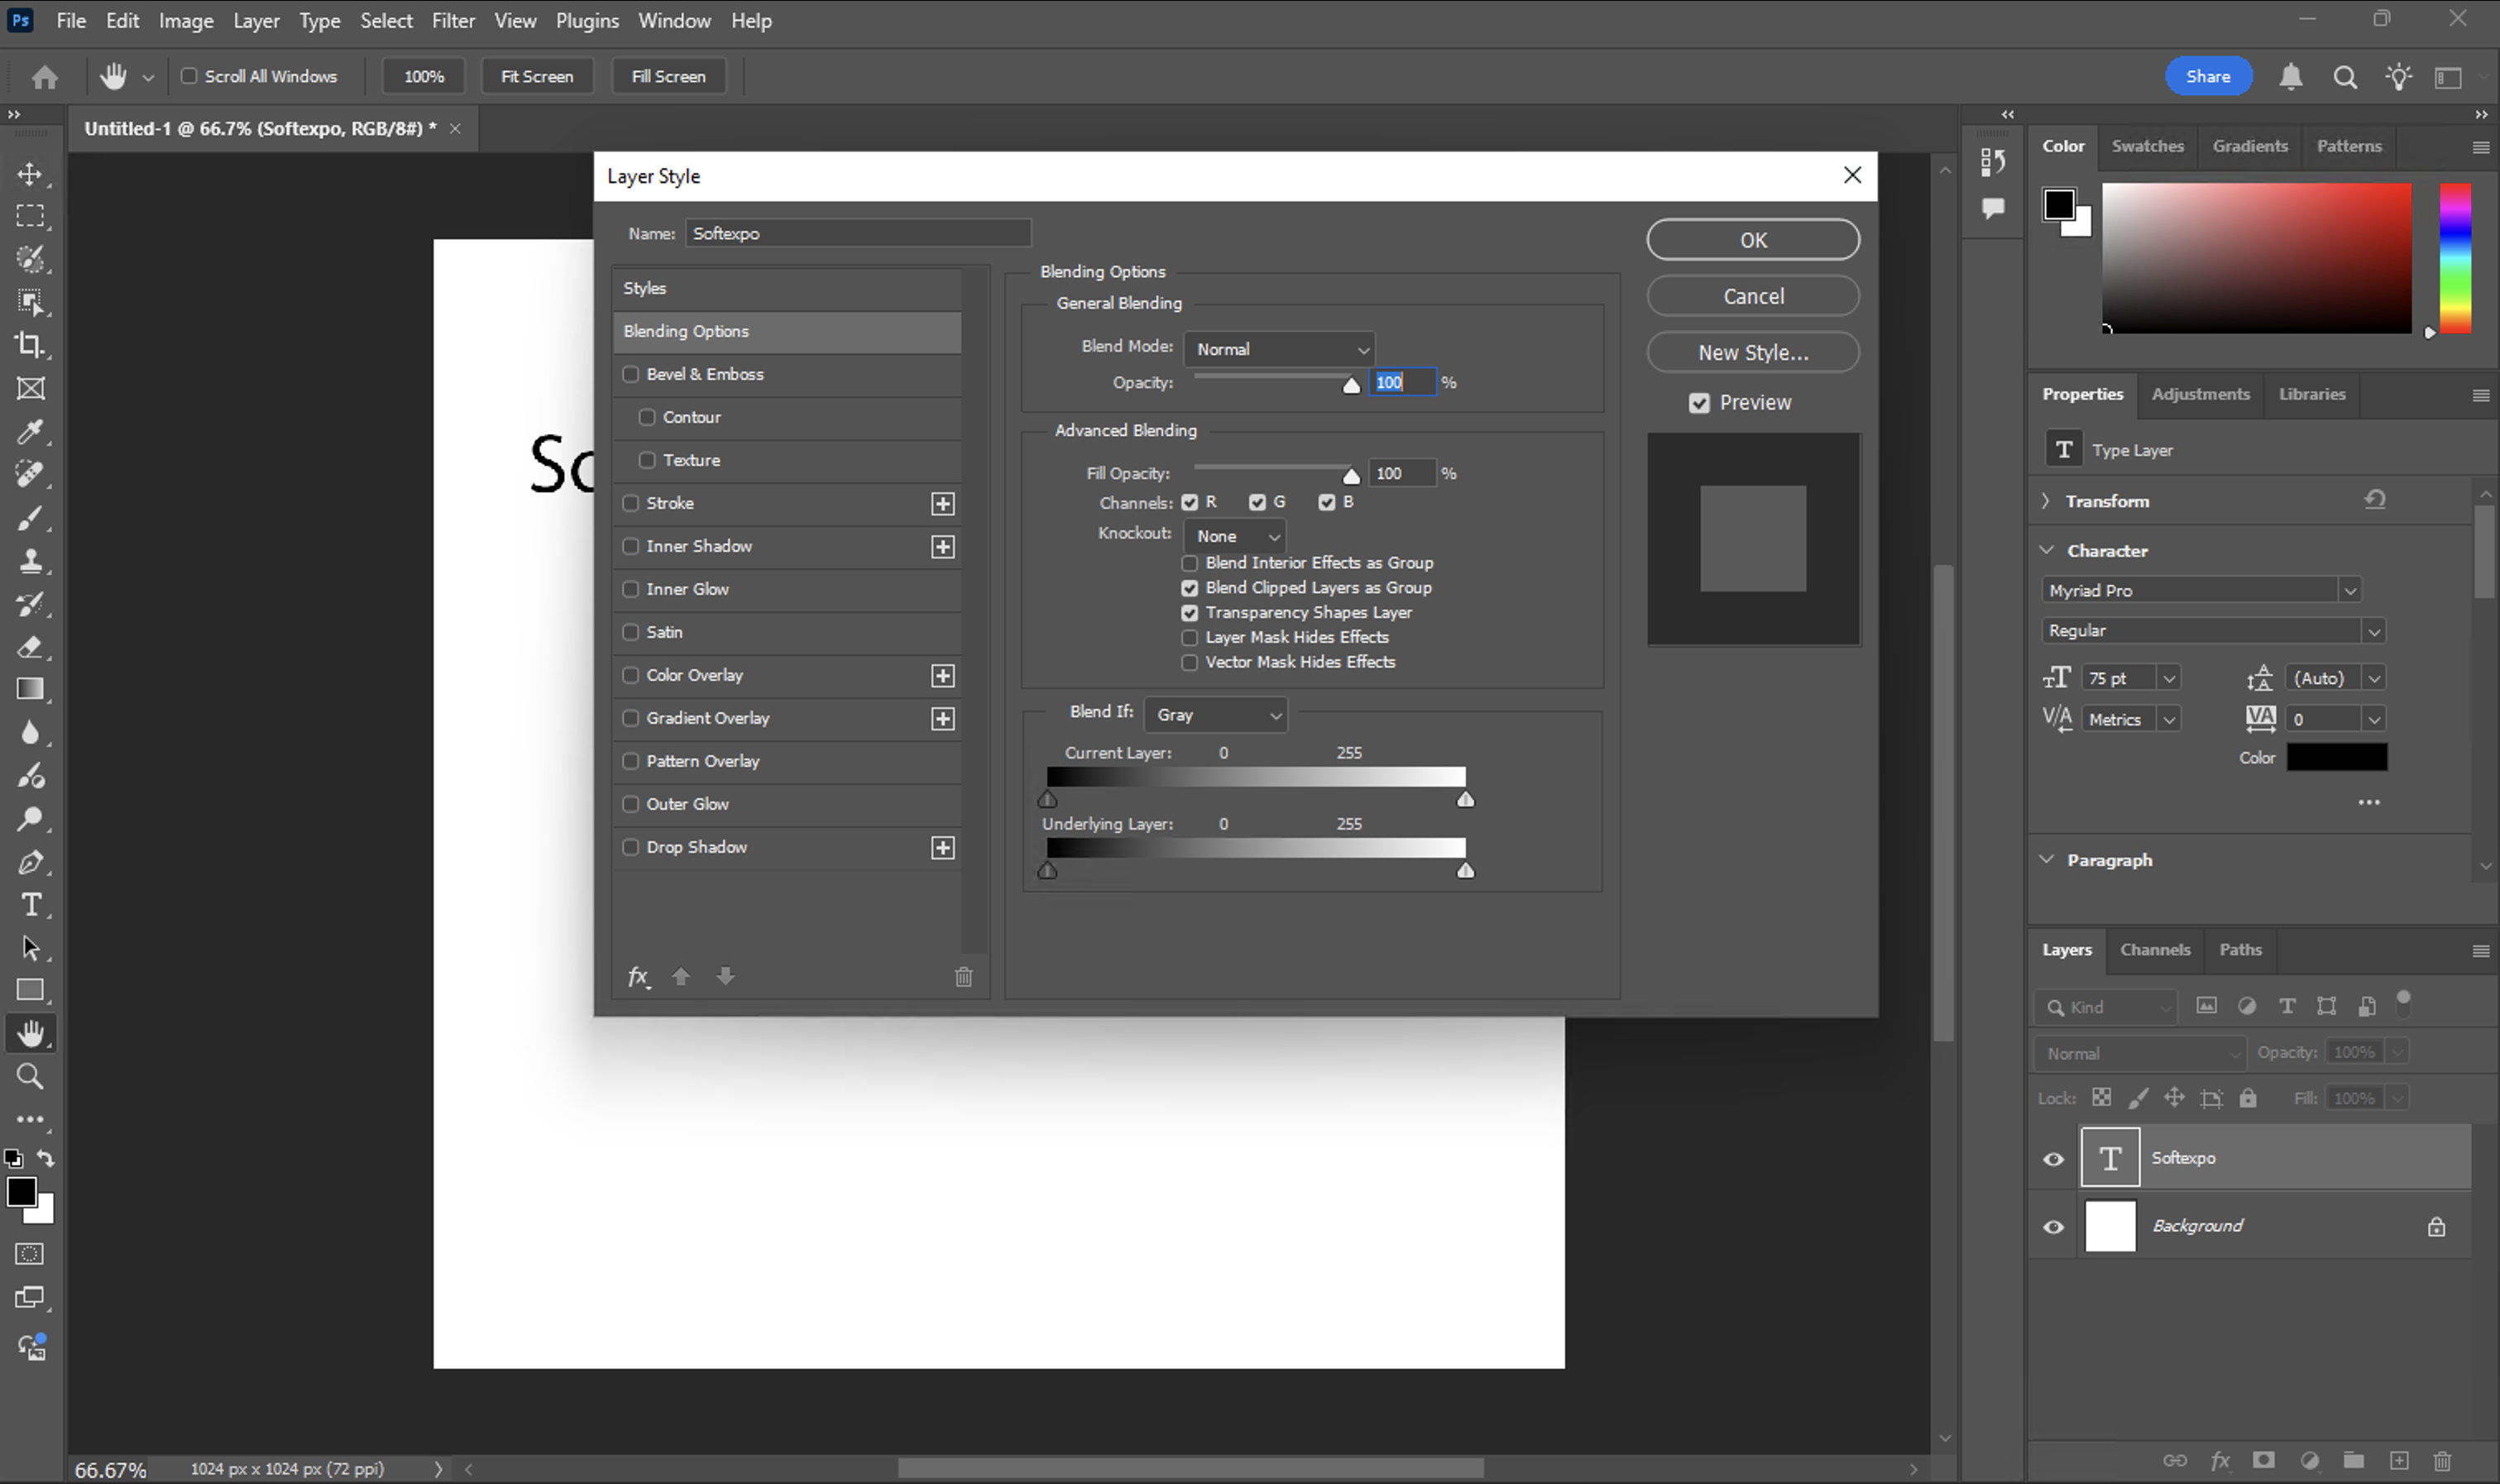
In the Layer Style dialog box, select “Stroke” from the left sidebar.
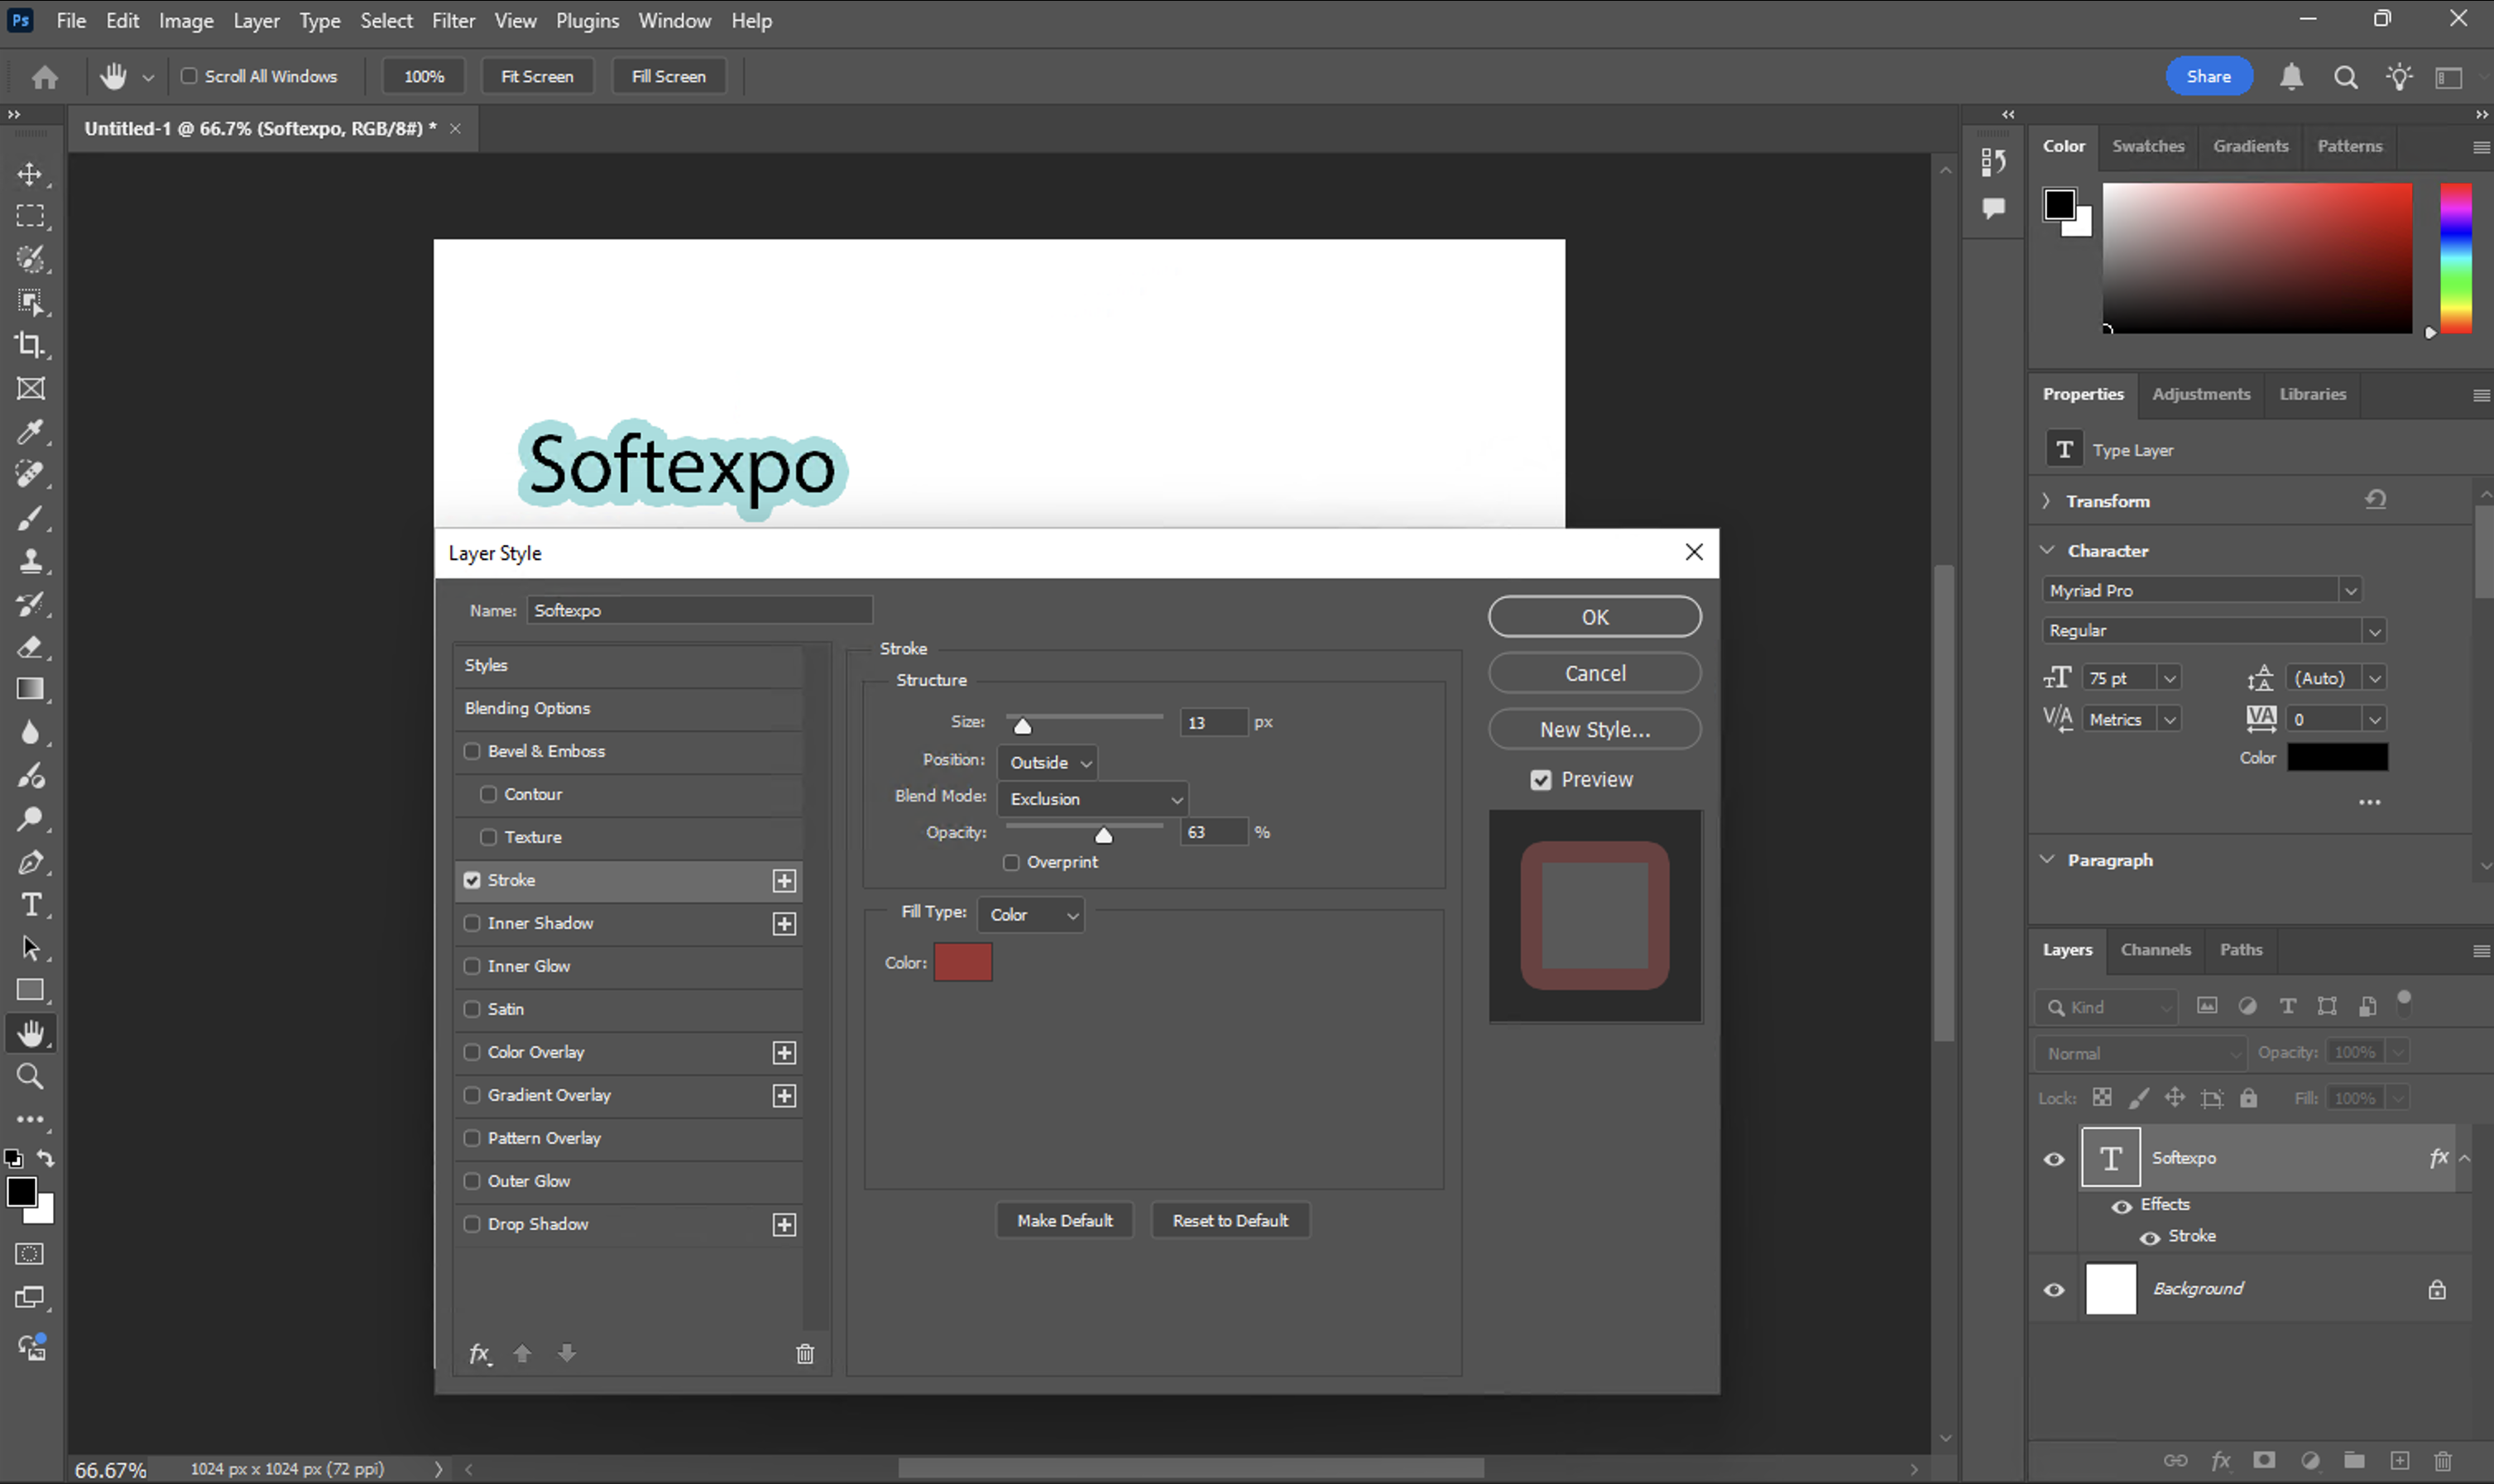
Configure your outline settings:
Size: Adjust the thickness of your outline (2-5 pixels works well for most text)
Position: Choose between Inside, Outside, or Center (Center is usually best for text)
Blend Mode: Typically “Normal” works best for clear outlines
Opacity: 100% for solid outlines, lower for subtle effects
Fill Type: Set to “Color” and select your desired outline color
Click OK to apply the outline.
The convenience of this method is that we can always edit the text that is already ready. In other words, at any stage of the project you can change the content, font or size of the text, and the outline will automatically adjust. This approach works in both Adobe Photoshop CC and Photoshop Elements.
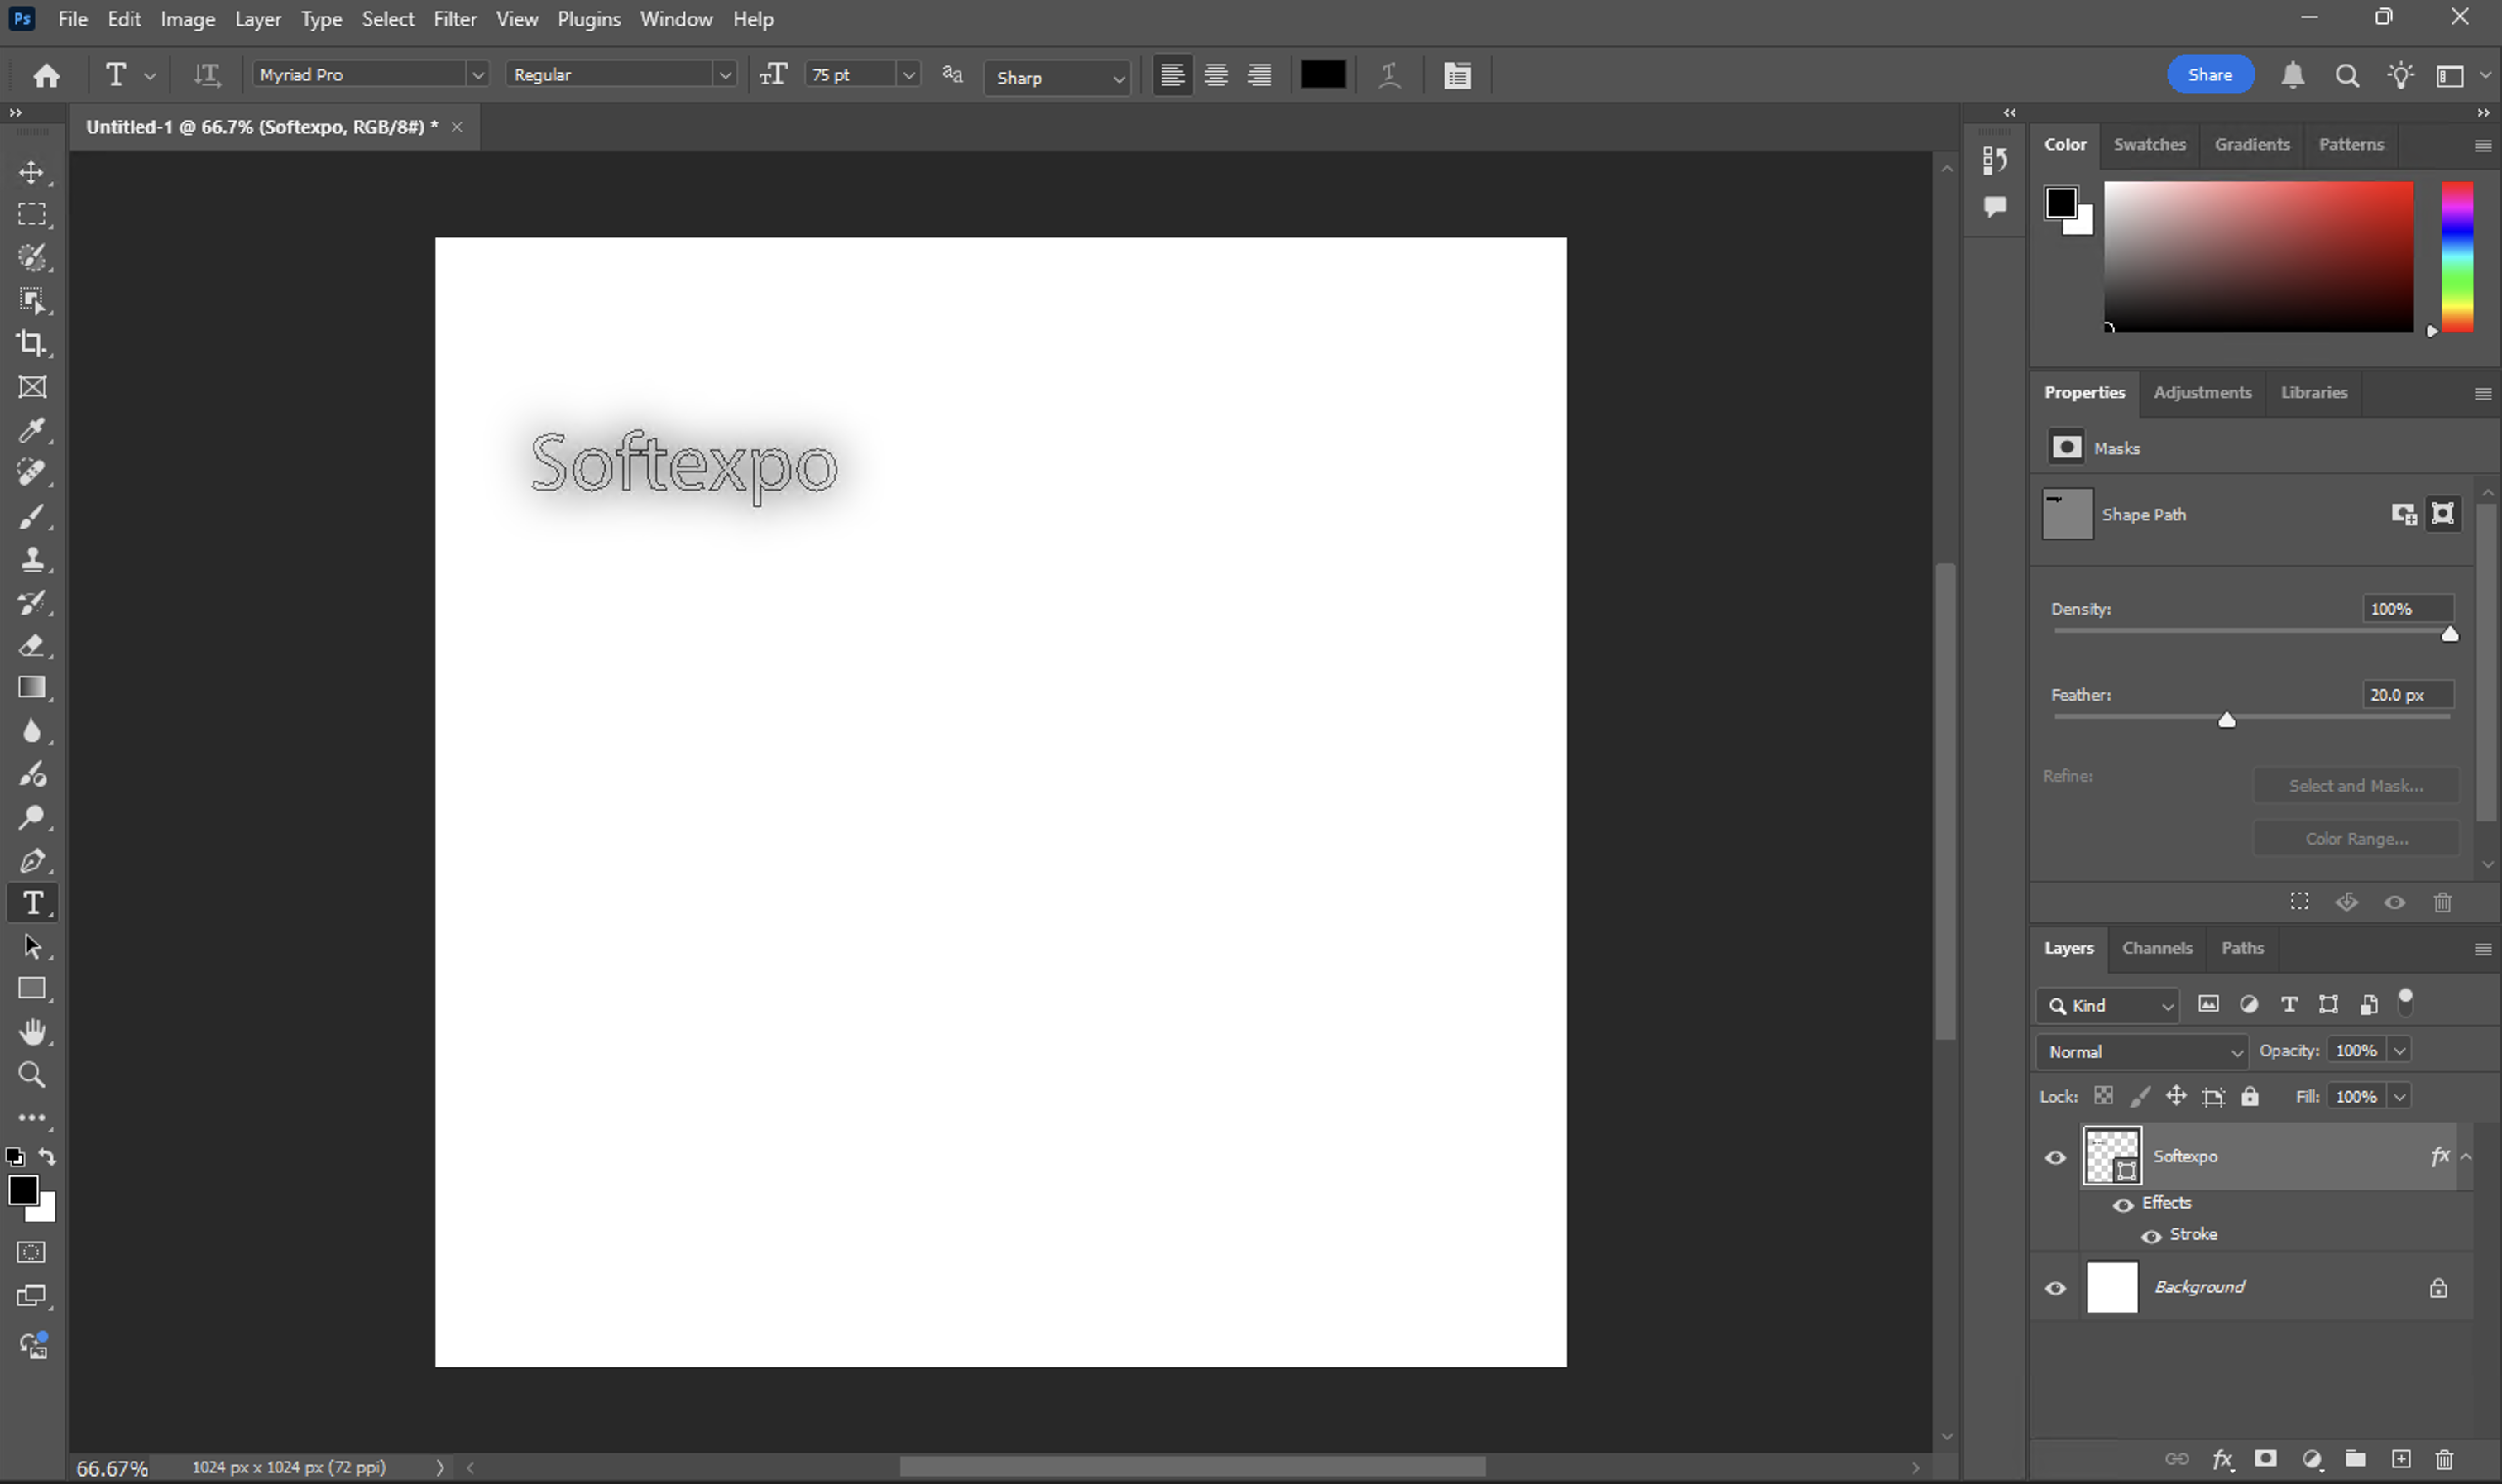
Creating Text Outlines with Paths
For more control or for specific design purposes, you can convert your text to outlines (shapes) similar to the image trace function in Adobe Illustrator:
Create your text layer and format it as desired.
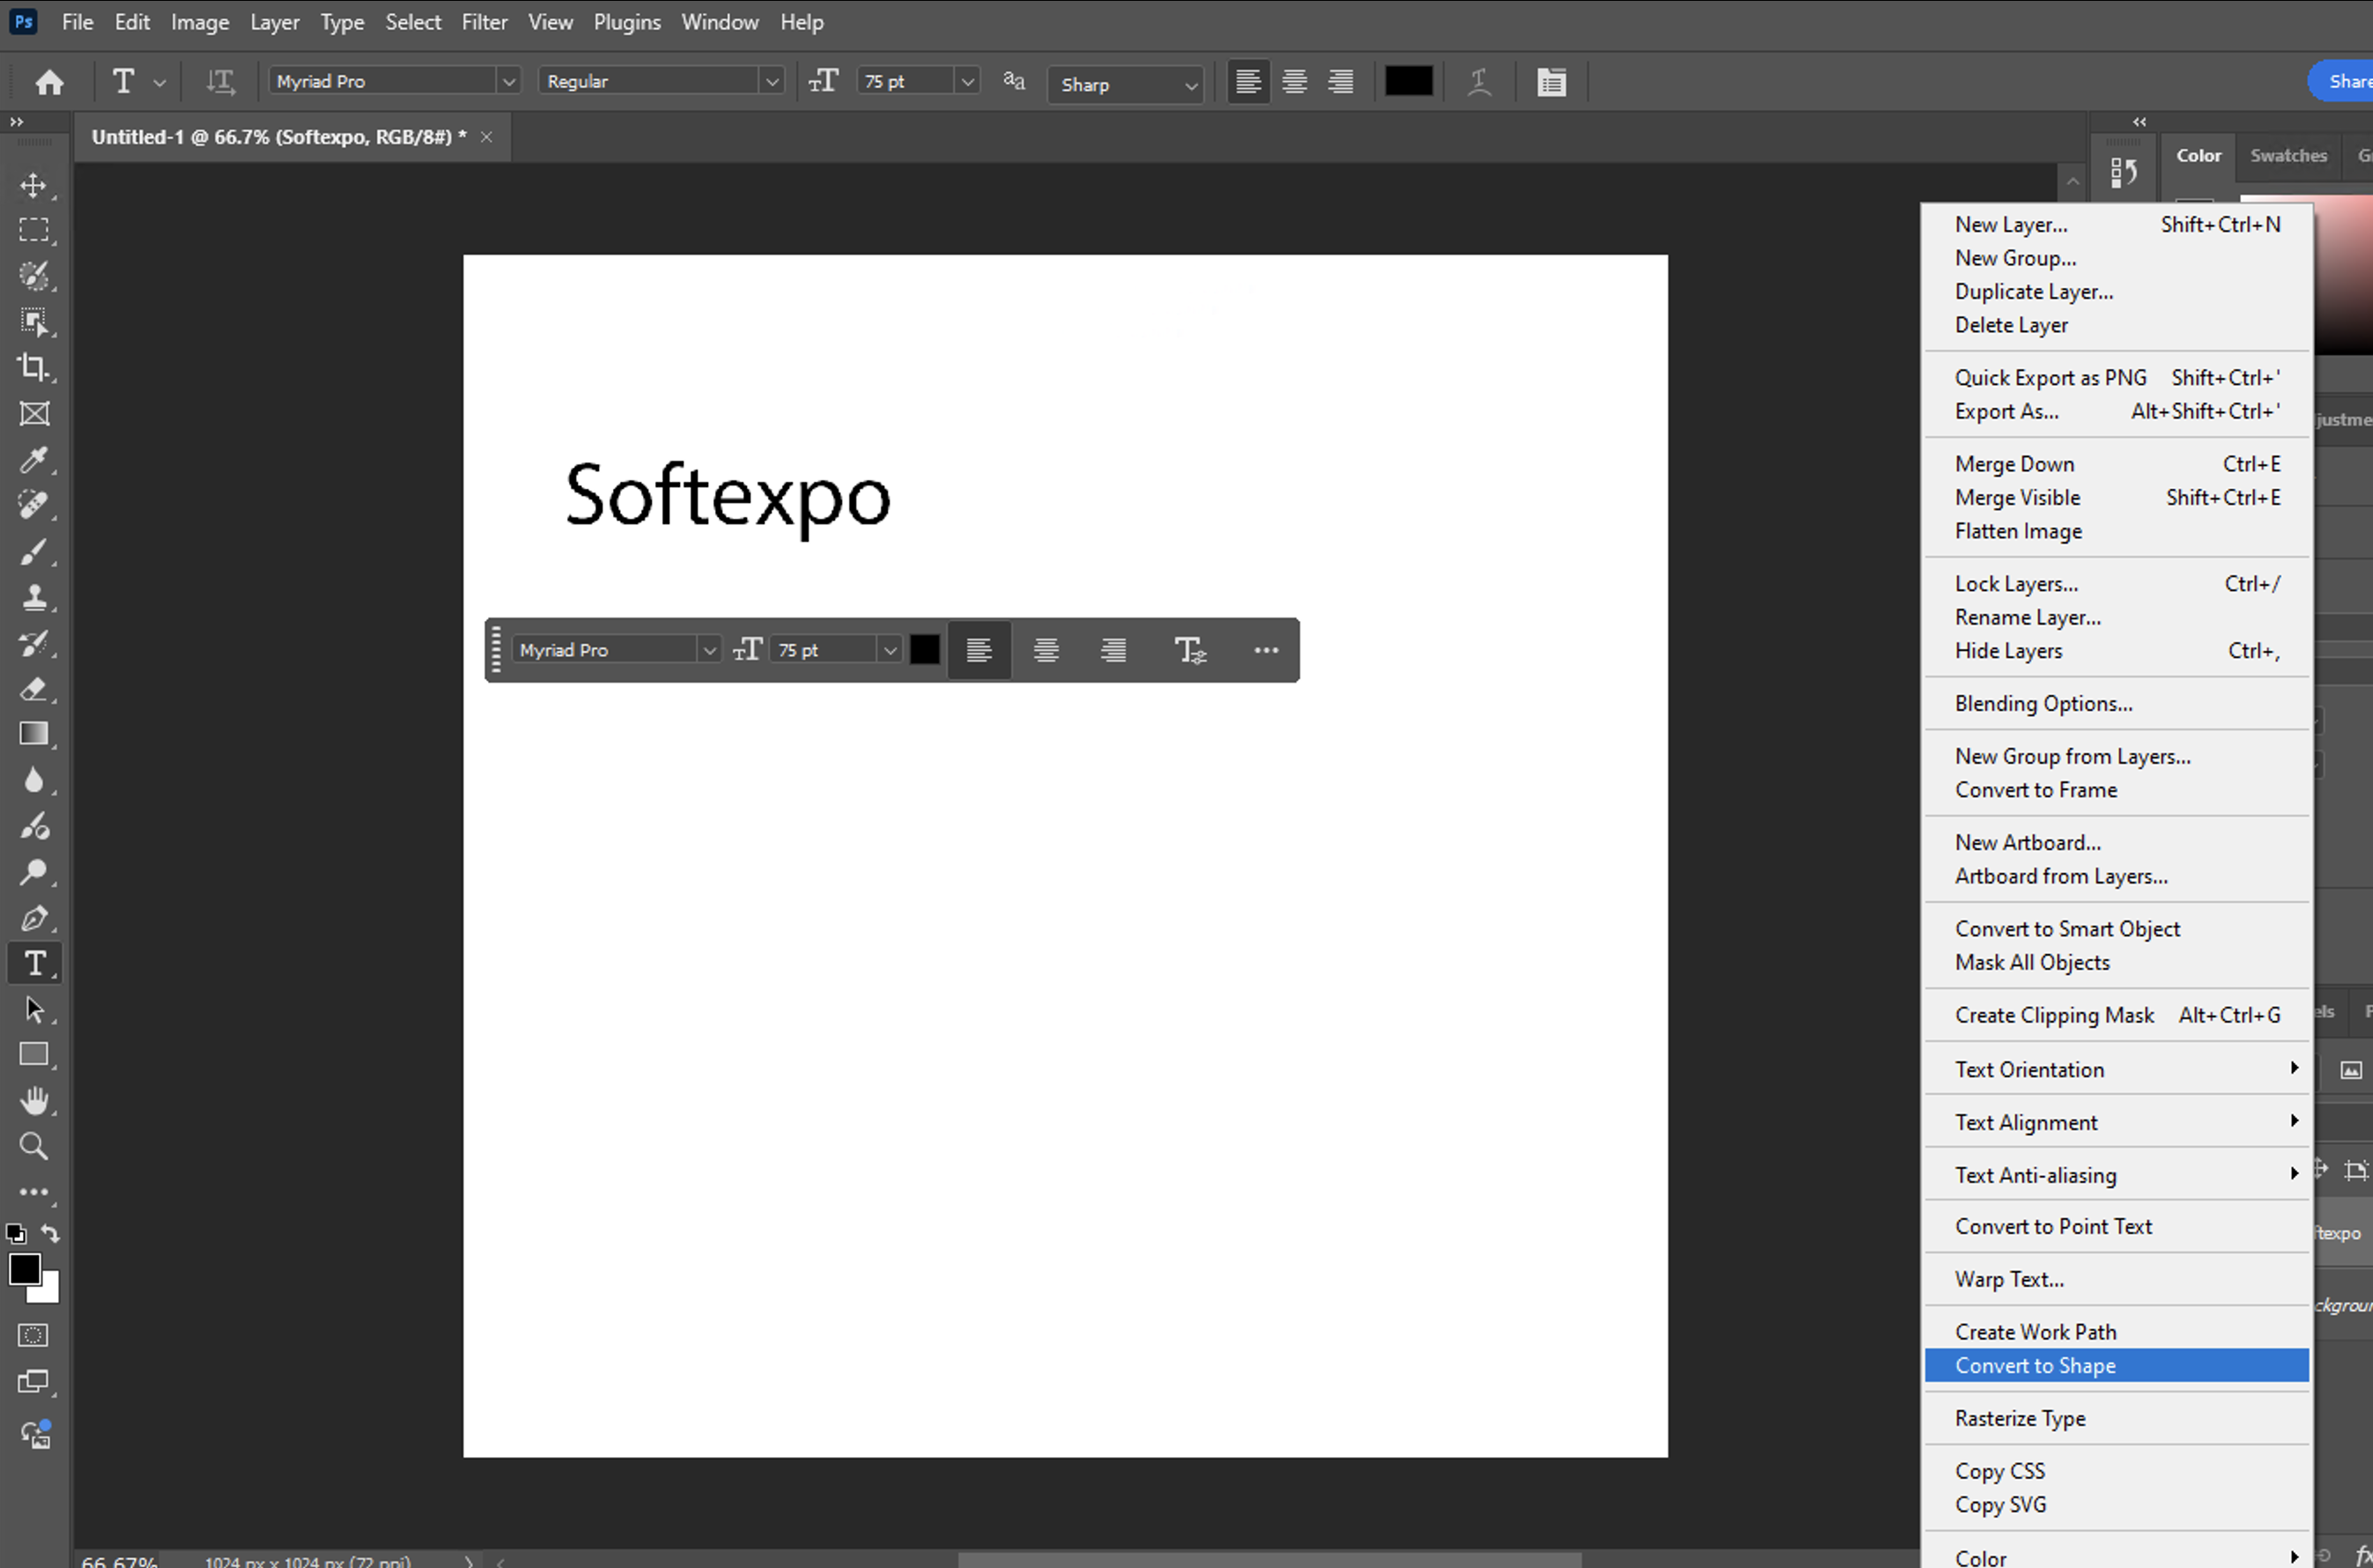
Right-click on the text layer and select “Convert to Shape” (or use Type > Convert to Shape).
With the shape layer selected, go to the Properties panel.
Adjust the stroke settings:
Click the stroke icon to enable it
Set the stroke width
Choose a stroke color
Select a stroke type (solid, dashed, etc.)
Adjust alignment (inside, center, outside)
It is important to realize that this option converts text to vector shapes, and as a result, the text can no longer be edited. However, there are now more options to control the appearance of the outline and allows you to edit the outlines manually to give them a customized look. And you can also save these outlined text shapes to your Creative Cloud libraries for reuse in other projects.
Tips for Professional Text Outlines
For thin fonts from the Adobe Fonts library, use a smaller outline size to avoid losing character definition.
Add a complementary drop shadow for additional depth and legibility, especially when placing text over an image.
Consider using a contrasting color for your text outline to make content pop against your background.
For advanced effects, try applying layer styles to text that will be part of 3D objects in Photoshop.
When working with logos or branding materials, make sure outline colors align with brand guidelines.
Save your Layer Style presets for future use by clicking “New Style” in the Layer Style dialog or adding them to Creative Cloud libraries.
If you need more complex typography, consider creating your text outline in Adobe Illustrator and then importing it into Photoshop.
In Photoshop CC, you can use the Properties panel to quickly adjust your text outline settings from the contextual task bar.
When using Photoshop Elements, the text outline process works similarly but with slightly different menu layouts.
For more precise control, try creating your outlined text and then using Edit Paths to customize specific segments of letters.
Get creative by combining text outlines with other effects like emboss, bevel, or glows for unique text treatments.
If you’re experimenting with AI capabilities, you can use a text prompt to generate outlined text styles in newer versions of Photoshop.
If we do everything as written above, creating original outlined text in Adobe Photoshop is very easy. By combining stroke with other layer styles such as shadows, bevels or glow, you can create a totally different and unrepeatable graphic design for your project. Remember that the best text effects are those that enhance readability while complementing the overall design. The lettering should emphasize the text, not overwhelm it, so always strive for balance when working with this type of editing.
If you have other questions about working with the Photoshop ecosystem, I recommend reading our guides on the subject. And if you have a desire to download Adobe products, then follow this link and download them from our website.