Categories
Popular tags

All rights reserved © 2025
Categories
All rights reserved © 2025
How to Crop in Photoshop: Simple and Effective Techniques

Cropping is something no one can do without when editing in Adobe Photoshop and Photoshop Elements. Whether it’s removing unnecessary details, people who are out of frame or simply adjusting the size of an image to fit specific platforms is a skill that is required for every beginner or advanced user, understanding how to crop image files will greatly simplify your photo editing experience. Let’s take a look at the different cropping methods, I promise it will be easy and straightforward. These methods work in both Photoshop itself and Adobe Camera Raw, which will give you the ability to use knowledge in both programs and provide a user-friendly editing experience.
Basic Cropping Techniques in Photoshop
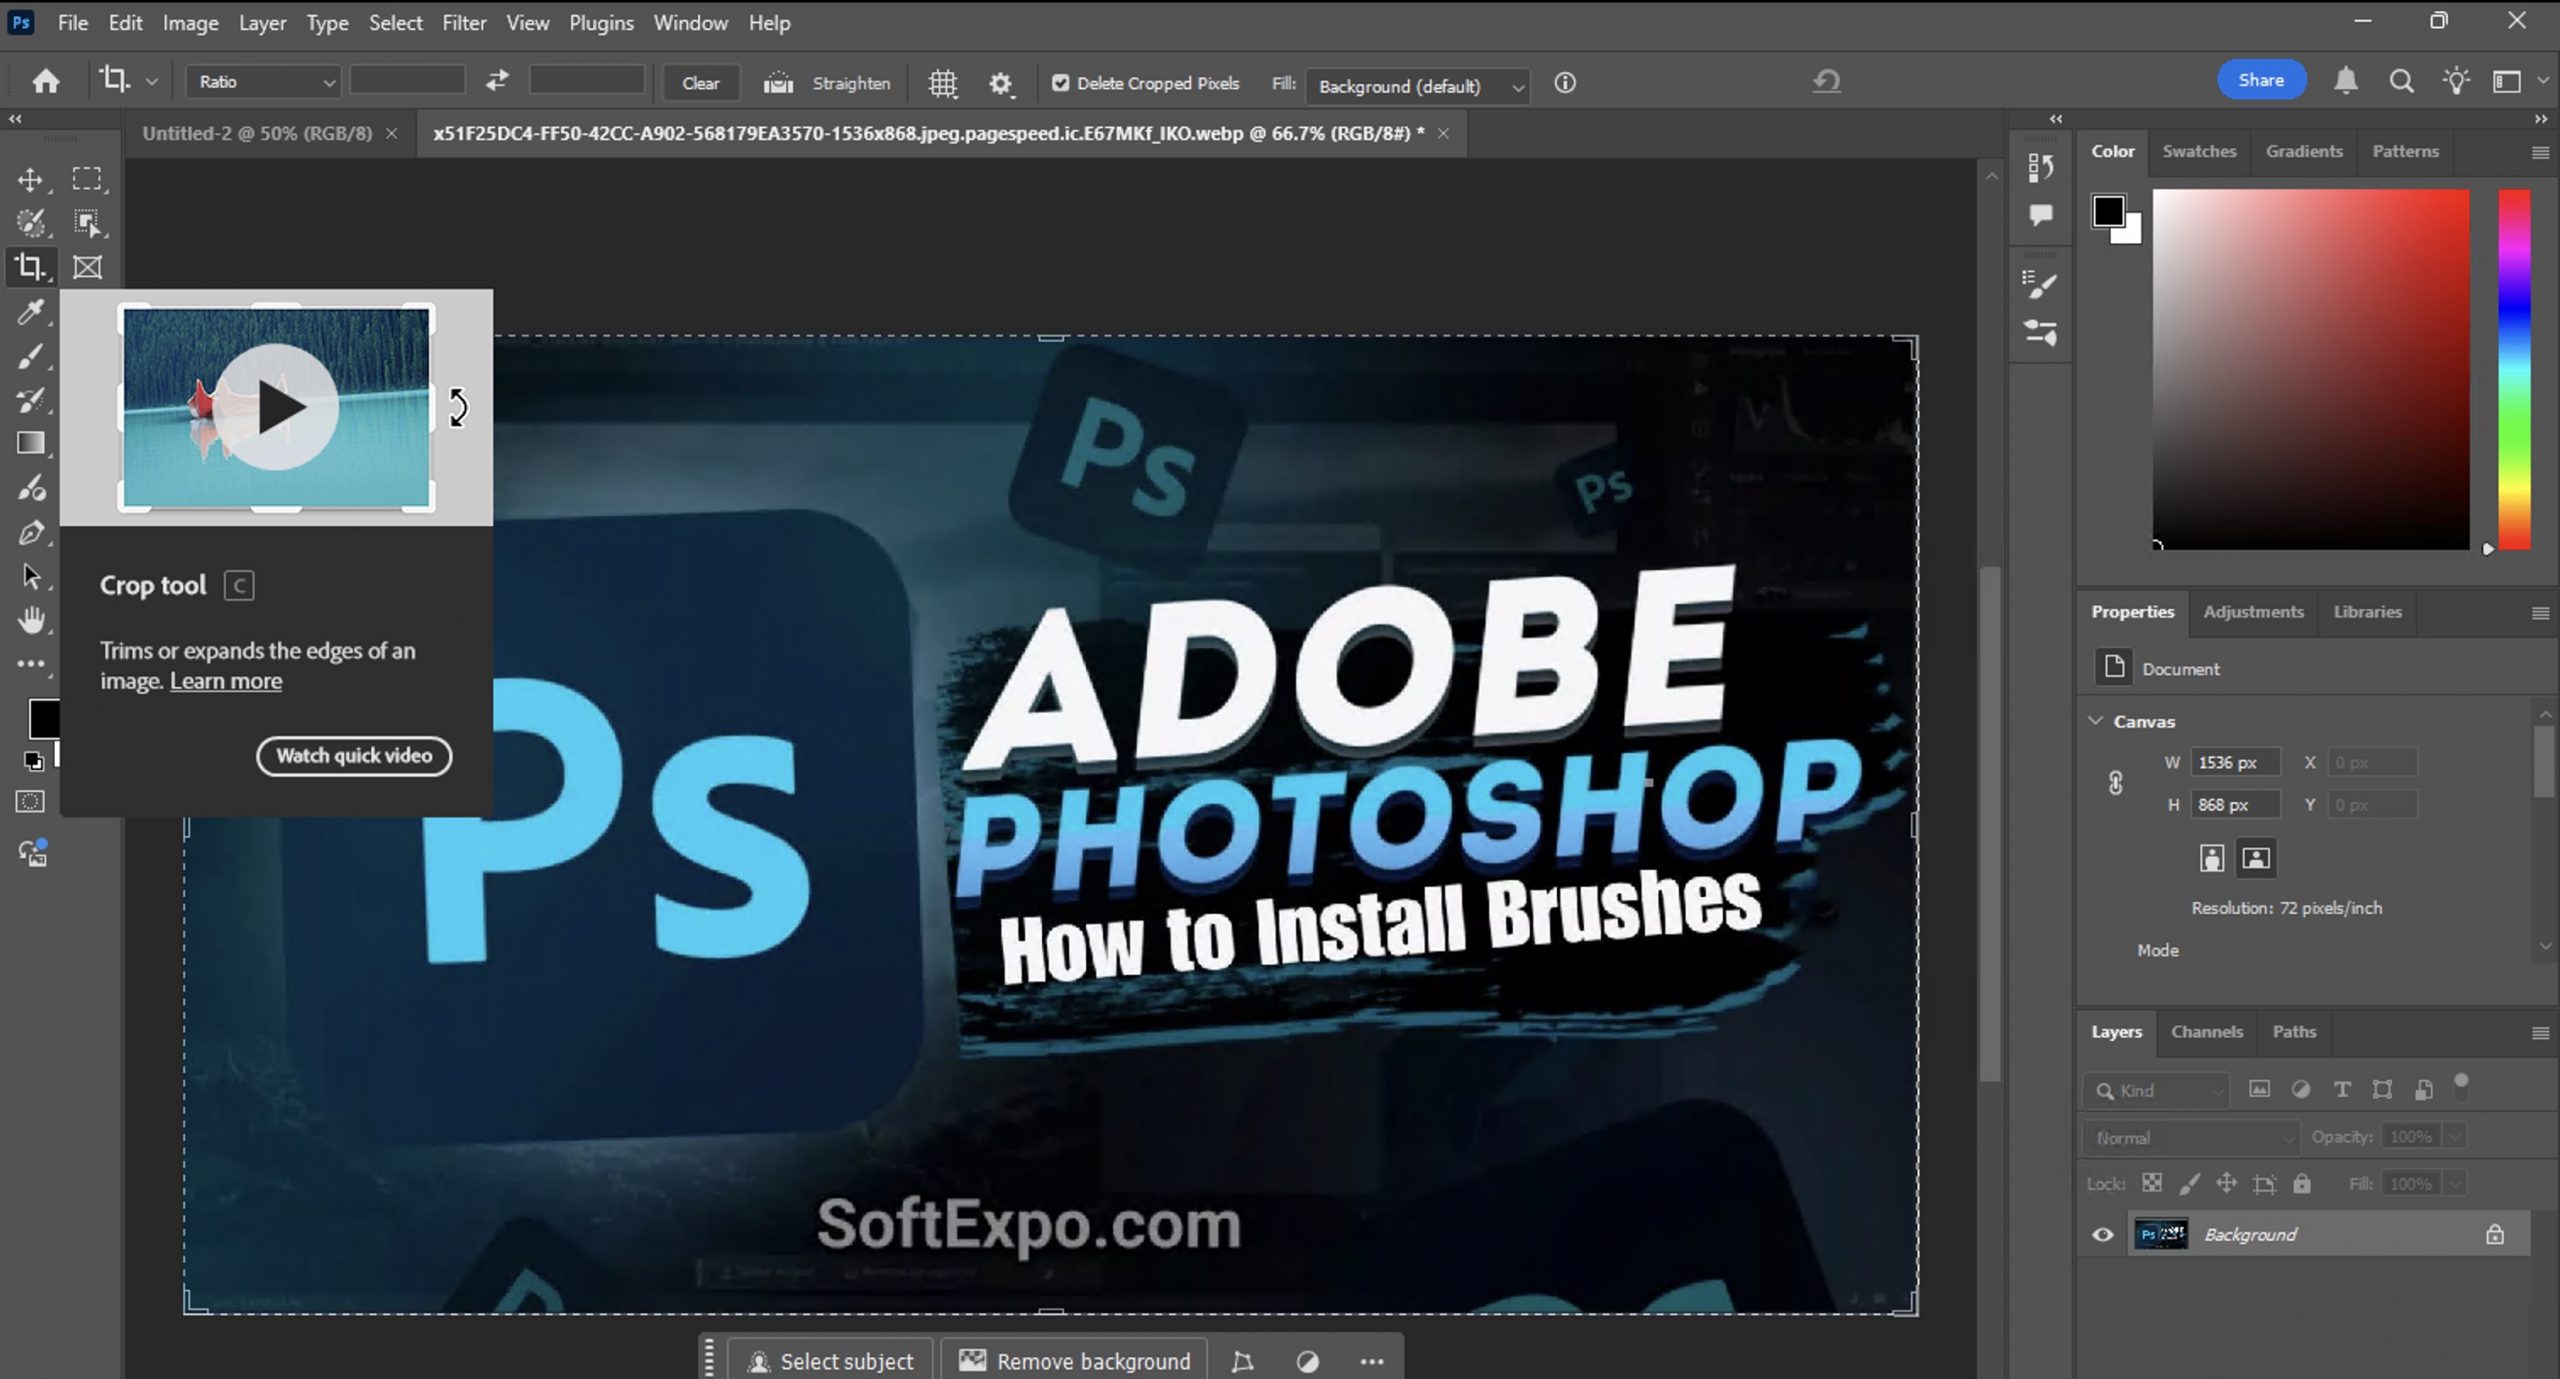
Using the Crop Tool
The crop tool is the simplest and most basic way to crop images in Photoshop.:
- Open your image in Photoshop (or edit directly in Adobe Camera Raw).
- Select the Crop Tool from the toolbar on the left side (or press C on your keyboard).
- Click and drag on your image to create a crop boundary. The area inside this boundary will be kept, while everything outside will be removed.
- Adjust the crop boundary by dragging its corners or edges.
- To confirm the crop, press Enter or click the checkmark in the options bar at the top.
- To cancel the crop, press Escape or click the cancel button in the options bar.
For those who prefer more precision, the Frame Tool (K) provides another option to create a frame that crops your image when you place it inside.

Crop Tool Options
When the Crop Tool is active, the options bar at the top provides several helpful settings:
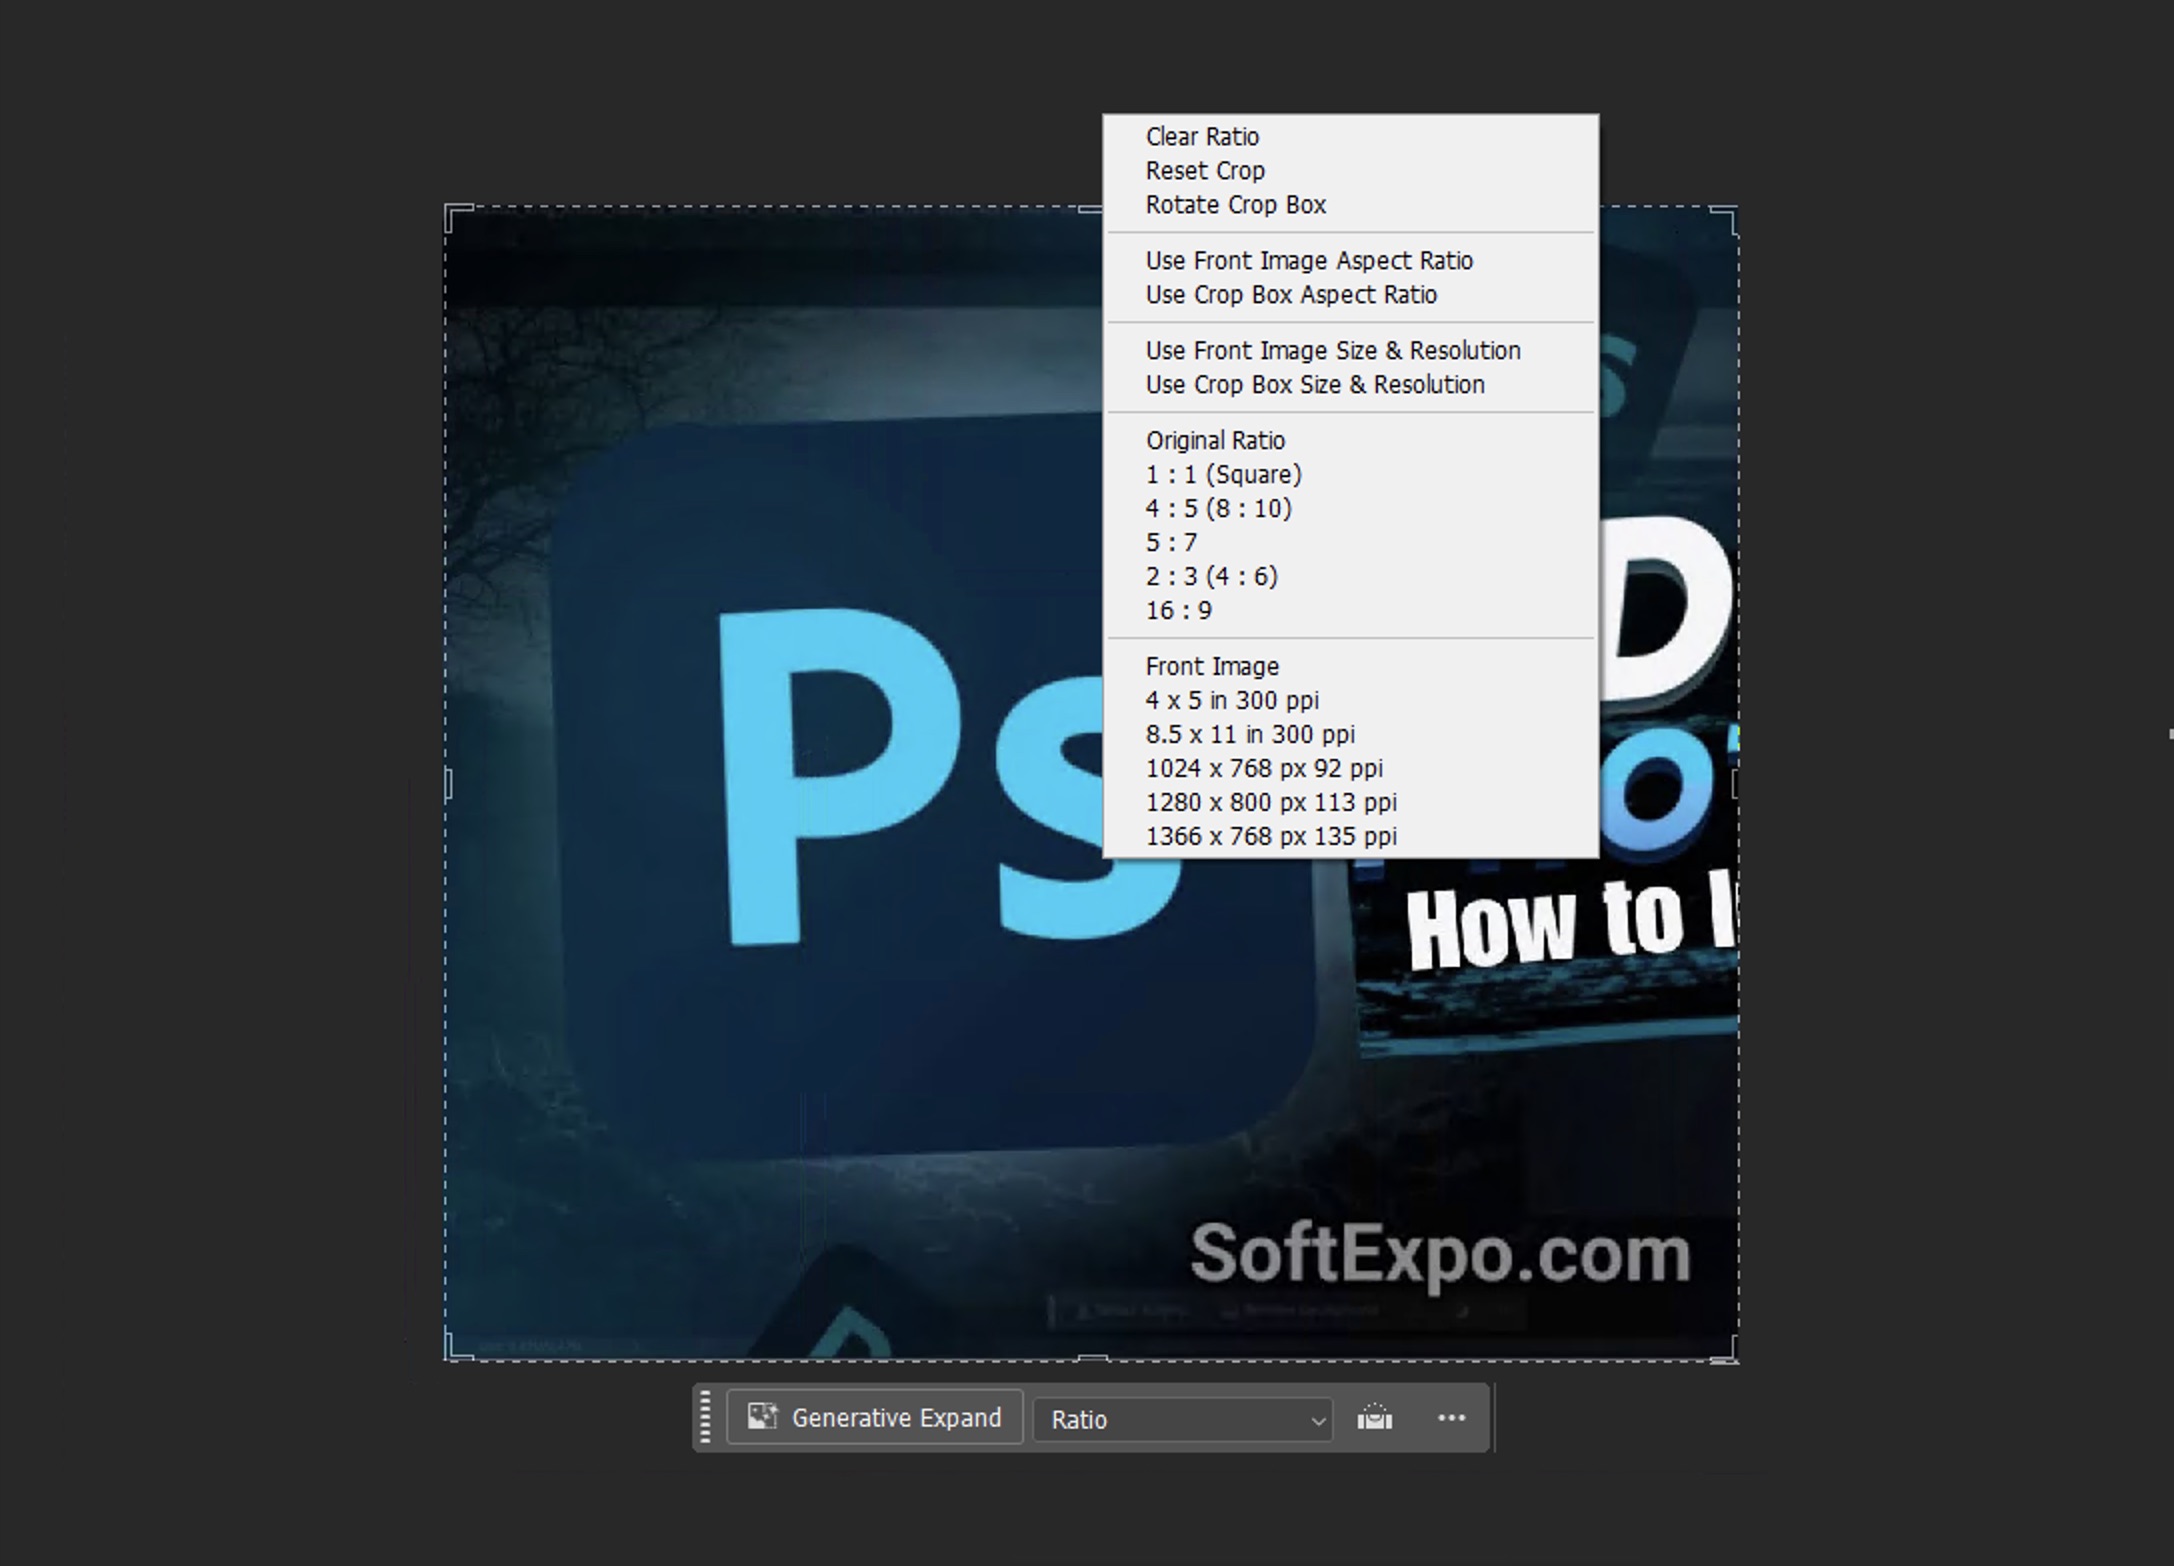
- Aspect Ratio: You can choose preset ratios like 1:1 (square), 16:9 (widescreen), or 4:5 (Instagram portrait). You can also specify custom ratios.
- Straighten Tool: This handy tool lets you click and drag along a line in your image that should be horizontal or vertical, and Photoshop will automatically rotate and crop accordingly, perfect for fixing tilted horizon lines.
- Crop Overlay: These help with composition. Cycle through options like Rule of Thirds, Golden Ratio, and Grid by pressing O on your keyboard to improve your cropped image results.
- Delete Cropped Pixels: When checked, the cropped area is permanently removed. When unchecked, the crop is non-destructive, allowing you to adjust it later while preserving your original image data.
Advanced Cropping Methods
Cropping to a Specific Size
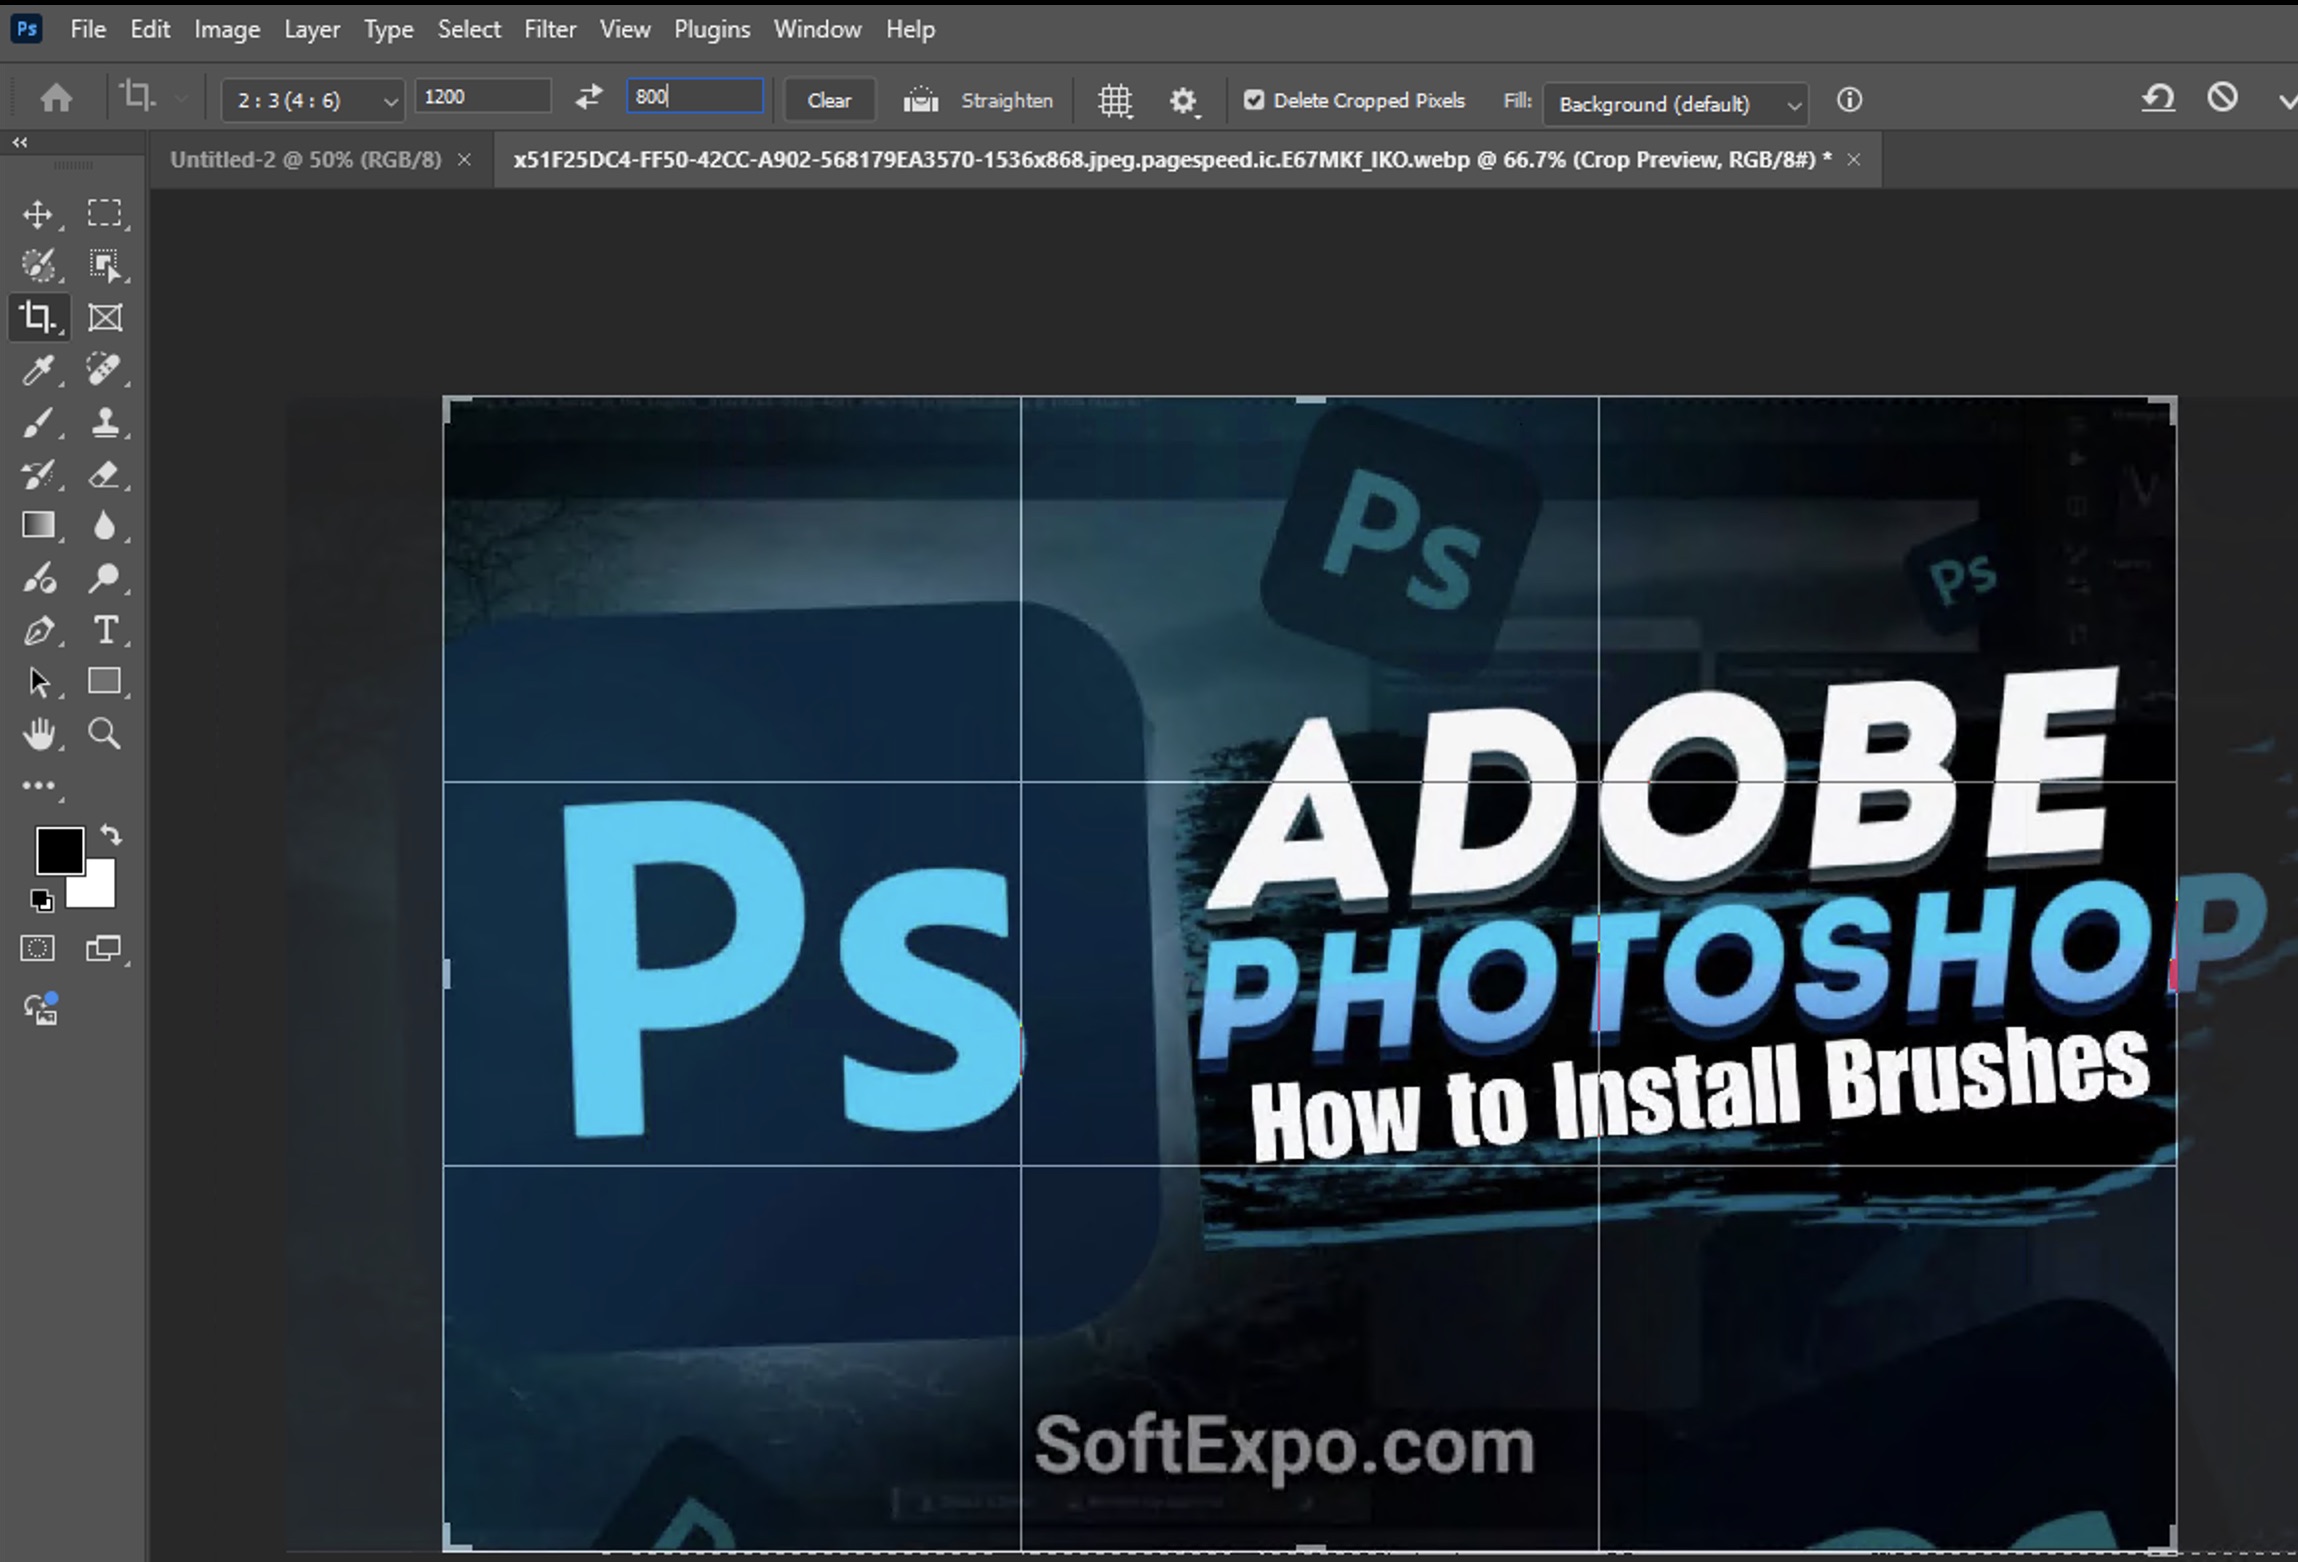
If you need your image to be an exact size (for example, 1200 × 800 pixels):
- Select the Crop Tool.
- In the options bar, enter the desired dimensions in the width and height fields.
- Adjust the position of the crop area to frame your subject appropriately.
- Press Enter to apply the crop.
The surest method for creating images for websites, social media posts or printed materials where specific dimensions are required. The resulting cropped image will be exactly the same size as the specified dimensions.
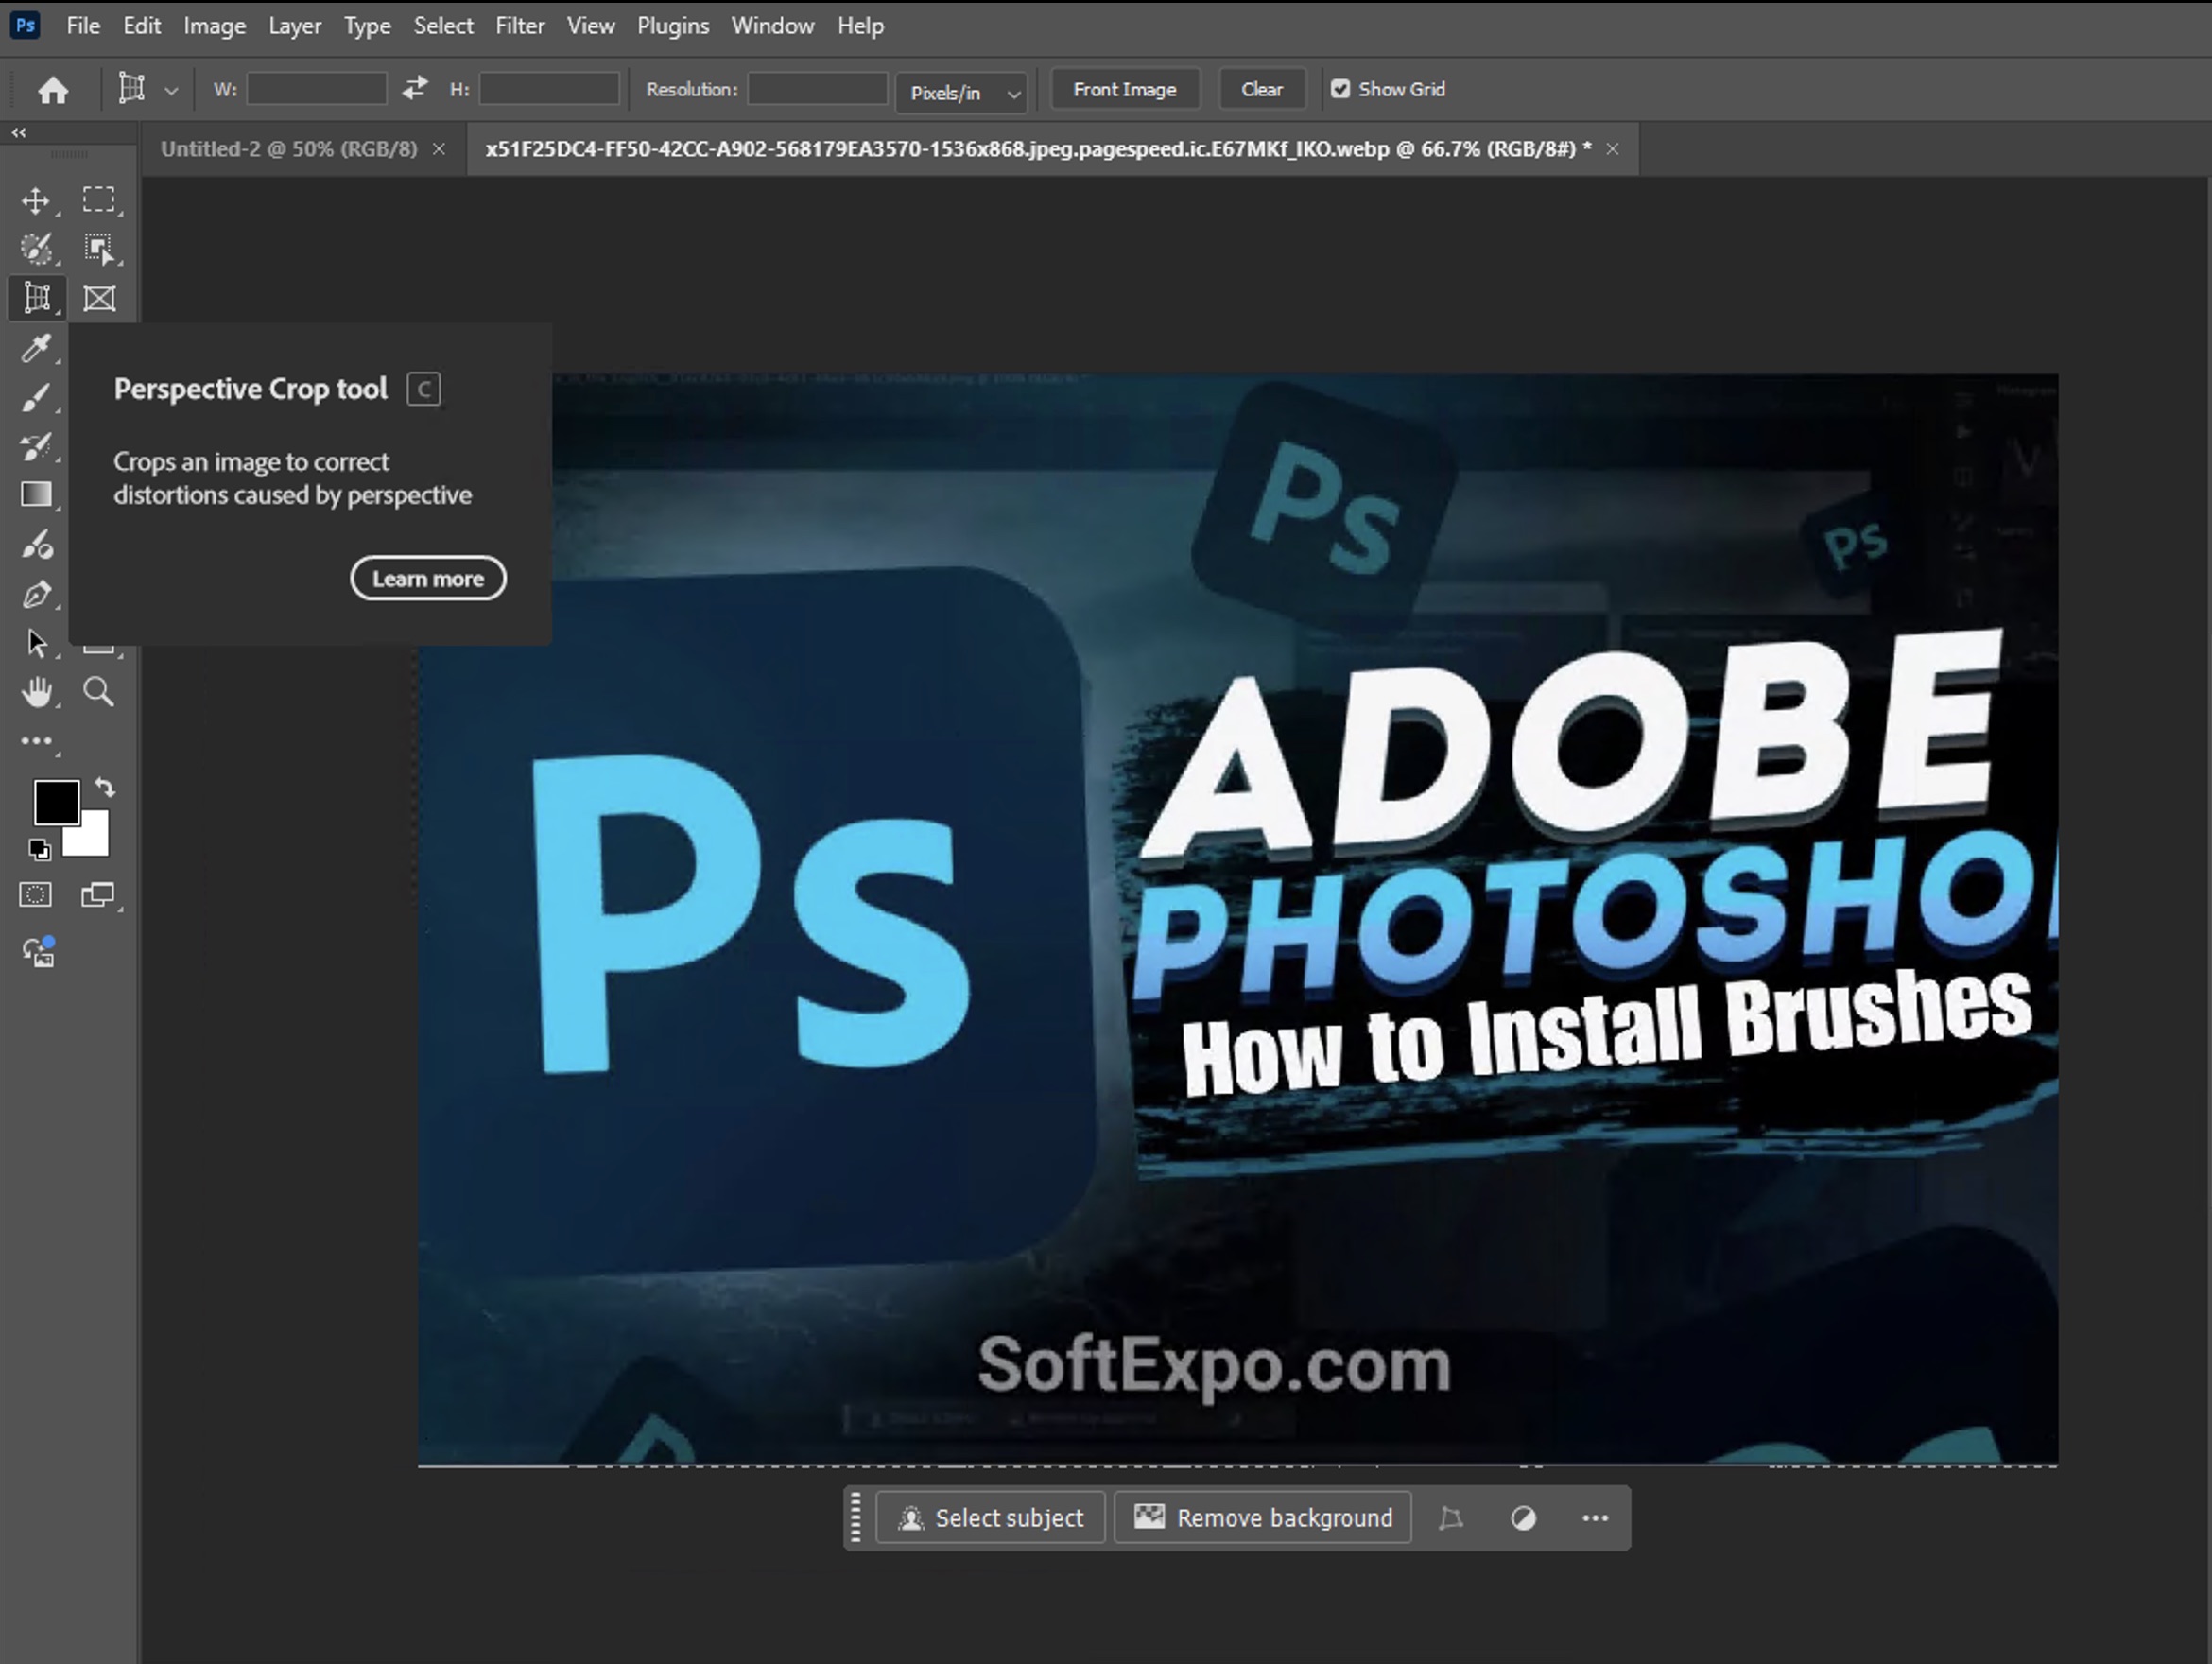
Perspective Crop Tool
For correcting perspective distortion in architectural photos or any image with converging lines:
- Select the Perspective Crop Tool (nested under the regular Crop Tool).
- Draw a quadrilateral around the area you want to keep.
- Adjust the four corners to align with the perspective of your subject.
- Press Enter to apply the crop, which will straighten the perspective.
Expanding Canvas with Generative Fill
An interesting and very cool feature that introduced in new versions of Photoshop – the ability to extend the canvas beyond the original image using generative fill.:
- Create a new layer to protect your original image.
- Use the Crop Tool to expand beyond the boundaries of your image (instead of cropping inward).
- After applying the expanded crop, use Generative Fill to intelligently fill the new empty areas with AI-generated content that matches your image.
Best used when you need more space around your subject or want to change the aspect ratio without cropping important elements.
Pro Tips for Better Cropping
- Before cropping, duplicate your layer or create a smart object to preserve your original image for future editing.
- When cropping images for social media, be aware of how different platforms may display your content and leave some space around important elements.
- For more precise cropping, zoom in (Ctrl/Cmd+) to see details better within your cropped area.
- Use the Rule of Thirds overlay in the crop overlay options to improve composition—place key elements along the lines or at their intersections.
- If you make a mistake while cropping, remember that you can use Edit > Undo or Ctrl/Cmd+Z to revert to your previous state.
- In Adobe Camera Raw, the crop tool works very similarly to Photoshop but offers some specific advantages for raw files before bringing them into the main Photoshop workspace.
- Try using Generative Expand to intelligently extend your canvas beyond the original boundaries rather than cropping too much from your image.
- For batch processing multiple images with the same crop settings, consider creating an action to apply consistent cropping across your photo collection.
- Photoshop Elements users have access to most of the same cropping tools, though some advanced features like Generative Fill may not be available.
This is not the first guide I’ve posted on working with Photoshop. Other interesting and useful guides and tutorials on working with images, as well as on the work and customization of other on you can find in the section guides. Our tutorials on image editing techniques can be simple, but suitable for both new users and those who want to illuminate or simplify the work with photos. In general we had a post earlier where we looked at how to resize images, use brushes and even remove the background in any photo.
I’m confident that by mastering these Photoshop cropping techniques, you’ll be able to turn less-than-perfect photos and images into compelling images with stronger composition and visual impact, regardless of your skill level or the type of photo you’re working with.