How to Curve Text in Photoshop: Step-by-Step Guide
The mediocrity of modern designs leads to a search for fresh ideas. That’s why it’s important to create stunning designs that are original and eye-catching. For such a design, a feature such as curved text is perfect. If you develop logos, icons, round stamps or creative text effects, you can not do without knowing how to curve text in Photoshop. The highly competitive market demands this essential skill for photo editing and graphic design. Therefore, in this Photoshop guide, you will learn several methods of text outlining and text outline editing to create the perfect text curve for your projects.
Using the Warp Text Tool
The simplest way to curve text in Photoshop is by using the Warp Text tool:
Open Photoshop and create a new document or open an existing one.
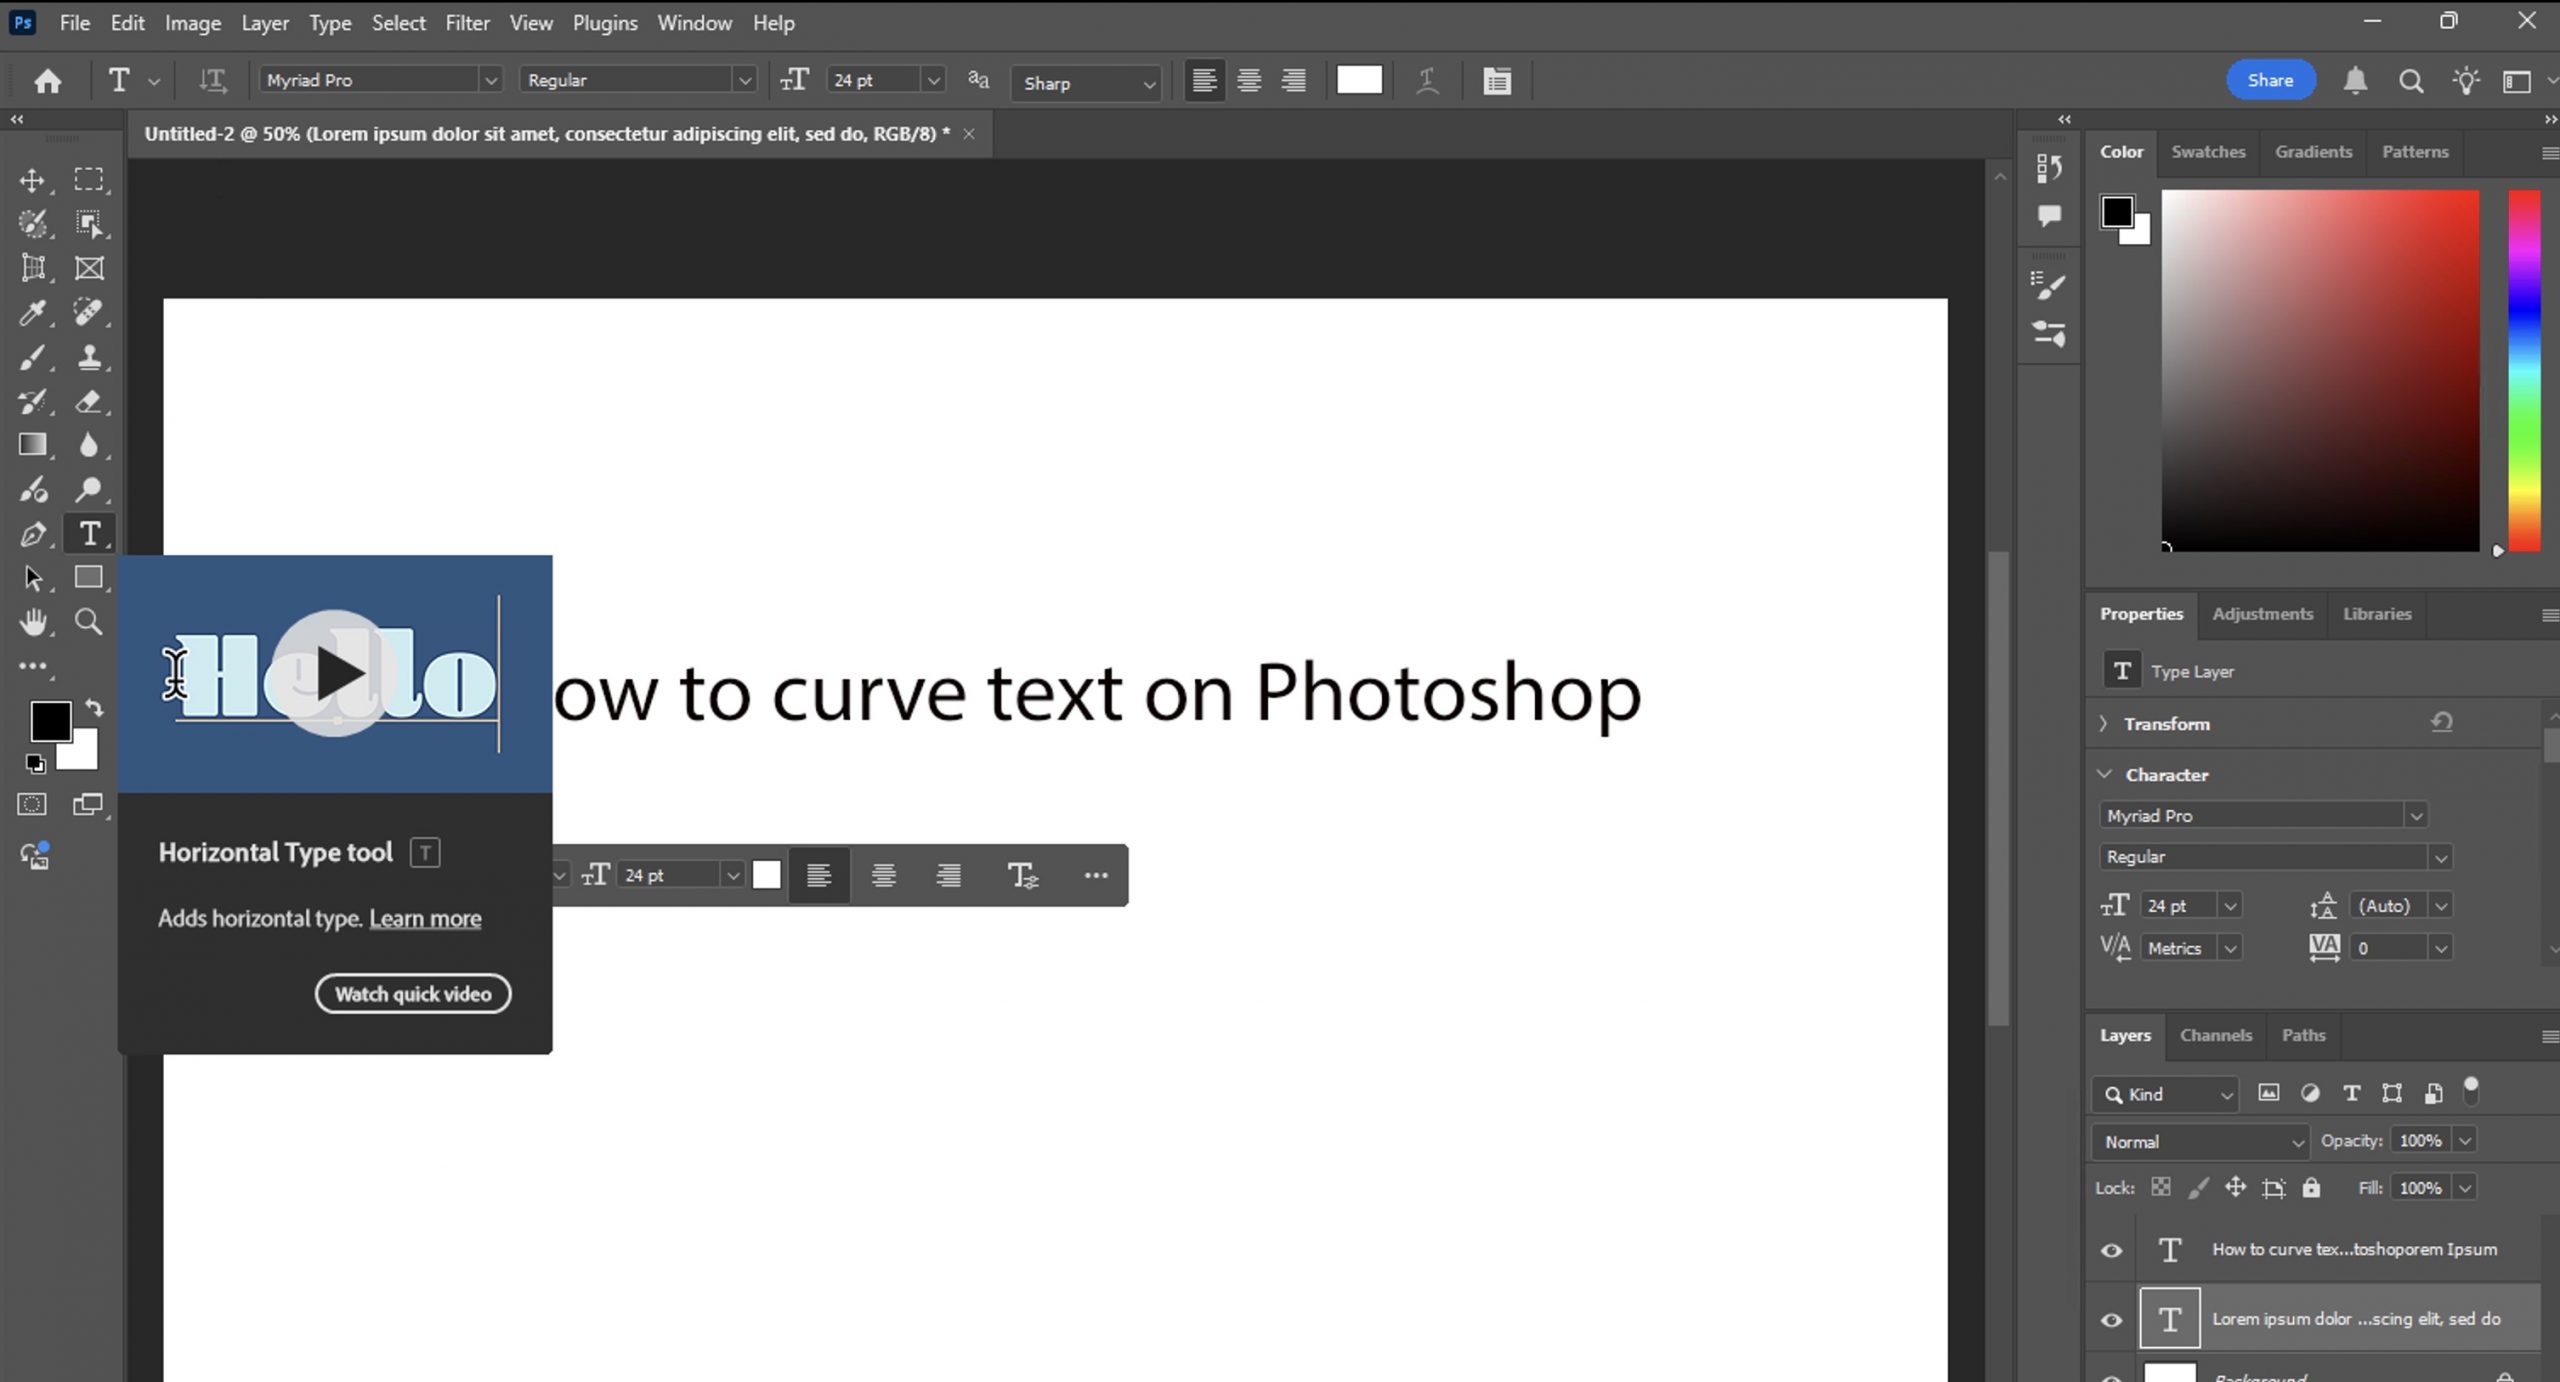
Select the Text Tool (T) from the toolbar.
Click on your canvas and type your desired text.
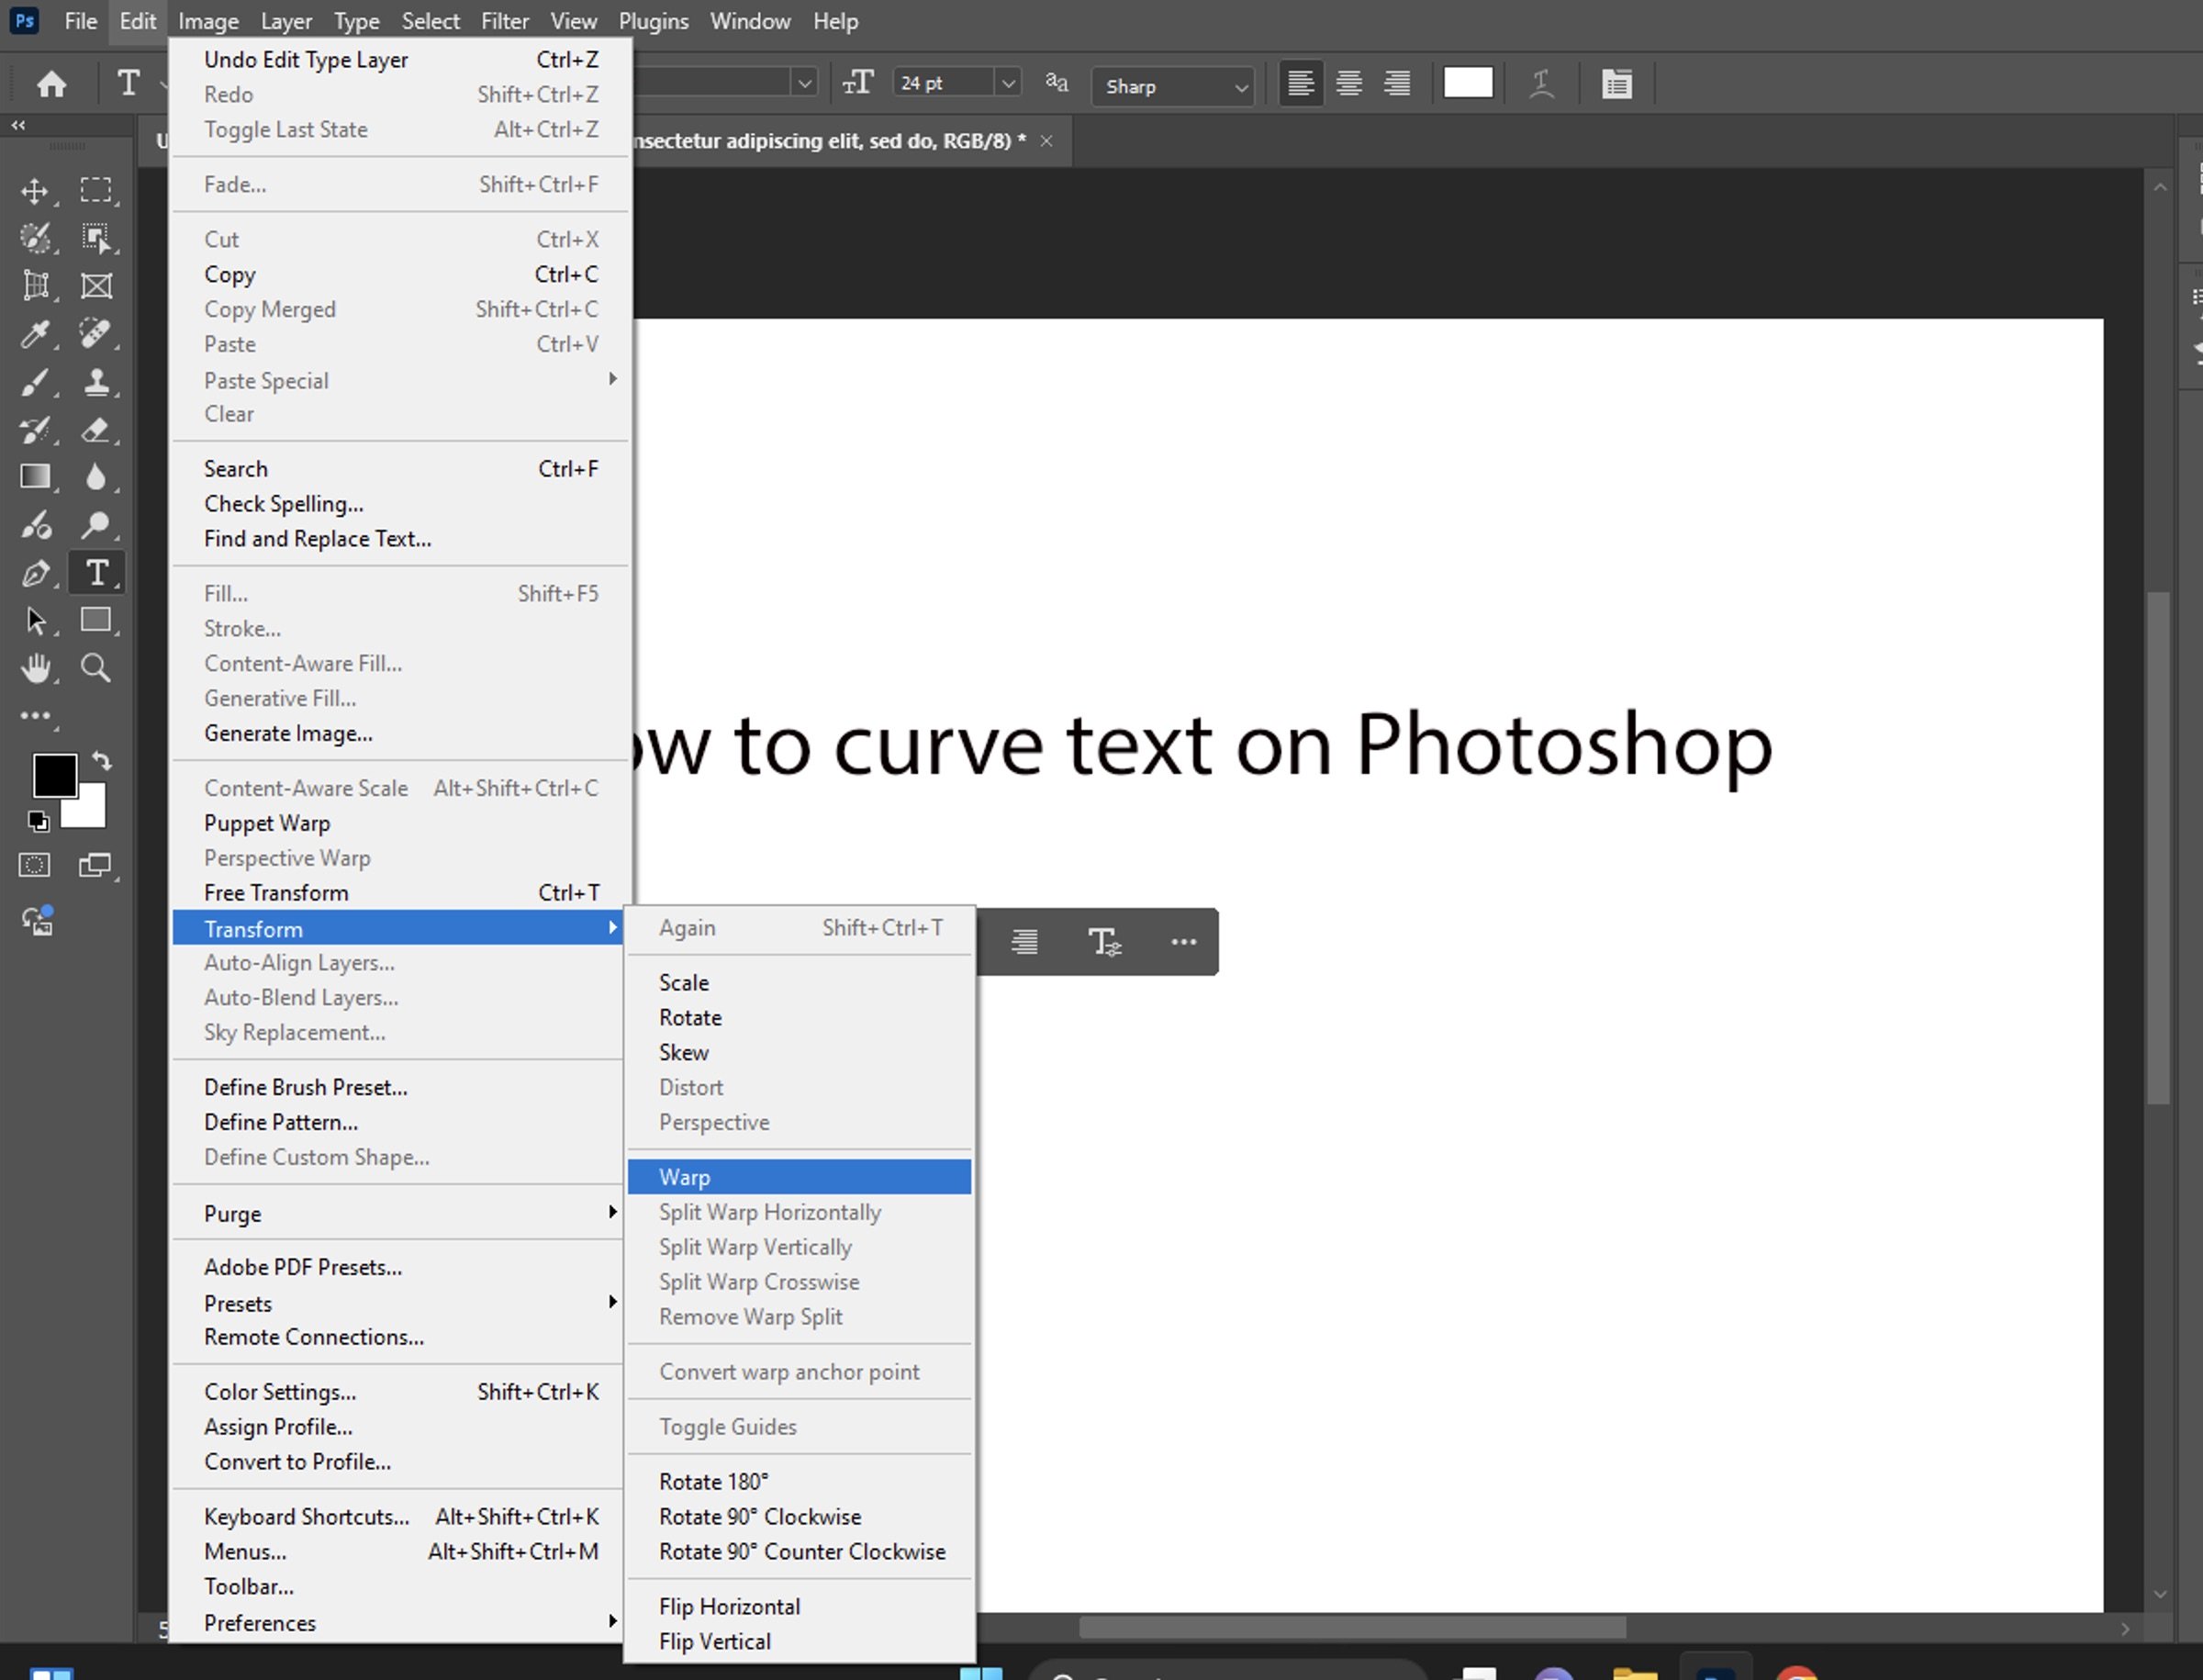
With the text layer selected, go to Edit > Transform > Warp (or right-click on the text layer and select “Warp Text”).
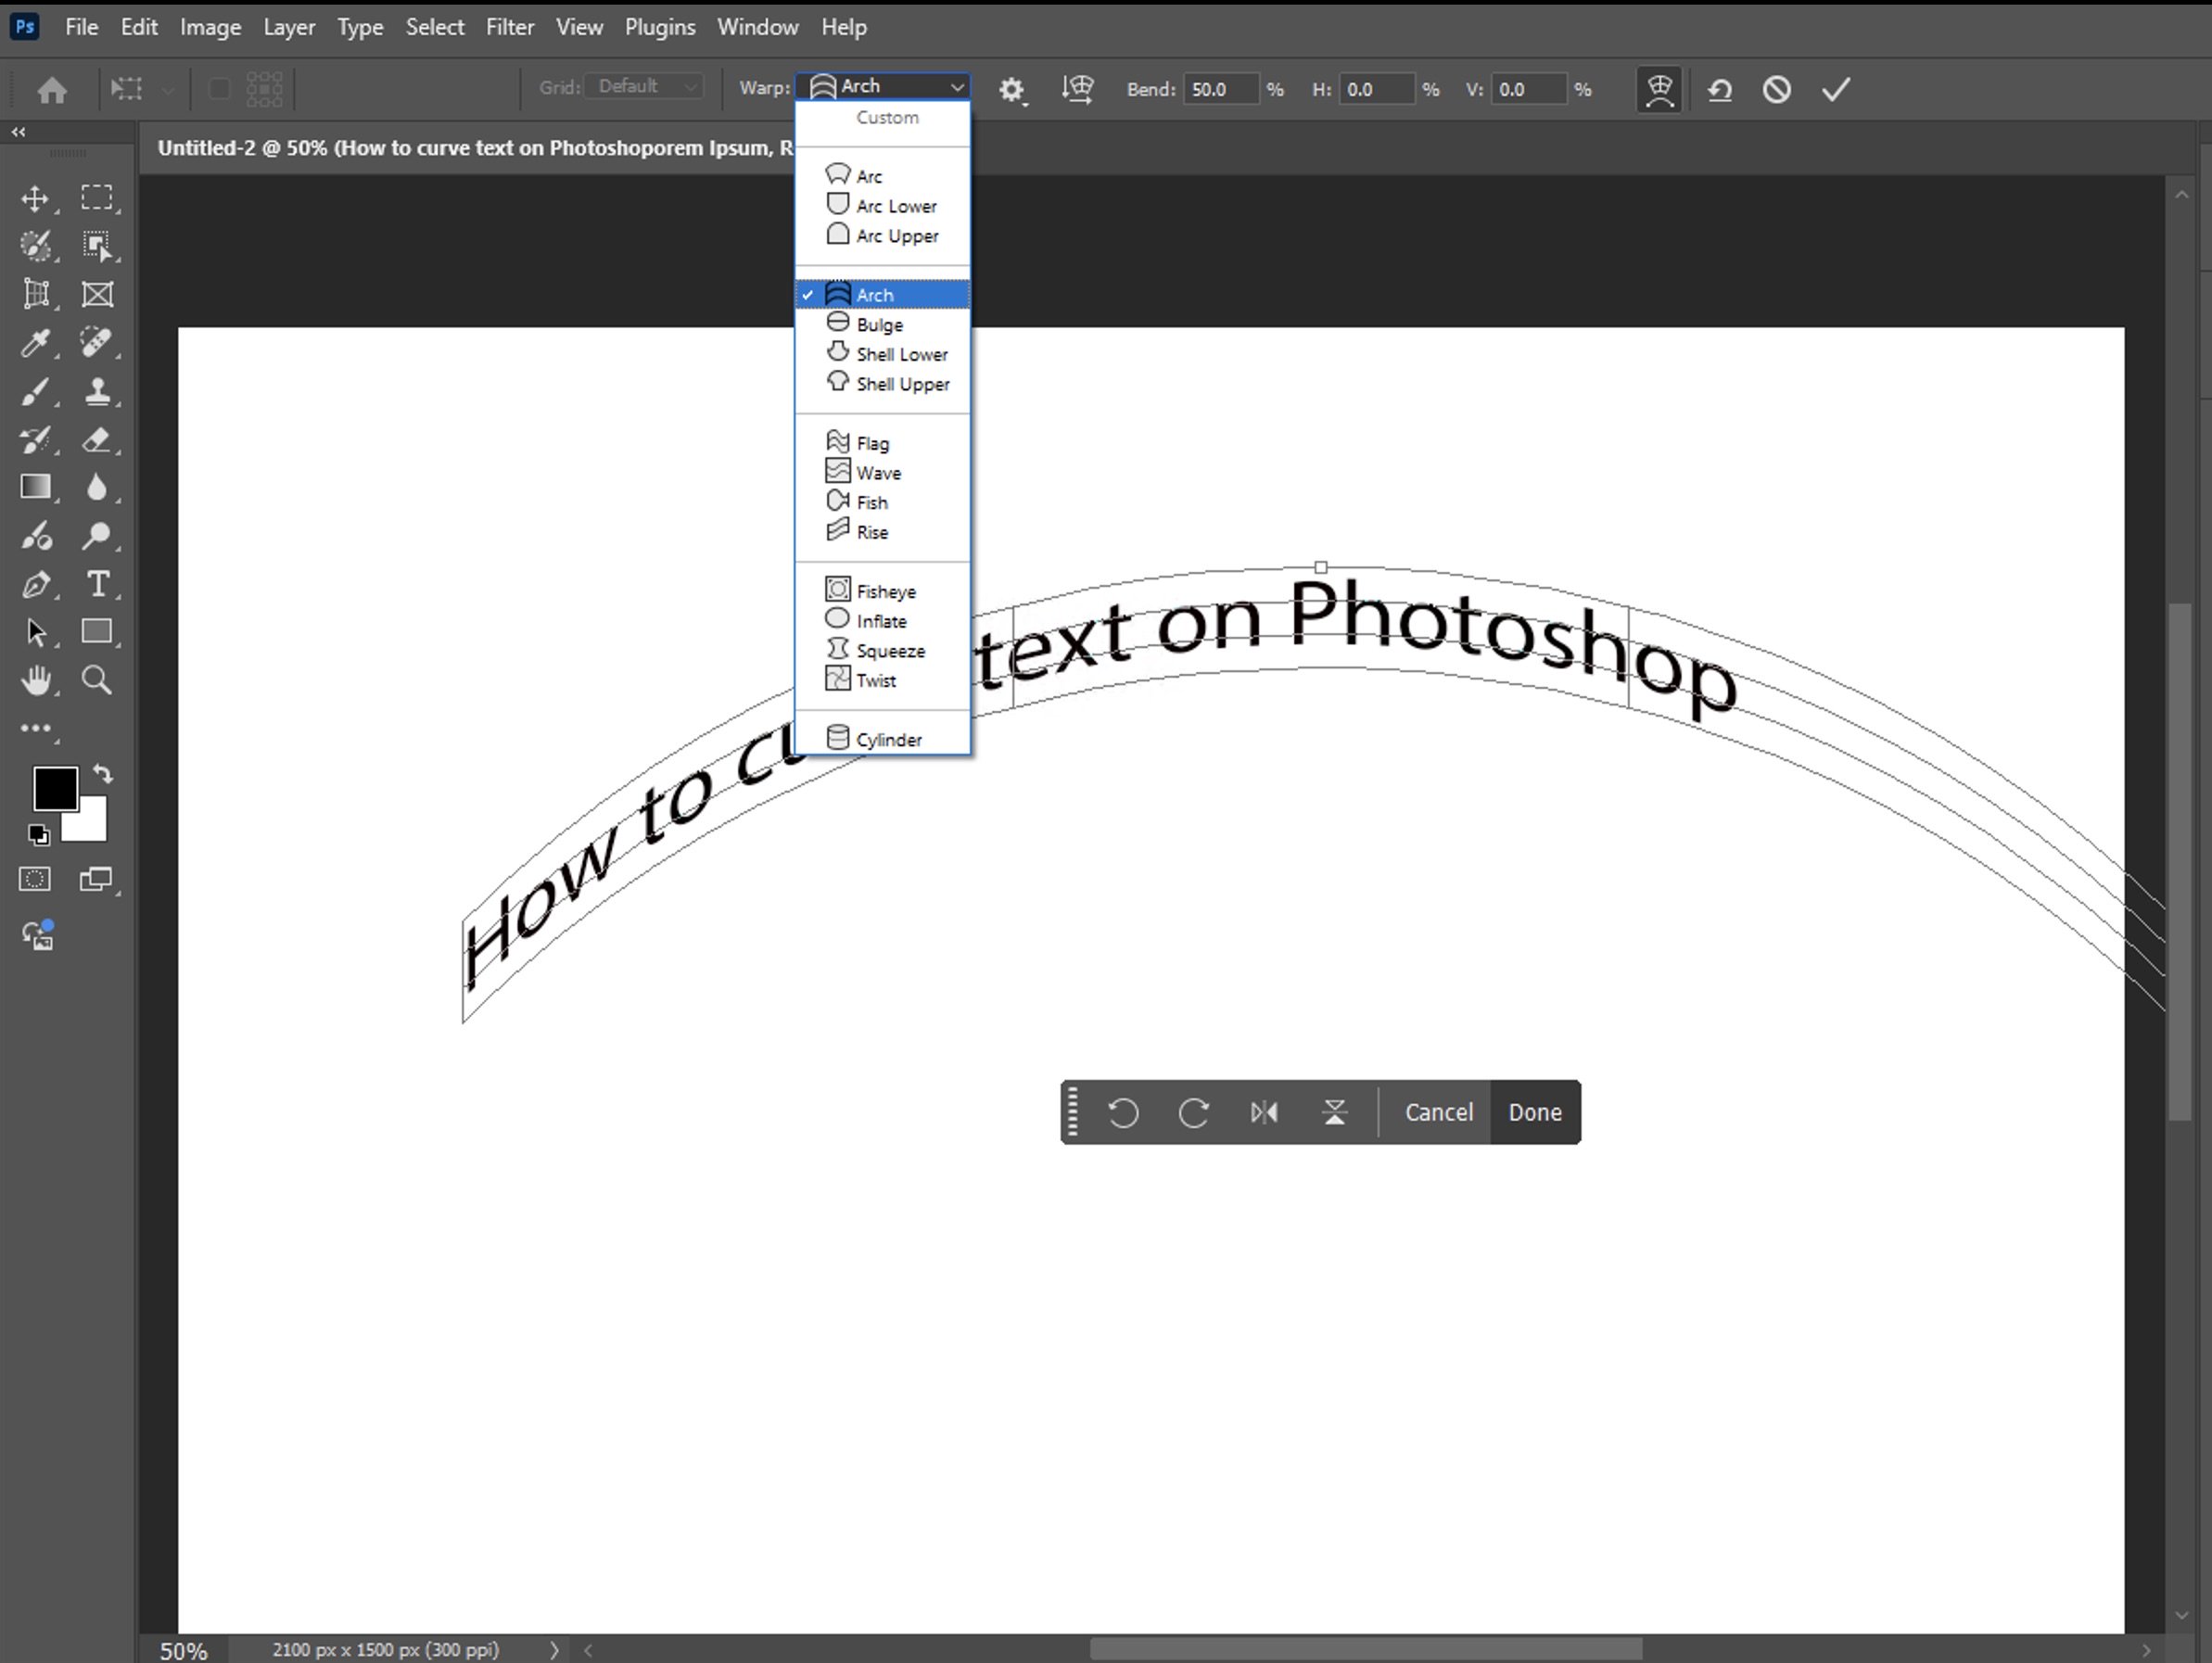
From the Warp dropdown menu in the options bar, select a text style:
For a simple arch, choose “Arc”
For a circular effect, try “Arc Lower” or “Arc Upper”
For a wave effect, select “Wave”
Use the Bend slider to control the intensity of the curve.
Adjust the Horizontal Distortion and Vertical Distortion sliders for additional effects.
Click the checkmark in the options bar or press Enter to apply the warp.
You can always return to edit text after applying the warp by selecting the text layer and accessing the warp options again. This flexibility makes it easy to refine your text effect until it’s perfect.
Text on a Curved Path
For more control over your curved text, you can place text along a custom curved path:
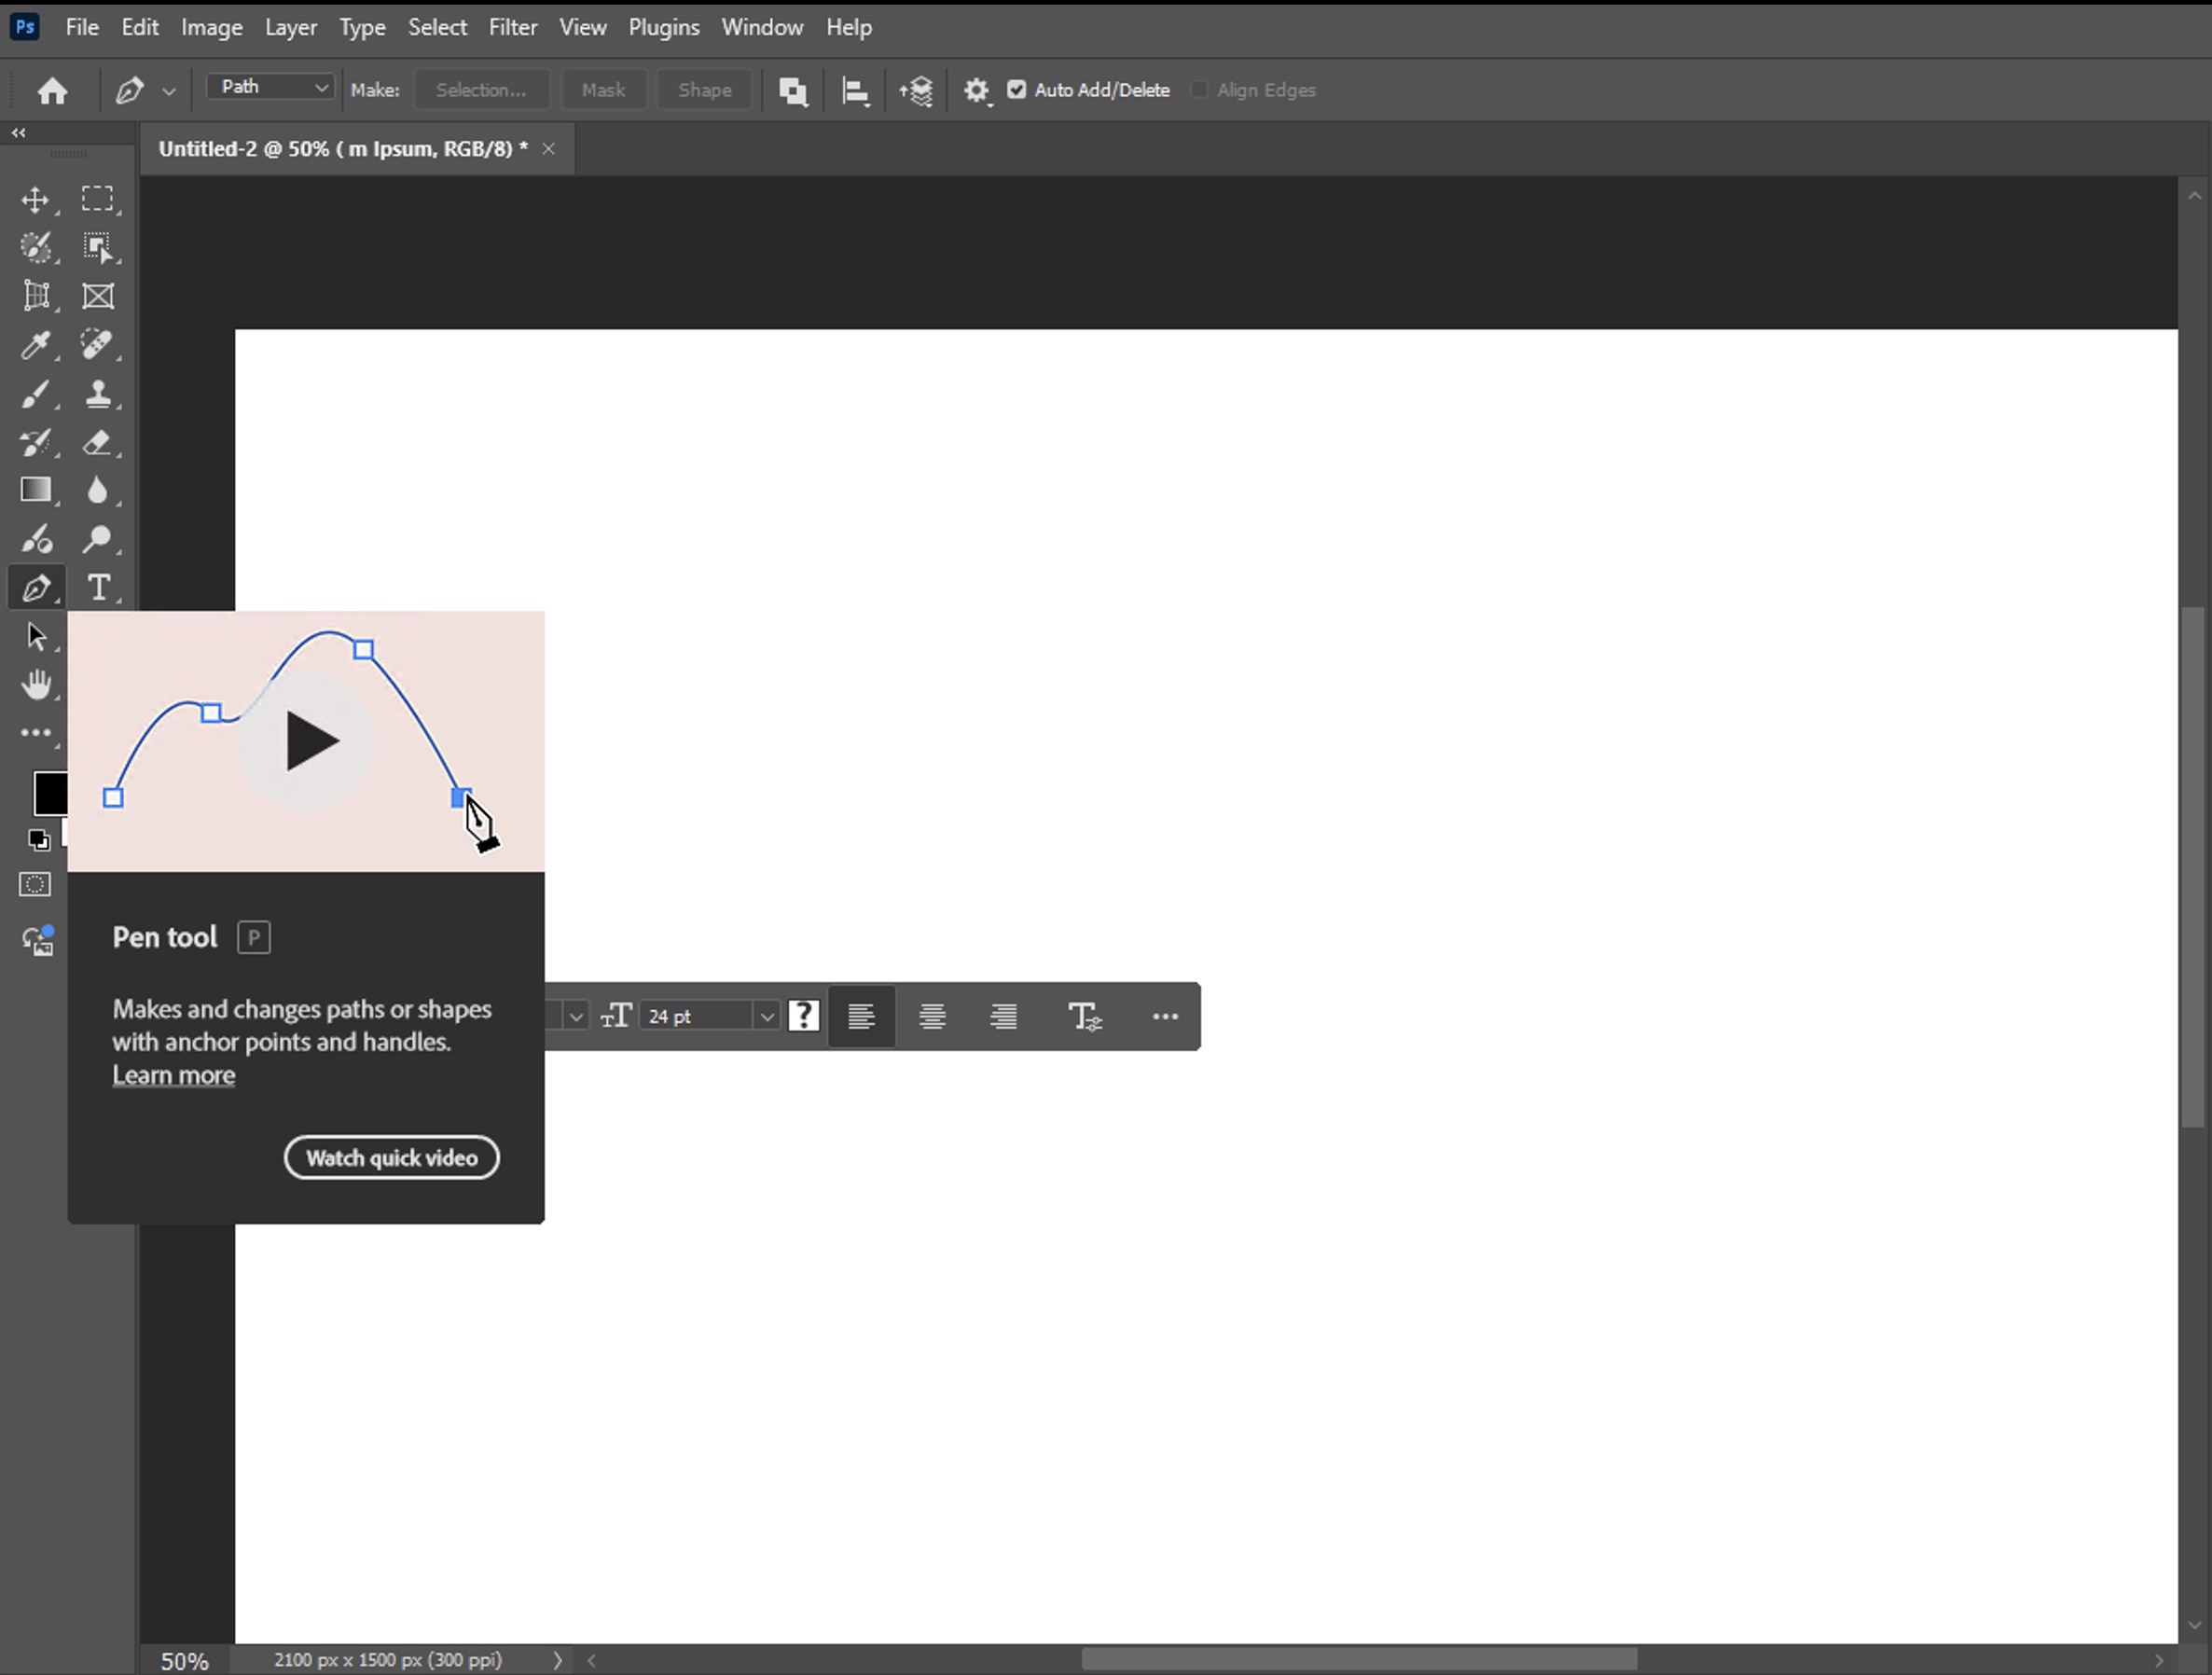
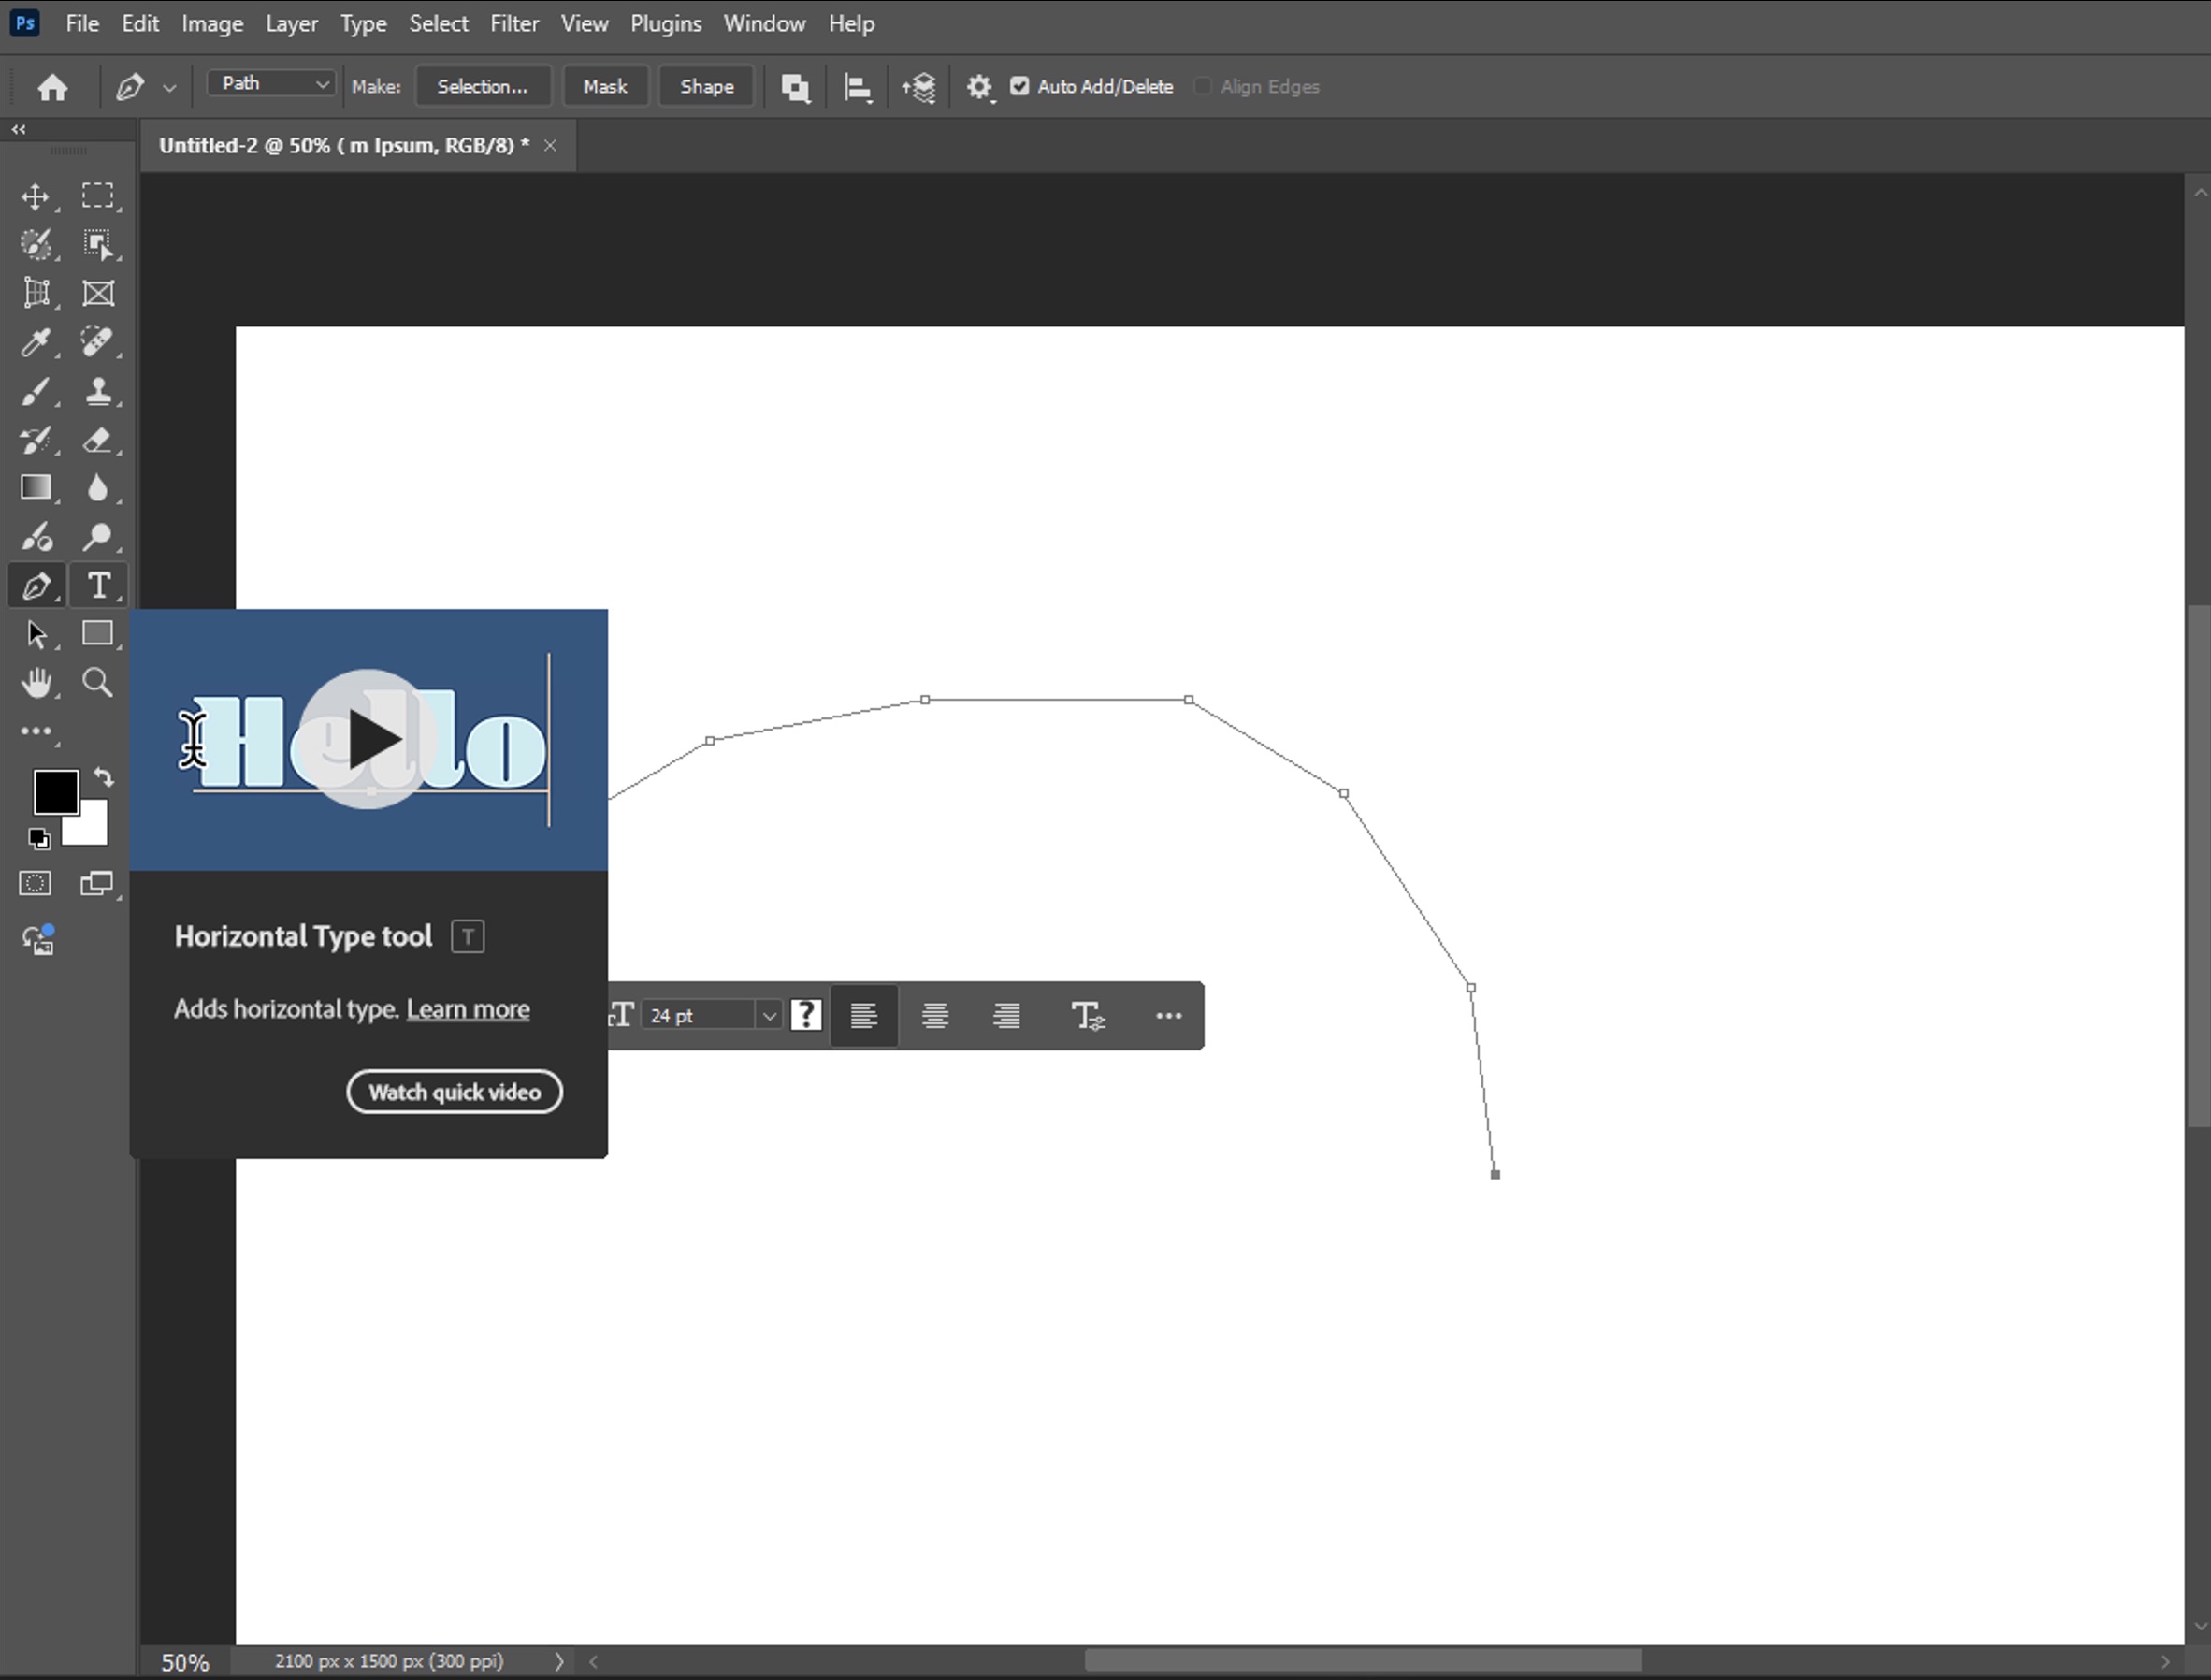
Select the Pen Tool (P) or any shape tool like the Ellipse Tool (U) to function as your path tool.
Draw the path or shape you want your text to follow. For a circle, hold Shift while using the Ellipse Tool.
Select the Text Tool (T) from the toolbar.
Hover your cursor over the path until you see a small curved line appear on your cursor.
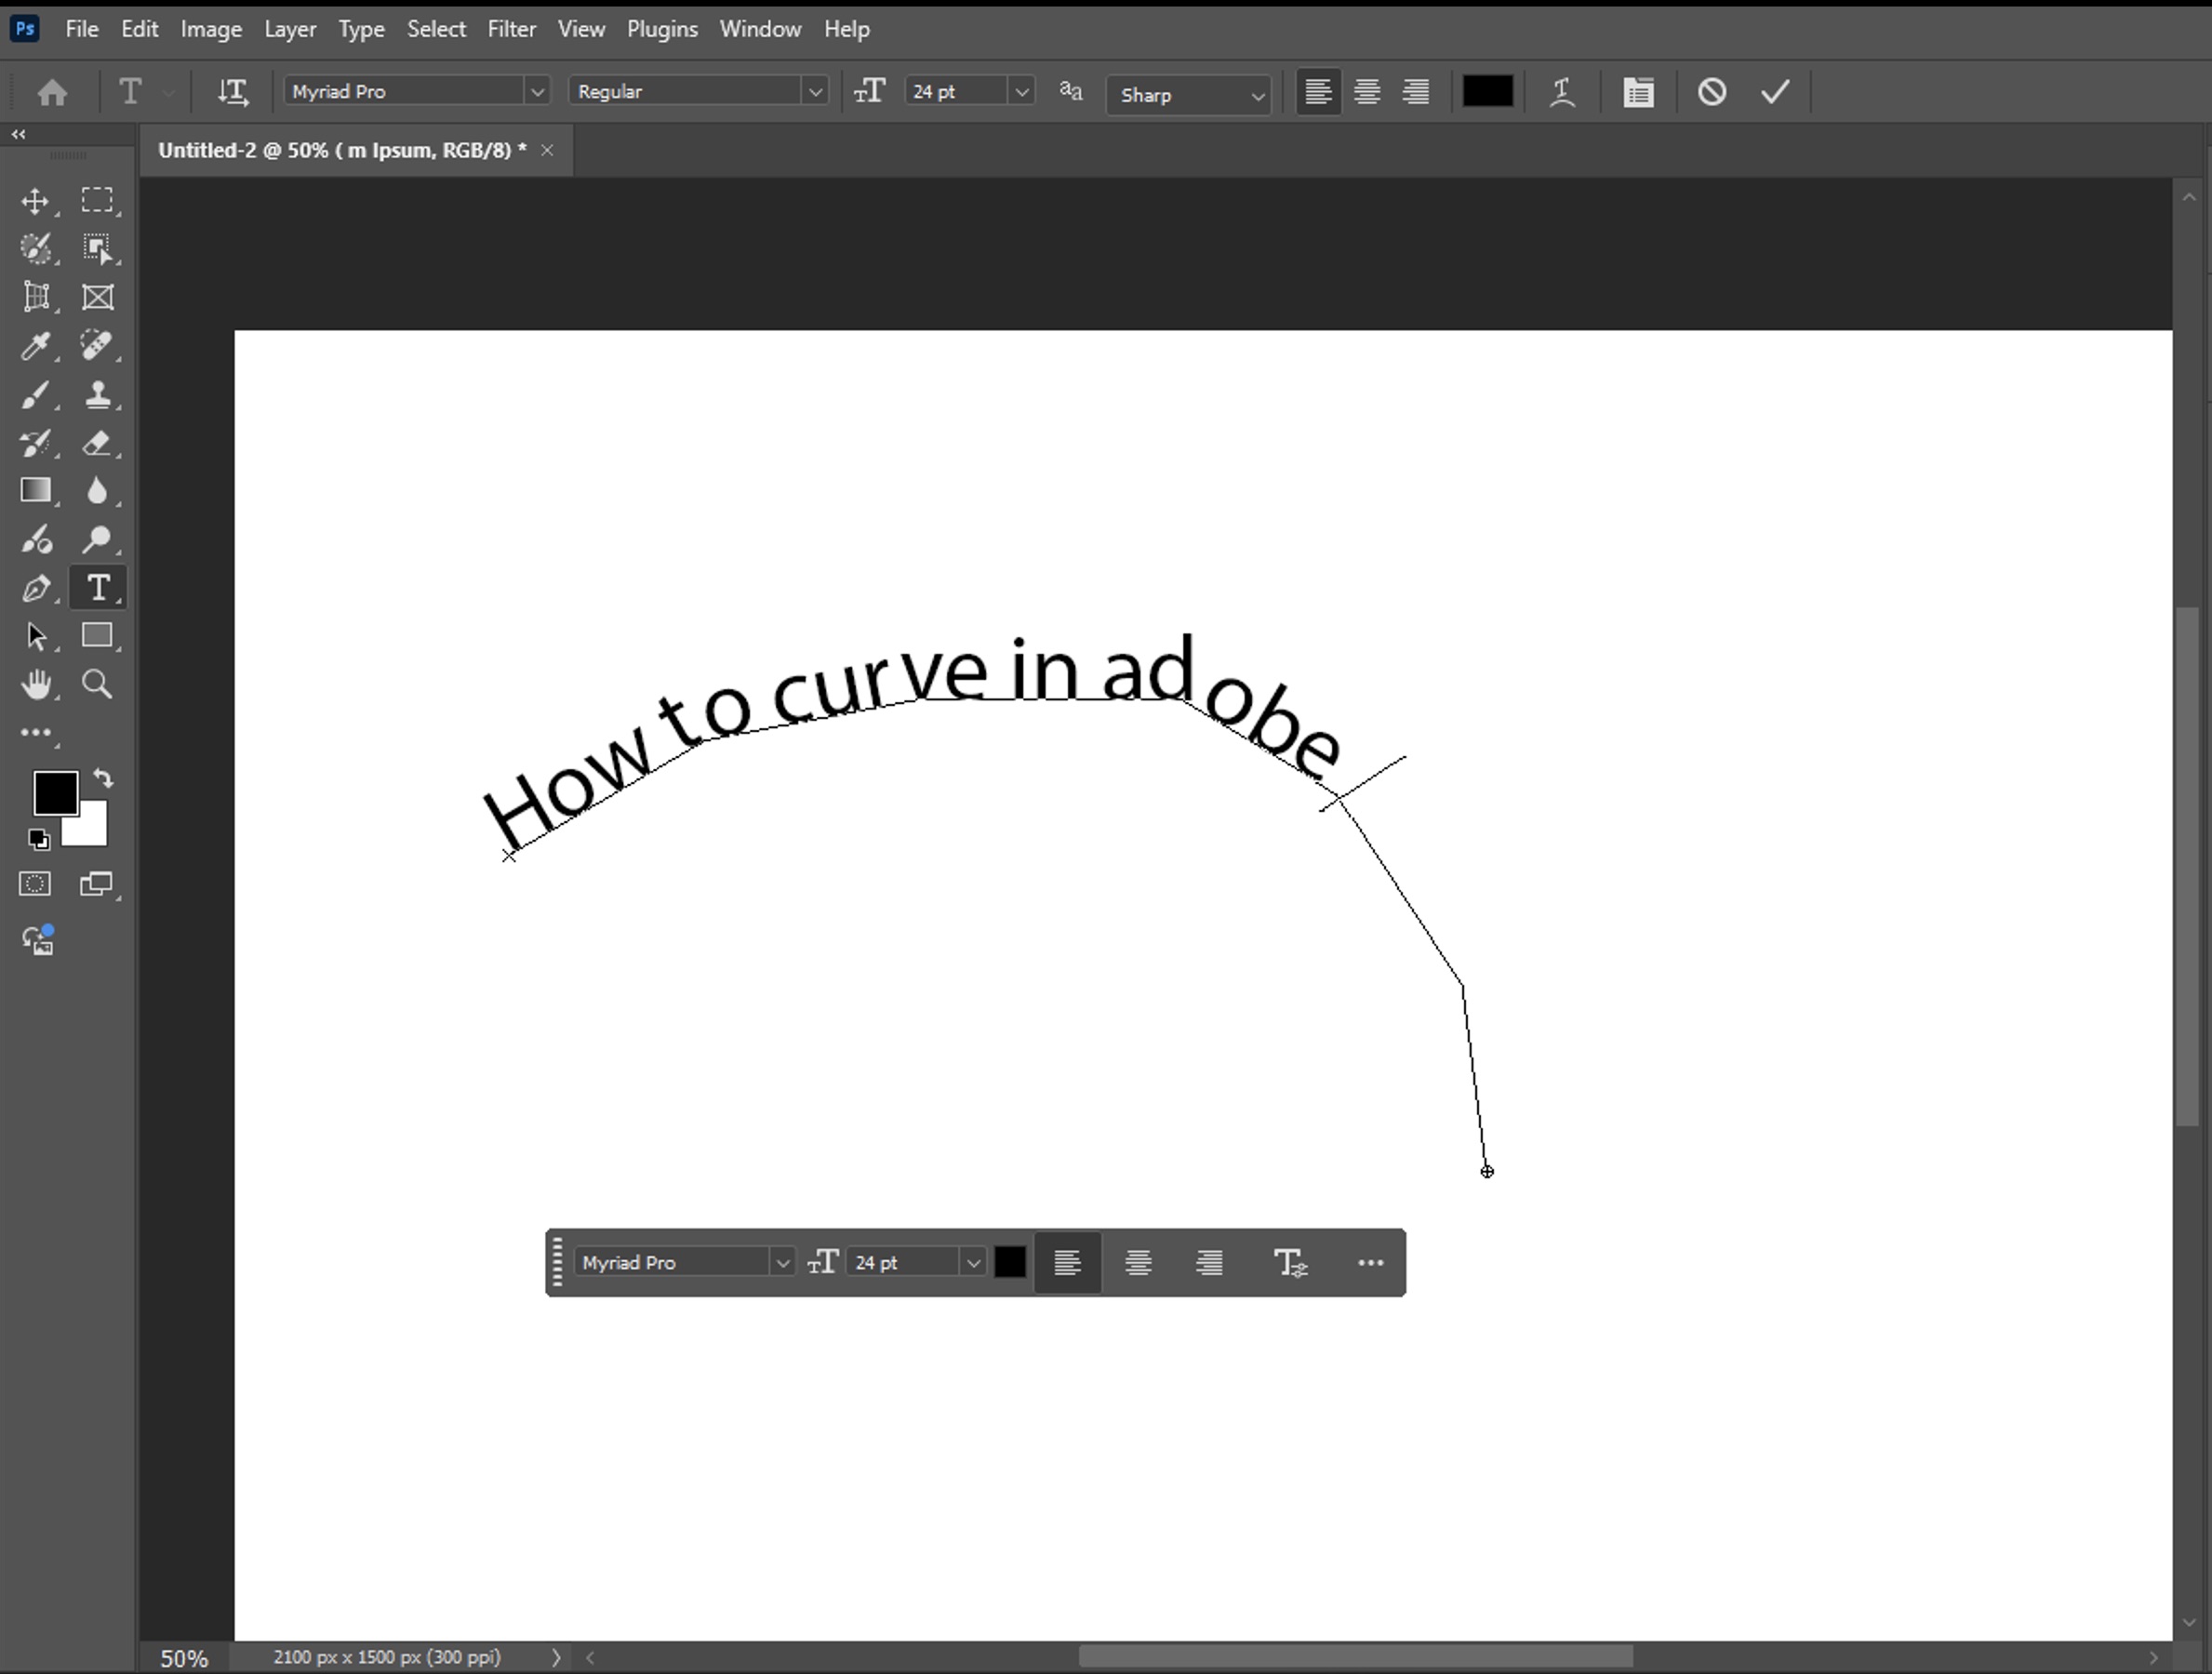
Click on the path where you want your text to begin and type your message.
To flip text to the outside or inside of a circle, go to Layer > Type > Vertical Type Orientation.
To adjust the starting position, use the Path Selection Tool (A) and drag the text along the path.
To change the baseline shift (how far the text sits from the path), highlight your text and adjust the baseline shift in the Character panel.
Following this guide allows you to precisely control the shape of the text curve and is particularly well suited for circular logos or text that needs to follow certain contours in a design.
Tips for Perfect Curved Text
For logo designs and stunning designs in general, keep curved text simple and legible – excessive curving can reduce readability.
When creating circular text, use a larger text size than you might normally choose, as curving can make text appear smaller.
Adjust letter spacing (tracking) in the Character panel when curving text to prevent awkward gaps or overcrowding.
For text inside a circle, you’ll often need to reduce tracking (letter spacing), while text outside a circle may need increased tracking.
After creating curved text, you can still edit text content and formatting as needed – it remains fully editable text.
Create a Smart Object of your text layer before applying additional effects to preserve editability.
Consider adding a slight outer glow or drop shadow to curved text to help it stand out against complex backgrounds.
For more advanced text effects, try combining curved text with layer styles like emboss, gradient overlays, or stroke effects.
When working with backgrounds that make text placement difficult, consider using Generative Fill to create a clean area for your text to stand out.
Save your curved text designs as PSD files to preserve layers and editability for future modifications.
Other Photoshop guides and tutorials on text effects in various applications, as well as photo editing techniques and typography techniques can be found in the guides section. Also all software that is considered in these guides can be downloaded in the section – software.
To summarize, if you don’t master these techniques for working with curved text, you’ll have a hard time competing in our design niche, but if you carefully study everything I offer for training, you’ll add a powerful design element to your toolkit that can beautify logos, posters, social media graphics, and any project that requires dynamic typography. Experiment with different paths, warp settings and text formatting to create truly unique curved text effects for your projects.