How to Feather Edges in Photoshop Easier Than Walking

How to Feather Edges in Photoshop

Edging in Adobe Photoshop is an essential skill for someone just starting out in photo design, as well as for masters of the craft. It’s much nicer to see smooth transitions instead of sharp, jagged edges, thereby giving images a more natural and polished look. Whether you’re creating photo compositions, removing backgrounds (we have a great guide on this procedure, by the way), or developing graphics, mastering the pen effect will greatly improve your photo editing results. Now I’ll try to describe everything you need to know about creating feather edges in Photoshop, from basic methods to advanced techniques in the Adobe Creative Cloud ecosystem.

Understanding Feathering and When to Use It

Feathering creates a gradual transition between selected areas and the surrounding image by partially selecting edge pixels at the boundary. The feather radius determines how far this partial selection extends – a larger radius creates a softer, more gradual transition, while a smaller radius maintains more definition.

The difference between hard edges and soft edges is crucial in professional photo editing:

  • Hard edges create distinct, sharp boundaries between elements
  • Feathered edges create smooth, blended transitions
  • Blurred edges (an extreme form of feathering) completely obscure the exact boundary

Feathering is particularly useful for:

  • Creating natural-looking photo composites where objects need to blend seamlessly
  • Softening portrait edges against new backgrounds
  • Making vignette effects where the edges fade gradually
  • Creating soft-edged masks for subtle adjustments
  • Converting sharp edges to smooth edges when integrating elements from Adobe Illustrator
  • Adding realistic depth to objects by softening their boundaries

To get an original and cool result, you need to know when to apply feathering and choose a feathering radius that matches the resolution of your project. A 5-pixel pen may be ideal for web graphics, but barely visible on high-resolution printed images.

Basic Feathering Methods

Feathering with Selection Tools

The simplest way to create a feathered selection is to add feathering while making your selection:

  1. Choose a selection tool such as the Rectangular Marquee Tool or Lasso Tool
  2. Look in the options bar at the top of the screen for the “Feather” setting
  3. Enter your desired feather radius (in pixels)
  4. Make your selection
  5. The selection will automatically have feathered edges

While the Marquee Tool is ideal for geometric selections with feathery edges, the Lasso Tool lets you create shapes with smooth edges. For greater precision, the Magnetic Lasso can follow the edges while applying feathering adjustments..

Feathering Existing Selections

If you’ve already created a selection and want to feather its edges:

  1. With your selection active, go to Select > Modify > Feather
  2. Enter your desired feather radius in the dialog box
  3. Click OK
  4. Your feathered selection will now show the characteristic dotted line with softer edges

This method gives you the flexibility to experiment with different feather amounts by undoing (Ctrl+Z/Cmd+Z) and reapplying with a different value.

Using Quick Mask Mode for Visual Feathering

Quick Mask mode provides a visual way to create and refine feathered selections:

  1. Make an initial selection or enter Quick Mask mode directly by pressing Q
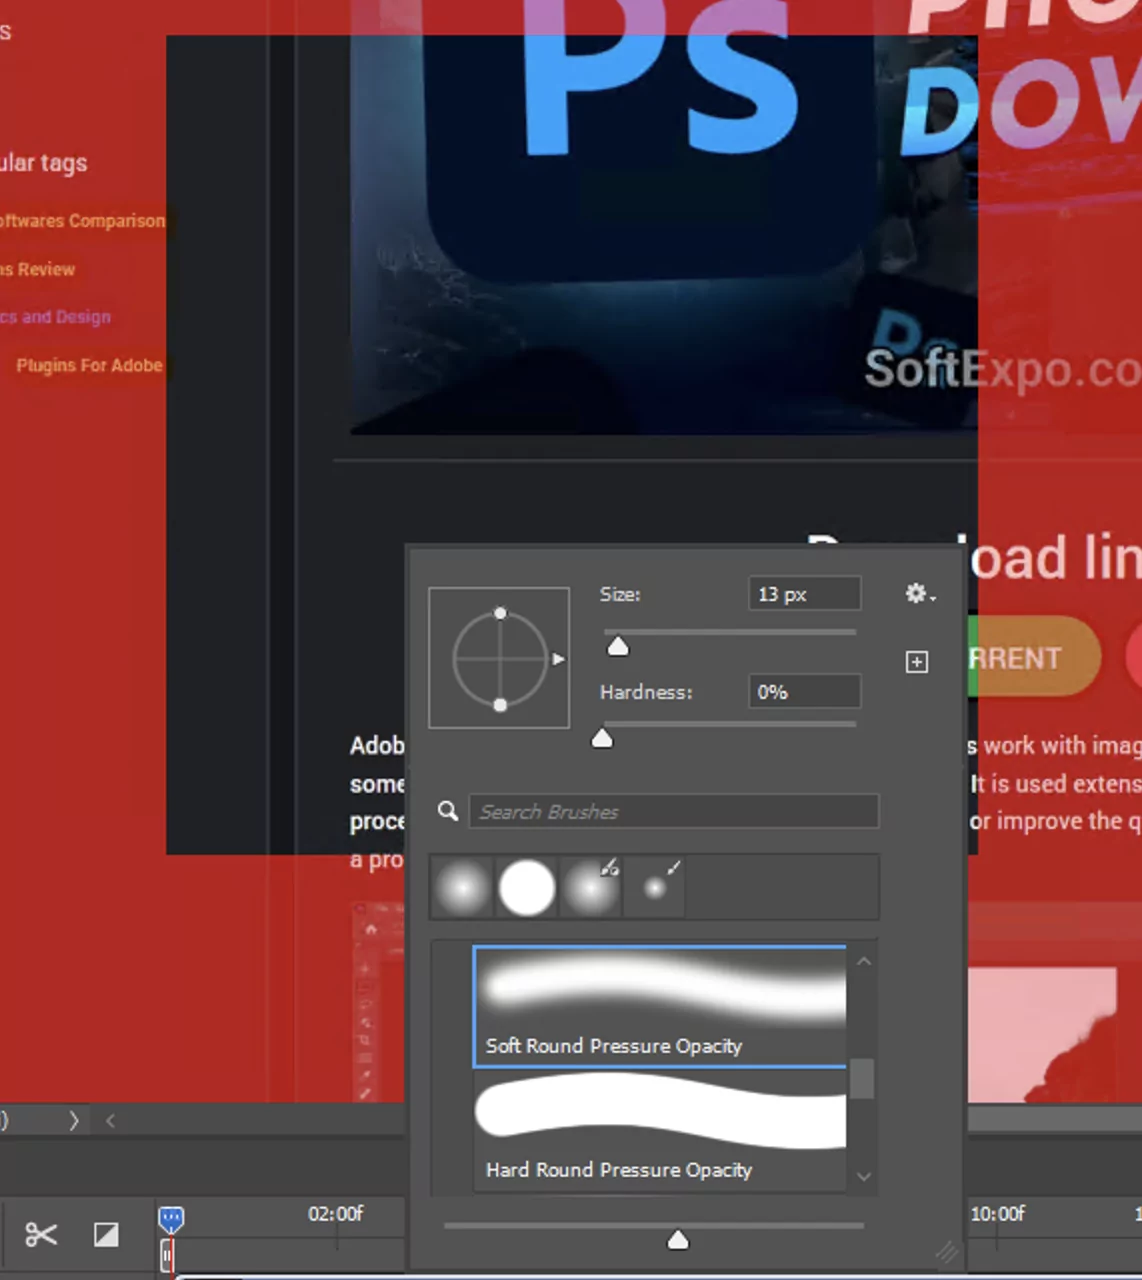
  2. In Quick Mask mode, your selection appears as a red overlay
  3. Use brush strokes with varying opacity to define your selection edges
    • A soft brush creates feathered edges
    • A hard brush creates sharp edges
  4. Adjust the brush opacity to control the feathering intensity
  5. Press Q again to exit Quick Mask mode and convert your mask to a selection

I recommend using it when you need to give different degrees of feathering in different areas of the selection.

Using Select and Mask for Precise Feathering

For more control over your feathered edges, especially with complex subjects like hair or fur:

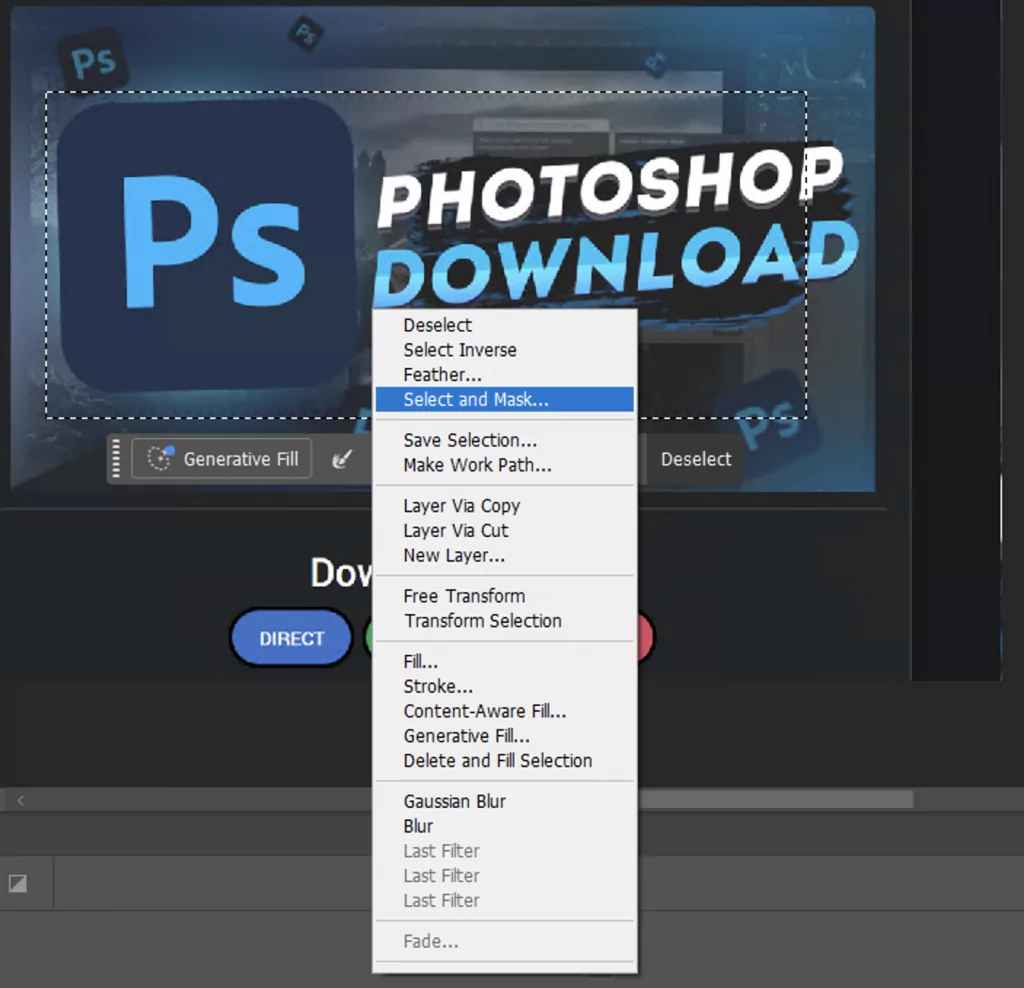
  1. Create an initial selection around your subject
  2. Click the “Select and Mask” button in the options bar (or go to Select > Select and Mask)
  3. In the Properties panel, adjust the “Feather” slider to soften the selection edge
  4. Use the “Smooth” slider to remove jagged edges
  5. Use “Shift Edge” to expand or contract the selection boundary
  6. Click OK to apply the changes to your selection

The Select and Mask workspace also offers advanced tools like the Refine Edge Brush, which is perfect for feathering tricky areas like hair against complex backgrounds.
Advanced Feathering Techniques

Layer Masks with Feathered Edges

For the most flexibility, apply feathering to a layer mask:

  1. Start with your image on an image layer
  2. Create a new layer for the element you want to have feathered edges
  3. Make a selection of your subject
  4. Add a layer mask to your layer by clicking the “Add Layer Mask” button at the bottom of the Layers panel
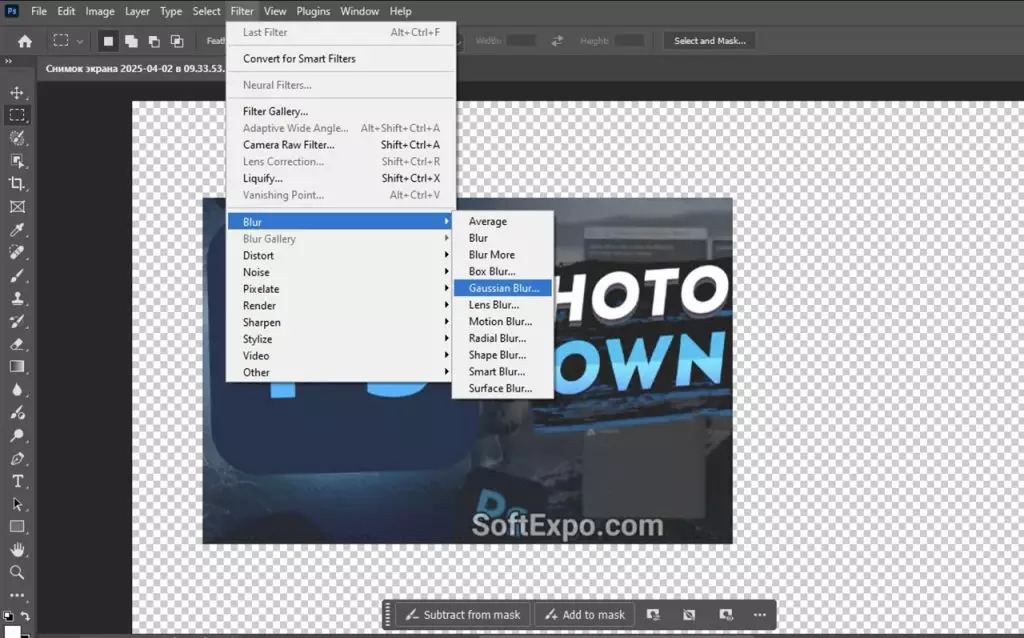
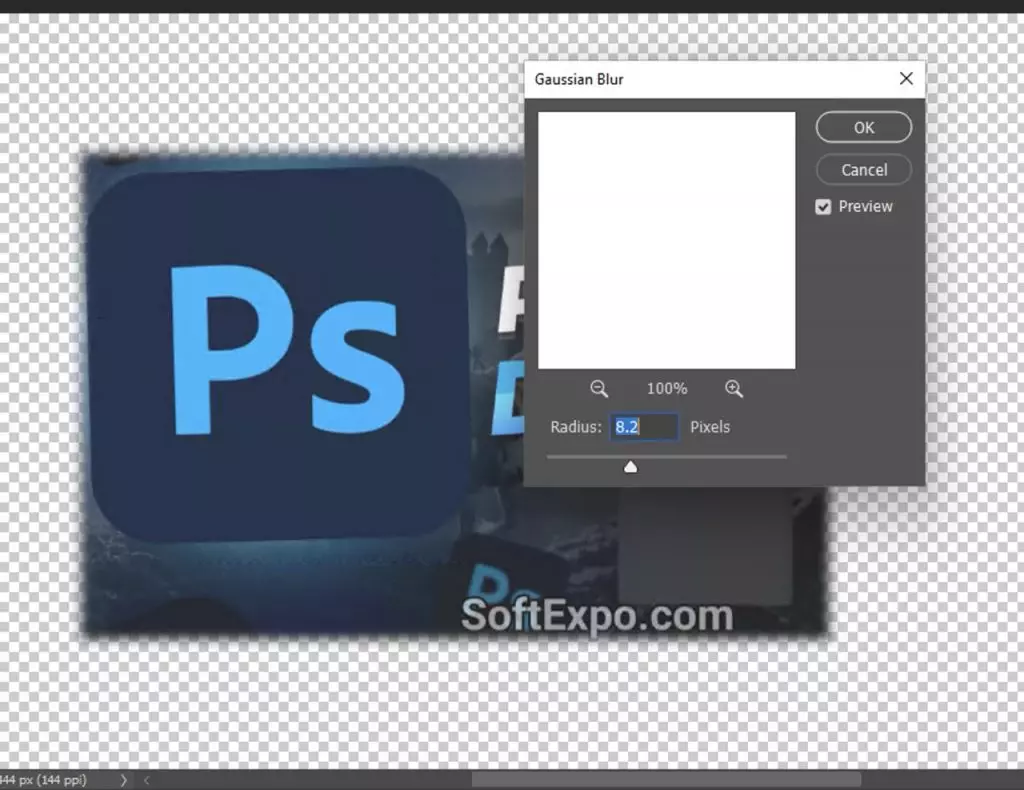
  5. With the mask selected, go to Filter > Blur > Gaussian Blur
  6. Adjust the blur radius to control the feathering amount
  7. Click OK to create a feathered image effect

You can use it when you want to adjust the feathering amount at any time by double-clicking the layer mask and changing the amount of blur. You can also use different brush strokes to manually refine the edges of the mask to change the amount of blur in different areas.
Important: If you do not know where to get brushes for photoshop, then read this guide “How to Install Brushes in Adobe Photoshop

Gradient-Based Feathering

For even more control, create custom feathered edges with gradients:

  1. Make a selection around your subject
  2. Add a layer mask to your layer
  3. Select the Gradient tool (G)
  4. Choose a black-to-white gradient
  5. Draw a gradient across the areas where you want the feathering to occur
  6. The white areas of the gradient will be fully visible, black areas will be transparent, and the gradient transition creates the feathering effect

This variant of feathering allows you to achieve more control than the standard feathering strange that for often it is not specified in the Photoshop tutorial, because it gives the opportunity to directional feathering – stronger in some areas and more subtle in others.
 

Troubleshooting Common Feathering Issues

  • Feathering not visible: If your feather radius is too small for the image resolution, increase it. As a rule of thumb, high-resolution images require larger feather values.
  • Halo artifacts: When compositing feathered selections onto new backgrounds, you might see color halos from the original background. Use the “Decontaminate Colors” option in Select and Mask to reduce this issue.
  • Unwanted transparency: If feathering makes parts of your subject too transparent, try using a layer mask with a steeper gradient transition or reduce your feather radius.
  • Inconsistent edges: For selections with both hard and soft areas (like a building against clouds), use Quick Mask mode to paint different feathering amounts in different areas.
  • Blurred edges too extreme: If your edge feathering creates too much blur, try using a smaller feather radius and build up the effect gradually.

Here we’ve taken a look at the basic, and beyond, options for edge feathering in Adobe Photoshop. With practice, you’ll develop the intuition to choose the right degree of fade for each project, and transform your images from amateur to professional with this simple yet powerful technique. Unlike other applications in the Adobe Creative Cloud suite, Photoshop offers you a variety of feathering approaches that can be combined to achieve the perfect result.
 

And if you need to learn even more about working with Adobe applications, then go to our guides section, there will be a huge amount of diverse information. And of course you have the opportunity to download a variety of software from our site, at this link! Thank you for your attention, I look forward to your comments below!
 

Discussion on How to Feather Edges in Photoshop Easier Than Walking

Tips, Help With Activation, Sharing Cracks