Categories
Popular tags

All rights reserved © 2025
Categories
All rights reserved © 2025
How to make a GIF in Photoshop: If No Other Software Available
I think in today’s world you need to be on trend and follow what’s on the hype, for example stickers on social media, and what could be even cooler, of course GIF animated videos. One tool for creating gif animations can be Adobe Photoshop, giving you full control over animation quality, timing and style. This guide is suitable for anyone using any version of Photoshop CC and will walk you through the process of creating GIFs with clear and simple steps that even beginners can follow.
Creating an Animated GIF from Video
One of the easiest ways to create an animated GIF is by importing a short video clip into Adobe Photoshop:
- Open Photoshop and go to File > Import > Video Frames to Layers.
- Select your video file and click “Open.”
- In the dialog box that appears, you can:
- Choose to import the entire video or just a selected range
- Limit the number of frames by selecting “Step” (e.g., step 2 will import every other frame)
- Select “Make Frame Animation” at the bottom
- Click “OK” to import the video frames as individual layers.
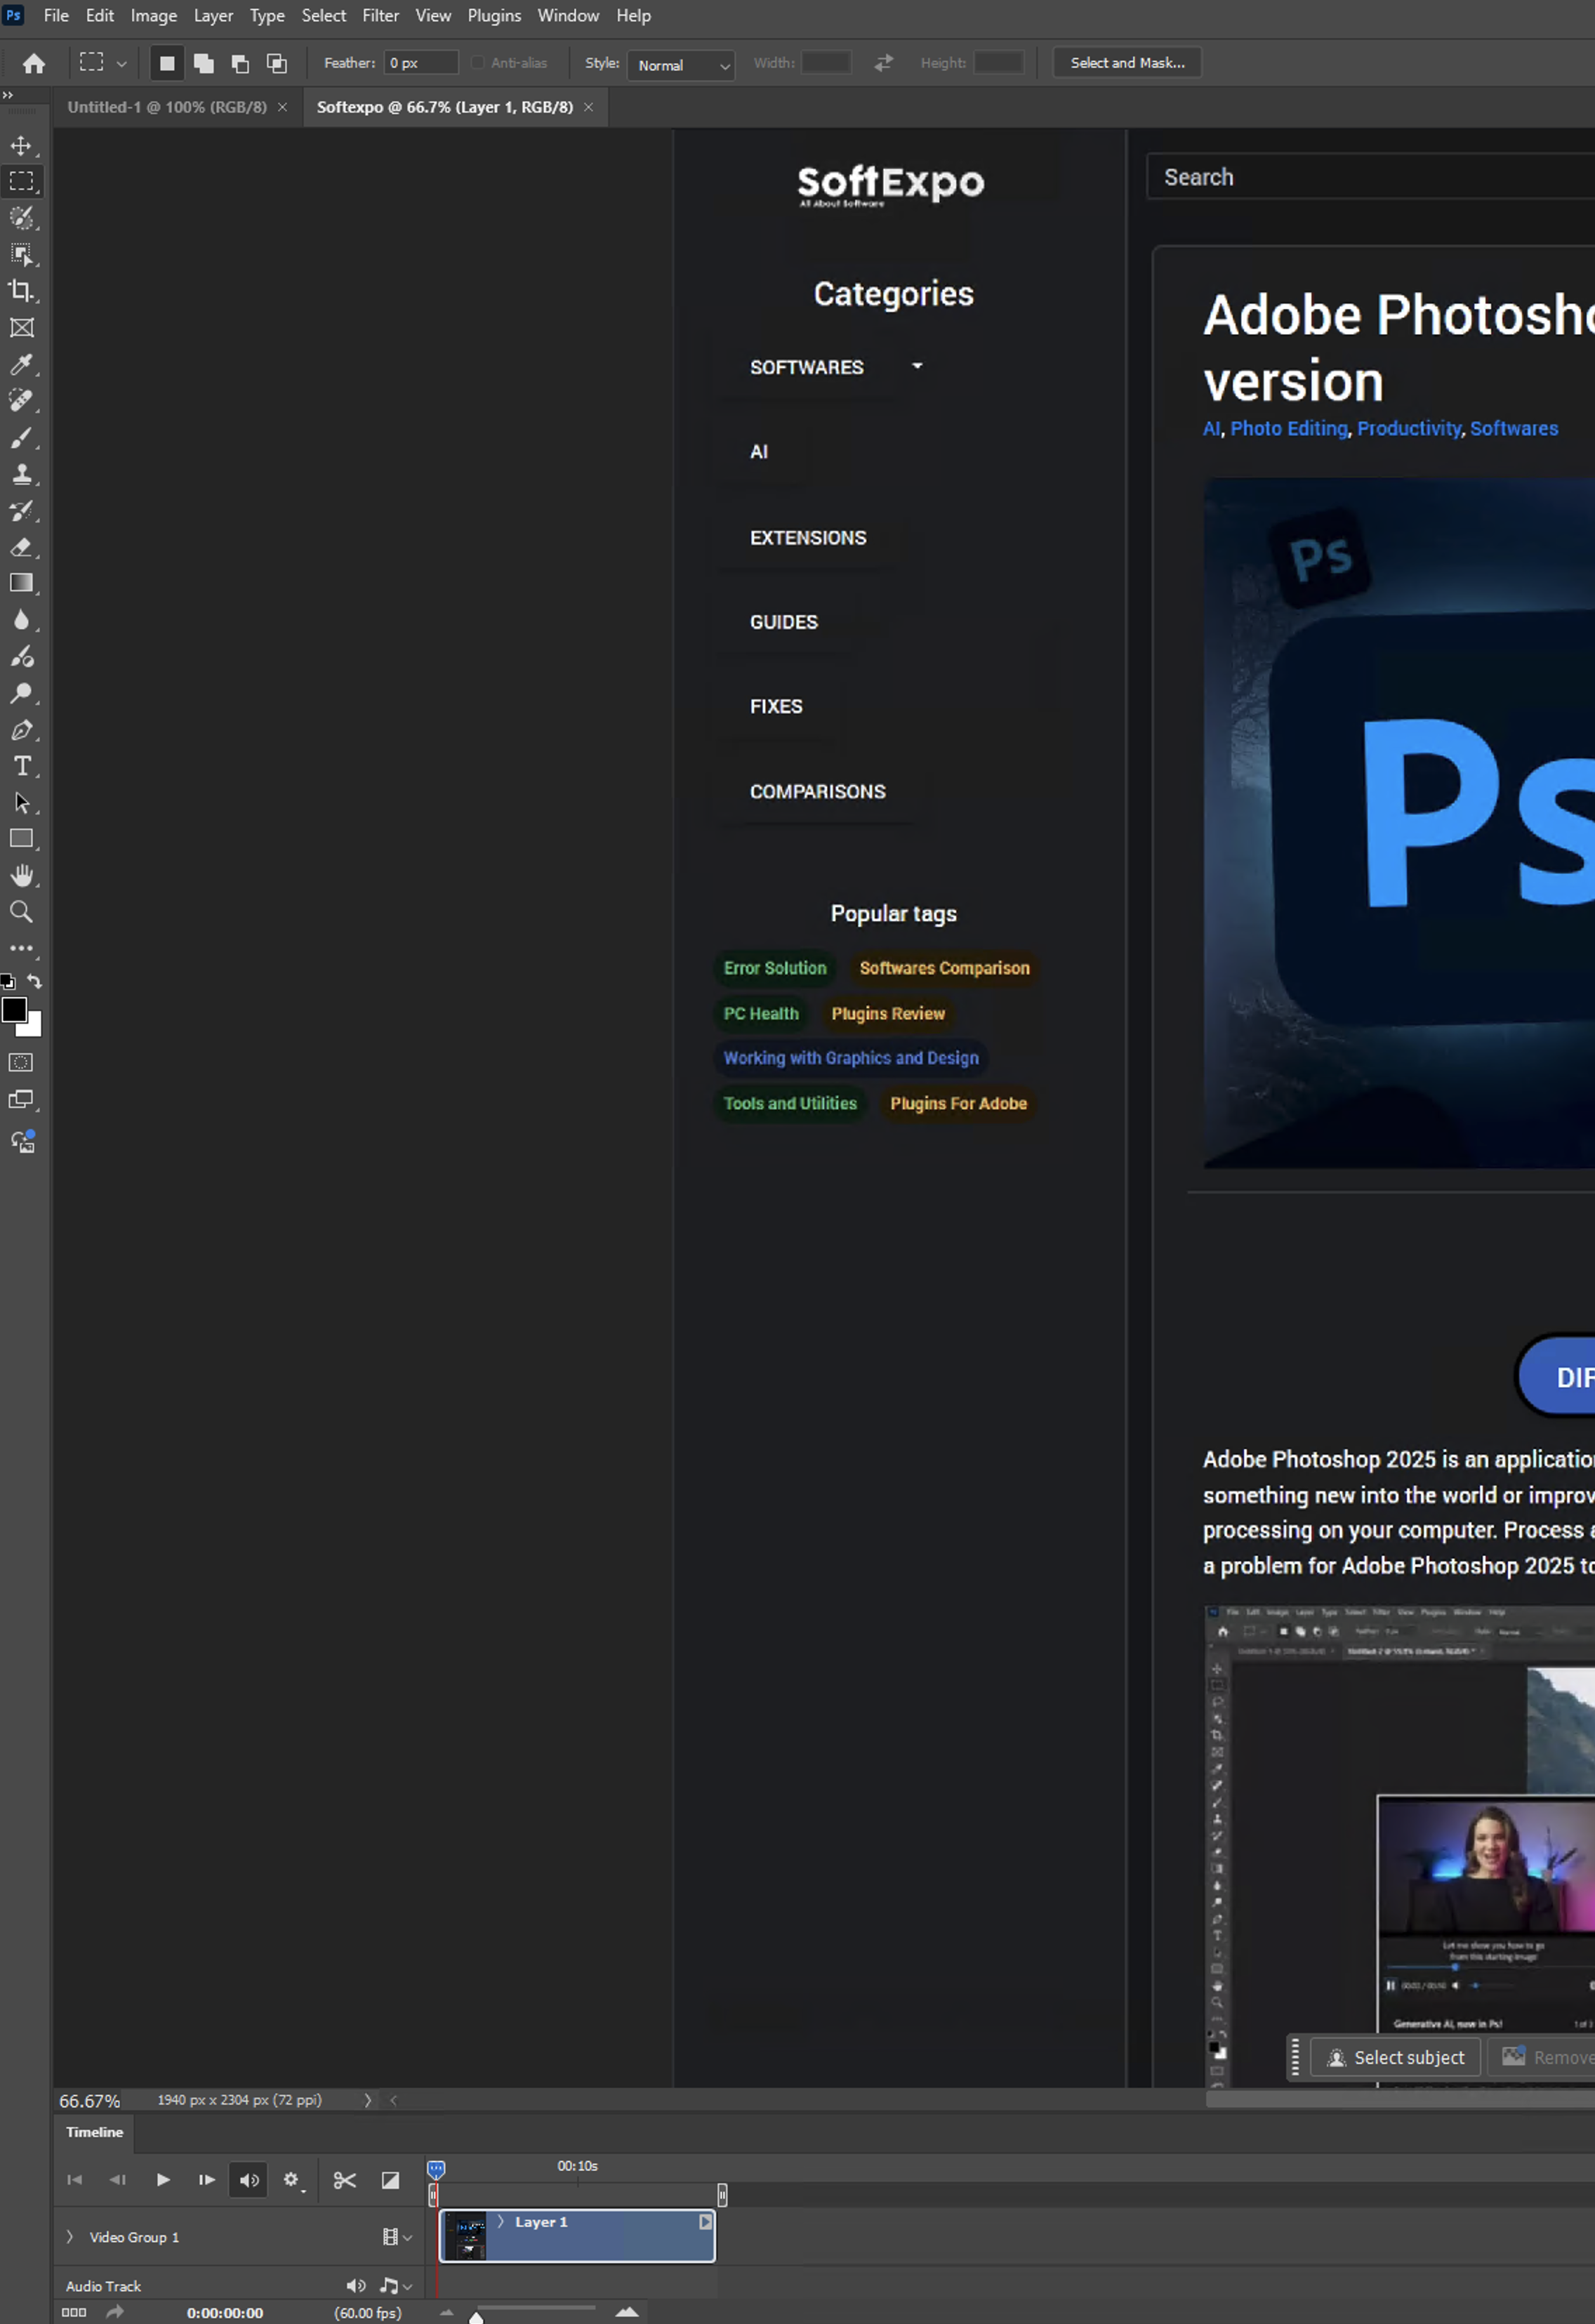
- Once imported, the Timeline panel should open automatically. If not, go to Window > Timeline.
- The Timeline will display all your animation frames. Click on the hamburger menu icon in the upper right corner of the Timeline panel and select “Make Frames From Layers.”
- To set the timing for each frame, select all frames (click the first frame, hold Shift, and click the last frame), then click on the time beneath any frame and select your desired duration.
- To test your gif animation, press the Play button at the bottom of the Timeline panel.
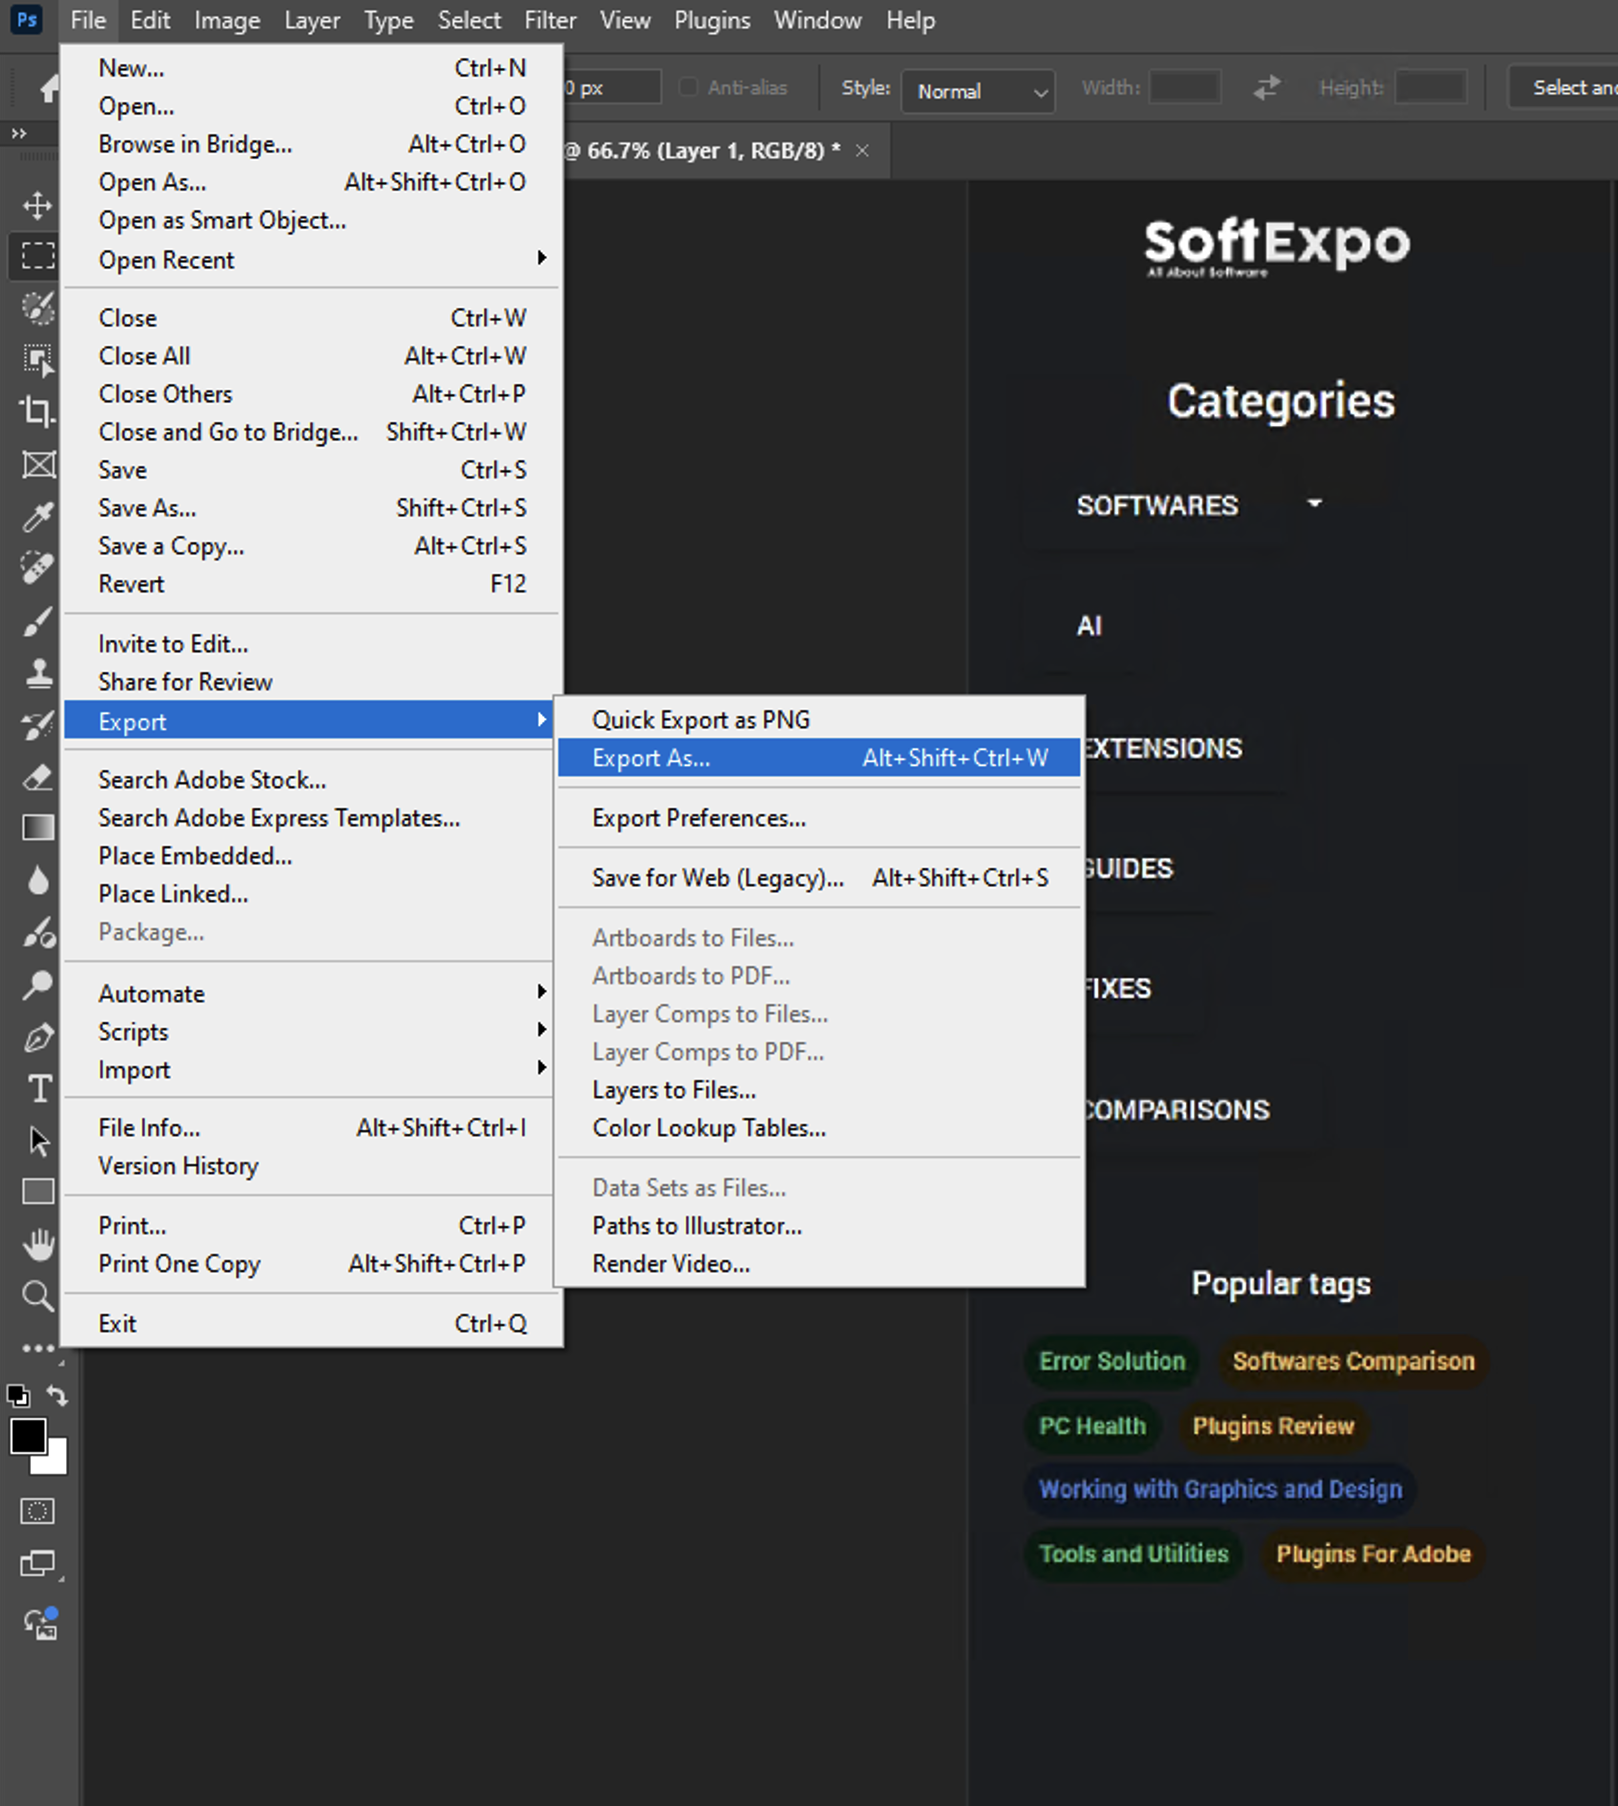
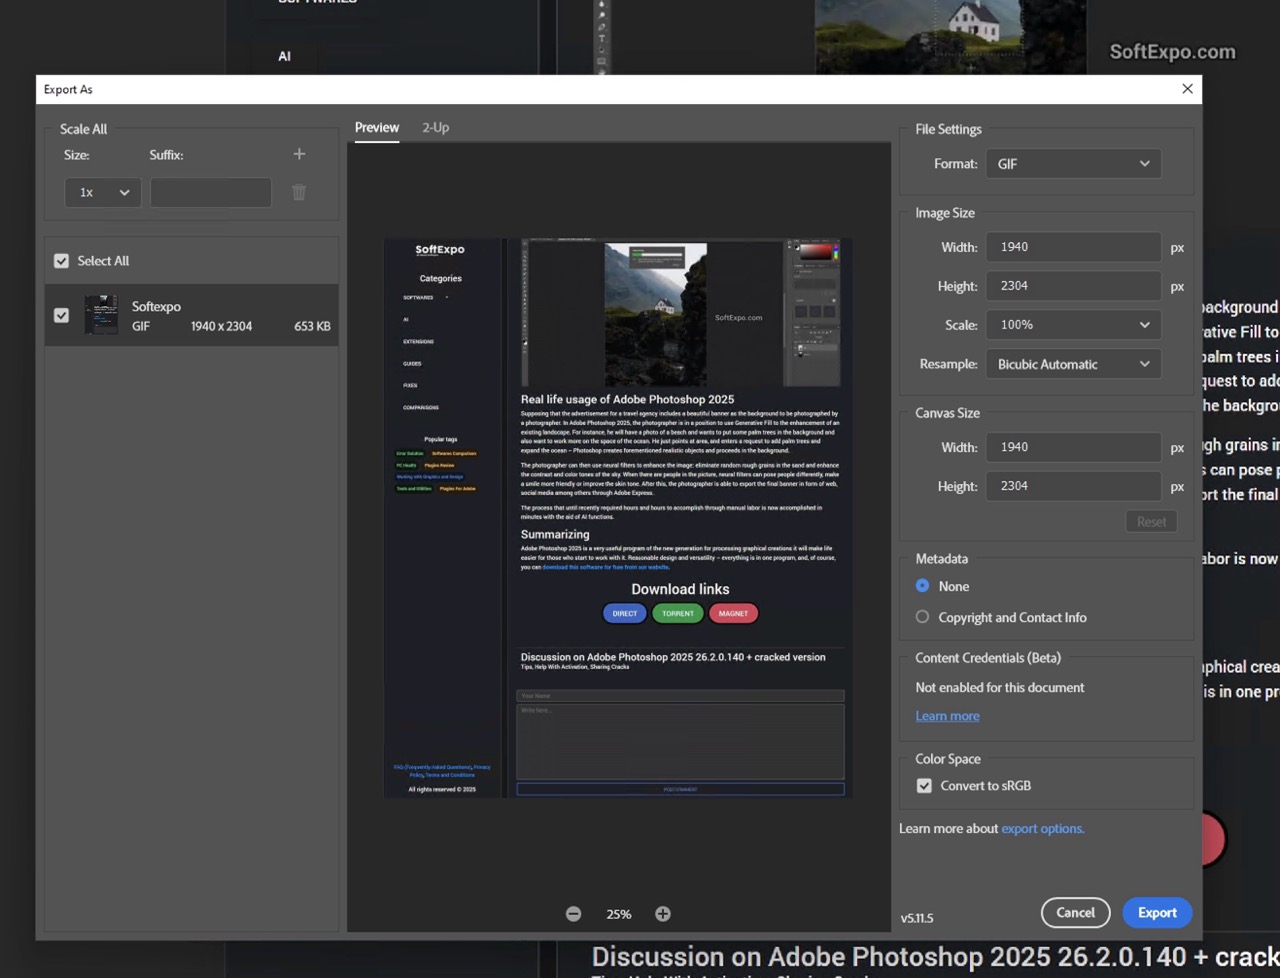
- To save your GIF, go to File > Export > Save for Web (Legacy).
- In the dialog box:
- Select “GIF” from the format dropdown to set the image file type
- Choose “Perceptual” or “Selective” in the Color Reduction Algorithm dropdown
- Adjust the number of colors (higher for better quality, lower for smaller file size)
- For better quality with fewer colors, select “GIF 128 Dithered” option
- Check “Transparency” if needed
- Select “Forever” from the Looping Options dropdown for continuous looping
- Click “Save” and choose a location for your GIF file.

Creating a GIF from Multiple Images or Scratch
If you want to create gif images from scratch or using existing image files:
- Open Adobe Photoshop and create a new document (File > New).
- Ensure your images are prepared and sized correctly.
- Import your images as layers by going to File > Scripts > Load Files into Stack. Select your images and click “OK.”
- Arrange your layers in the order you want them to appear in the animation (bottom layer will be the first frame).
- Go to Window > Timeline to open the Timeline panel.
- Click “Create Frame Animation” in the Timeline panel.
- Click the hamburger menu icon in the Timeline panel and select “Make Frames From Layers” to convert your layers into multiple frames.
- Adjust the timing for each frame by clicking on the time beneath the frame.
- Preview your animated image using the Play button in the Timeline panel.
- Follow steps 9-11 from the previous method to save your GIF in the proper gif format.
This variant gives you more control over each individual element in an animated gif, making it unmistakable for creating custom animations from scratch or combining existing images into a cohesive animation sequence.
Tips for Creating Better GIFs in Adobe Photoshop
- Keep your animated GIFs short and focused – aim for 2-5 seconds for optimal file size and impact.
- Limit your canvas size to reduce file size (500-600 pixels wide is often sufficient for web use).
- Use fewer colors when you select GIF format settings to decrease file size, especially for simple animations.
- When doing gif creation in Photoshop CC, you can use the video editor capabilities to trim and adjust your source footage before converting to frames.
- For smoother gif animation, you can select all frames and use the “Tween” button in the Timeline panel to add intermediate frames.
- Consider adding text or graphics that remain in a fixed position across all animation frames using a separate layer.
- To reduce file size, use the “Lossy” slider in the Save for Web dialog – values between 10-20 often provide a good balance between quality and size.
- If creating GIFs for social media, research the platform’s specific requirements as some may have restrictions on file size or dimensions.
- Save your Photoshop (PSD) file before exporting to GIF so you can make adjustments to your animated image later.
- For advanced users, try creating frame-by-frame animations directly in Photoshop using the brush tool for a hand-drawn animation effect.
Using everything I’ve covered in this Photoshop tutorial, you’ll be able to create professional-looking animated GIFs for social media posts, sticker sets, website banners and more. I can’t say that Photoshop’s universal tools for creating gif files are the most convenient, as there are much more simple and straightforward tools for this purpose that easily allow you to turn static images into engaging dynamic content, but if you don’t have any other tools, this is not a bad solution for gif animation. Also remember to go to razdle gaida and read other lessons on working with Photoshop or other Adobe products. Well as well as download any of the software on which you read the training, you can at this link!
