How to Resize an Image in Photoshop: Quick and Easy Guide
Resizing images is the simplest function when editing photos. But often beginners don’t know how to do it in Adobe Photoshop. Consider what kind of task is required? Do you need to adjust pixel sizes for social media, prepare images for a website, or resize photos for printing? Easy, let’s understand how to properly resize an image in Photoshop using our image as an example. Note that there is a difference between resizing an image and adjusting the canvas size so that you don’t get problems in the correct image resolution. So, how do we create a perfectly sized image with optimal quality regardless of its format?
Basic Image Resizing in Photoshop
The most straightforward way to resize an image in Photoshop is using the Image Size dialog box:
Open your image in Photoshop (works with any image format including JPEG, PNG, or even Camera Raw files).
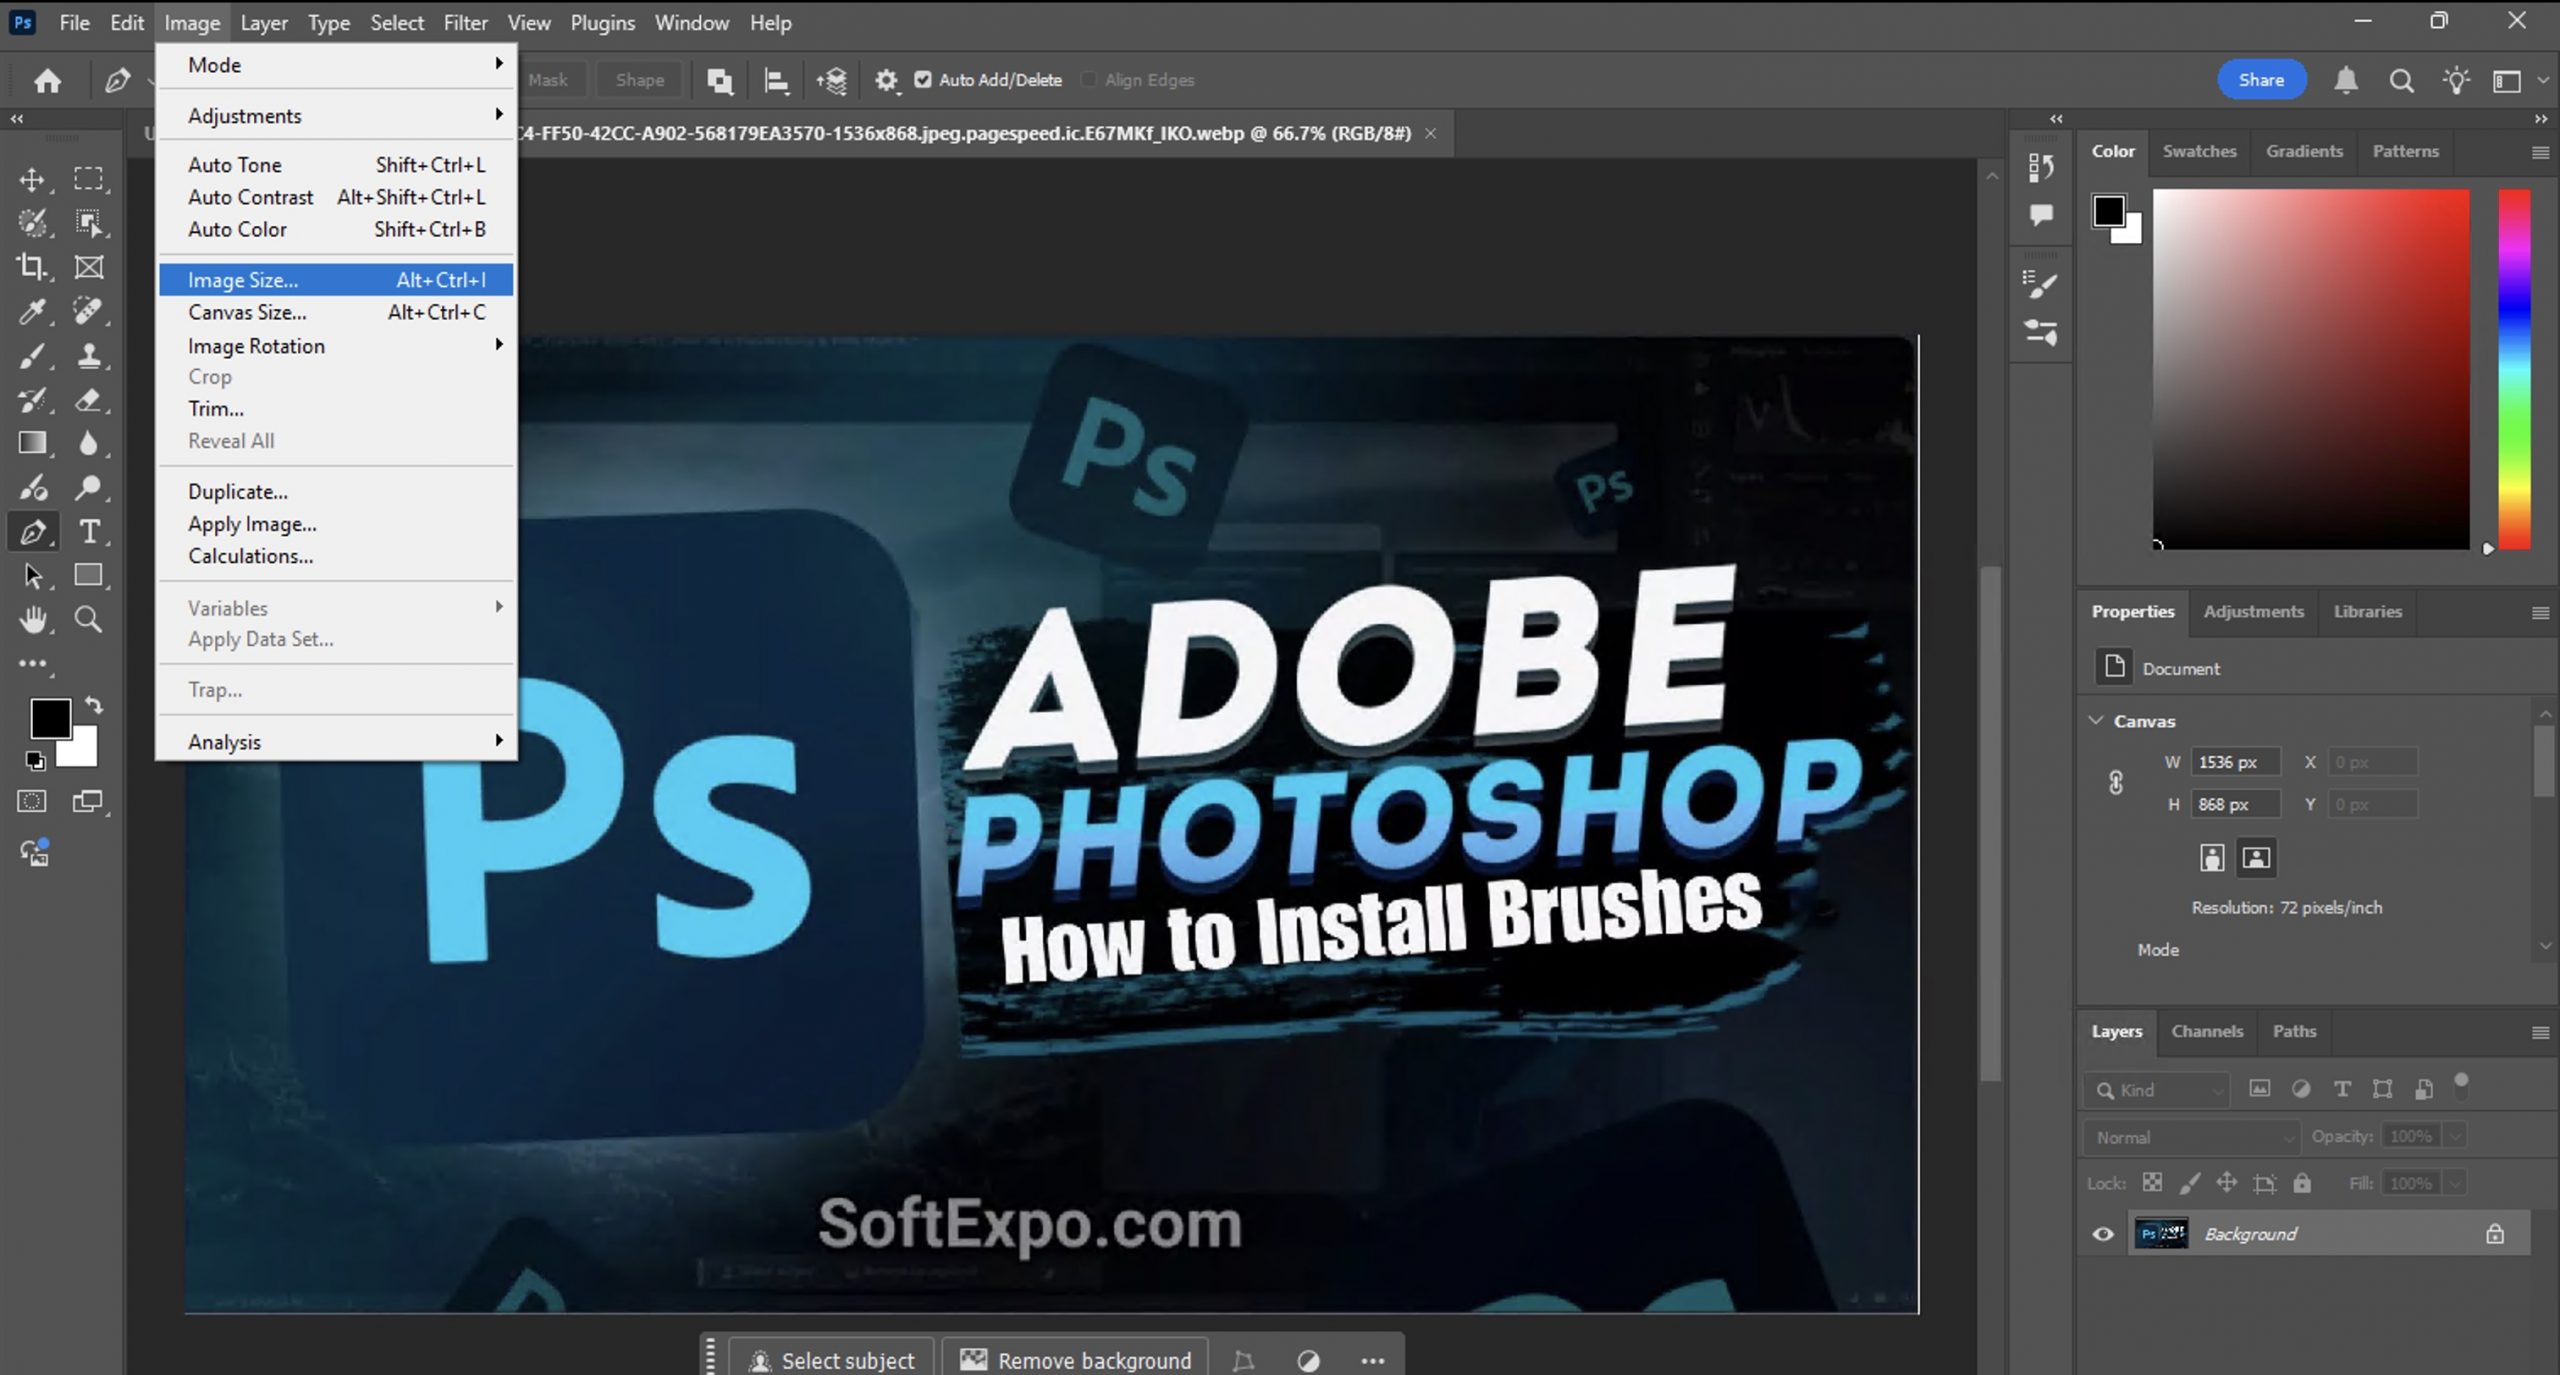
Go to Image > Image Size (or use the keyboard shortcut Alt+Ctrl+I on Windows, Option+Command+I on Mac).
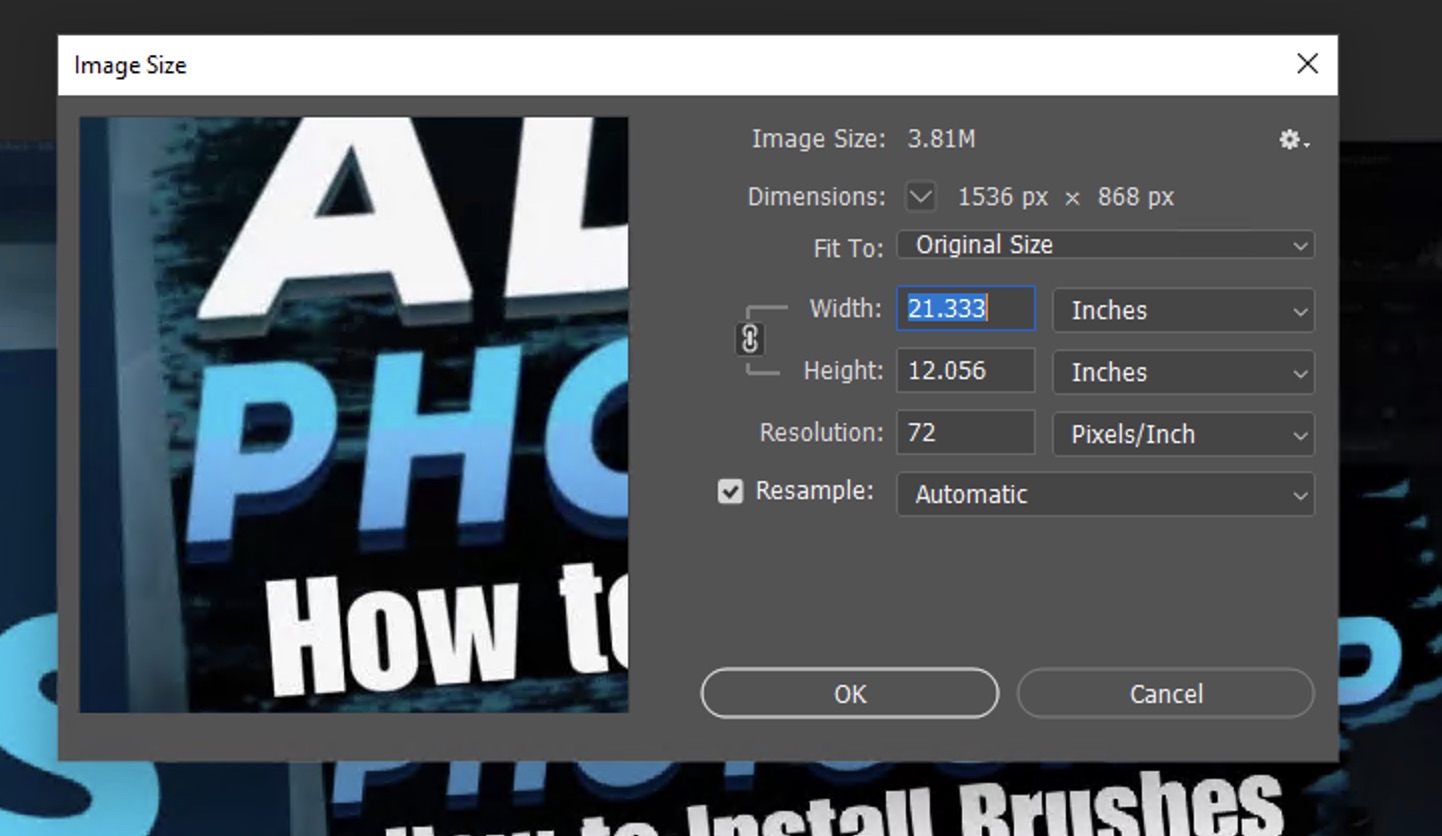
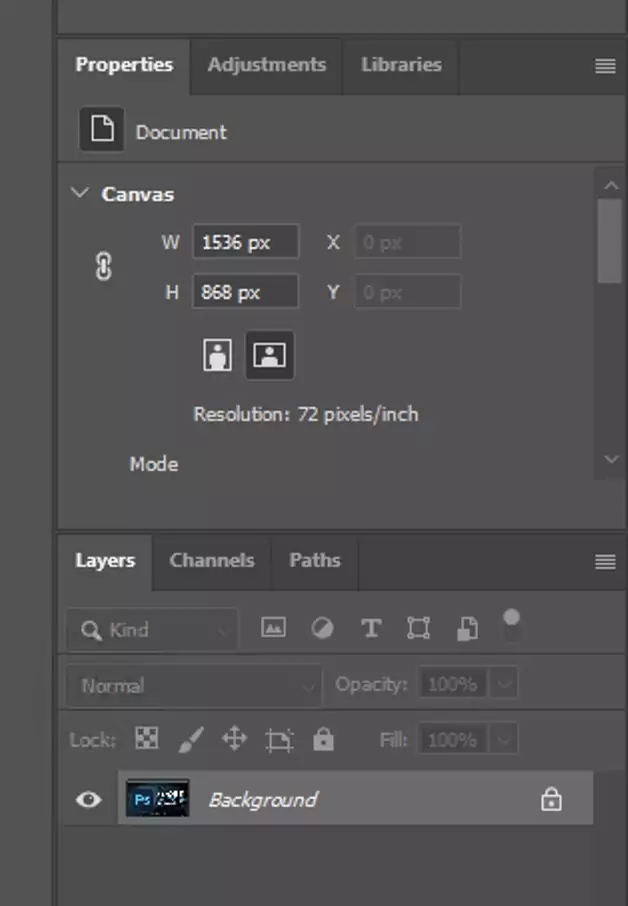
In the Image Size dialog box, you’ll see the current pixel dimensions of your photo.
Make sure “Constrain Proportions” is checked to maintain the aspect ratio and prevent distortion.
Choose your preferred measurement unit (pixels, inches, percent, etc.) from the dropdown menu.
Enter new values for either Width or Height – the other dimension will adjust automatically if proportions are constrained.
For image resolution, use 72 ppi for web images and 300 ppi for print.
Under “Resample image,” select the appropriate algorithm:
“Automatic” works well for most cases
“Preserve Details 2.0” is excellent for enlarging the image area
“Bicubic Smoother” is good for enlarging
“Bicubic Sharper” is better for reducing image size
Click OK to apply the changes.
Remember that adjusting canvas size (Image > Canvas Size) is different from resizing an image. Canvas size changes the background area without affecting the image itself, allowing you to add a background color around your image or crop portions by reducing the canvas.
Resizing with the Free Transform Tool
For more visual control when resizing elements or layers:
Select the layer you want to resize in the Layers panel.
Press Ctrl+T (Command+T on Mac) to activate Free Transform, or go to Edit > Free Transform.
Hold Shift while dragging any corner handle to maintain proportions of your original or cropped image.
To resize from the center, hold Alt (Option on Mac) while dragging.
For precise adjustments, use the Width (W) and Height (H) values in the options bar at the top.
Press Enter or click the checkmark in the options bar to apply the transformation.
This is a very flexible image manipulation tool that provides convenience and simplicity when working with specific areas of your design. Use it in conjunction with other transformation tools to precisely control the area of the image that needs to be changed.
Smart Tips for Better Resizing Results
Always work with a copy of your original image to prevent permanent changes to your source file.
When enlarging photos, be aware that increasing beyond 120-150% of the original size may cause noticeable quality loss in the resized image.
Use Smart Objects for non-destructive resizing: Right-click on your layer and select “Convert to Smart Object” before resizing. This preserves the original image data regardless of how many times you resize.
For Camera Raw files, make initial size adjustments in the Camera Raw filter for better quality before further resizing in Photoshop.
For batch resizing multiple images with the same dimensions, use File > Scripts > Image Processor or create an action and use Batch processing.
If you’re resizing for web use, the “Export As” feature (File > Export > Export As) provides additional options for optimizing file size and quality while choosing the appropriate image format.
Create a cropped image by removing unnecessary parts before resizing to focus on important elements and reduce file size.
When resizing images for print, always maintain high resolution (300 ppi) to ensure sharp output.
If you need to add extra space around your image, use Canvas Size and select a complementary background color to frame your work.
Important! We have other Photoshop tutorials for that visit softexpo.com, where you will find not only guides and training on image editing and photo manipulation techniques. But also a lot of other useful information on working with a variety of software.
Overall there is no difficulty in resizing in Photoshop, just follow my tutorials to ensure that your images always look their best at all sizes and on all devices. Remember, proper resizing preserves image quality and helps you optimize your graphics for their intended use.