Description
Creating an animated GIF in Photoshop is a valuable skill for designers and social media managers looking to turn static images into engaging content. You can convert a series of photos, illustrations, or even video frames into a lightweight animation directly within the software. This guide covers the complete workflow from importing your files to exporting the final animation using the most reliable settings.
What You'll Need
To follow this tutorial, you will need Adobe Photoshop installed on your Windows computer (Creative Cloud versions from 2020-2026 work best). You should also have a set of images ready to animate. These could be sequential photographs, a series of drawings, or screenshots you want to loop. Ideally, number your files sequentially (e.g., frame-01.jpg, frame-02.jpg) to help Photoshop sort them automatically.
Step-by-Step Guide
- Load your images into layers: Open Photoshop and go to File > Scripts > Load Files into Stack. Click 'Browse,' select your image files, and click OK. This imports all your images into a single document as separate layers.
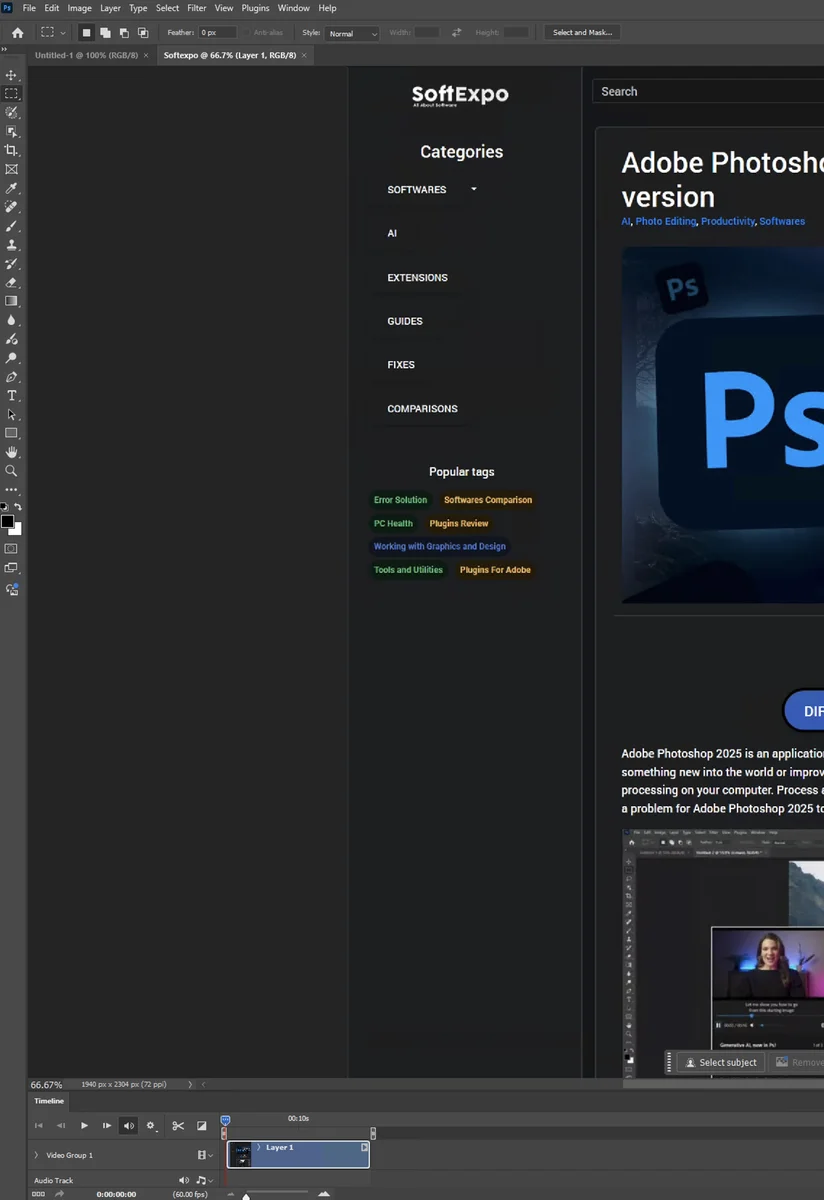
- Open the Timeline panel: Go to the top menu bar and select Window > Timeline. A panel will appear at the bottom of your screen.
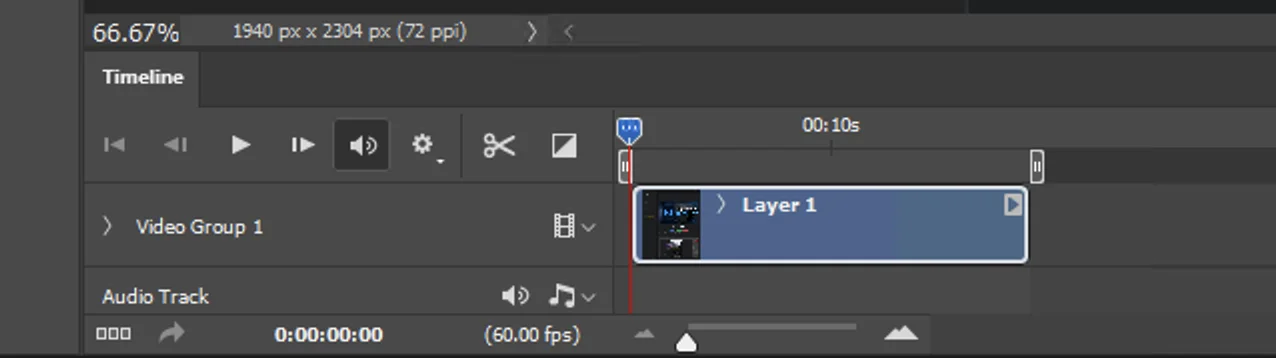
- Initialize Frame Animation: In the center of the Timeline panel, look for a dropdown button. If it says 'Create Video Timeline,' click the arrow and switch it to Create Frame Animation. Then, click the button itself.
- Convert layers to animation frames: You will see the first frame appear in the timeline. Click the menu icon (three horizontal lines) in the top-right corner of the Timeline panel and select Make Frames From Layers.
- Reverse frames (if necessary): If your animation plays backward, click the Timeline menu icon again and select Reverse Frames.
- Set frame duration: To change the speed, hold Shift and click the first and last frame to select them all. Click the time value (e.g., '0 sec') under any frame and choose a duration, such as 0.1 seconds or 0.2 seconds.
- Configure looping: At the bottom of the Timeline panel, find the looping option (usually set to 'Once' by default). Click it and select Forever so your GIF plays continuously.
- Preview the animation: Press the Spacebar or click the 'Play' triangle icon in the Timeline panel to watch your animation.
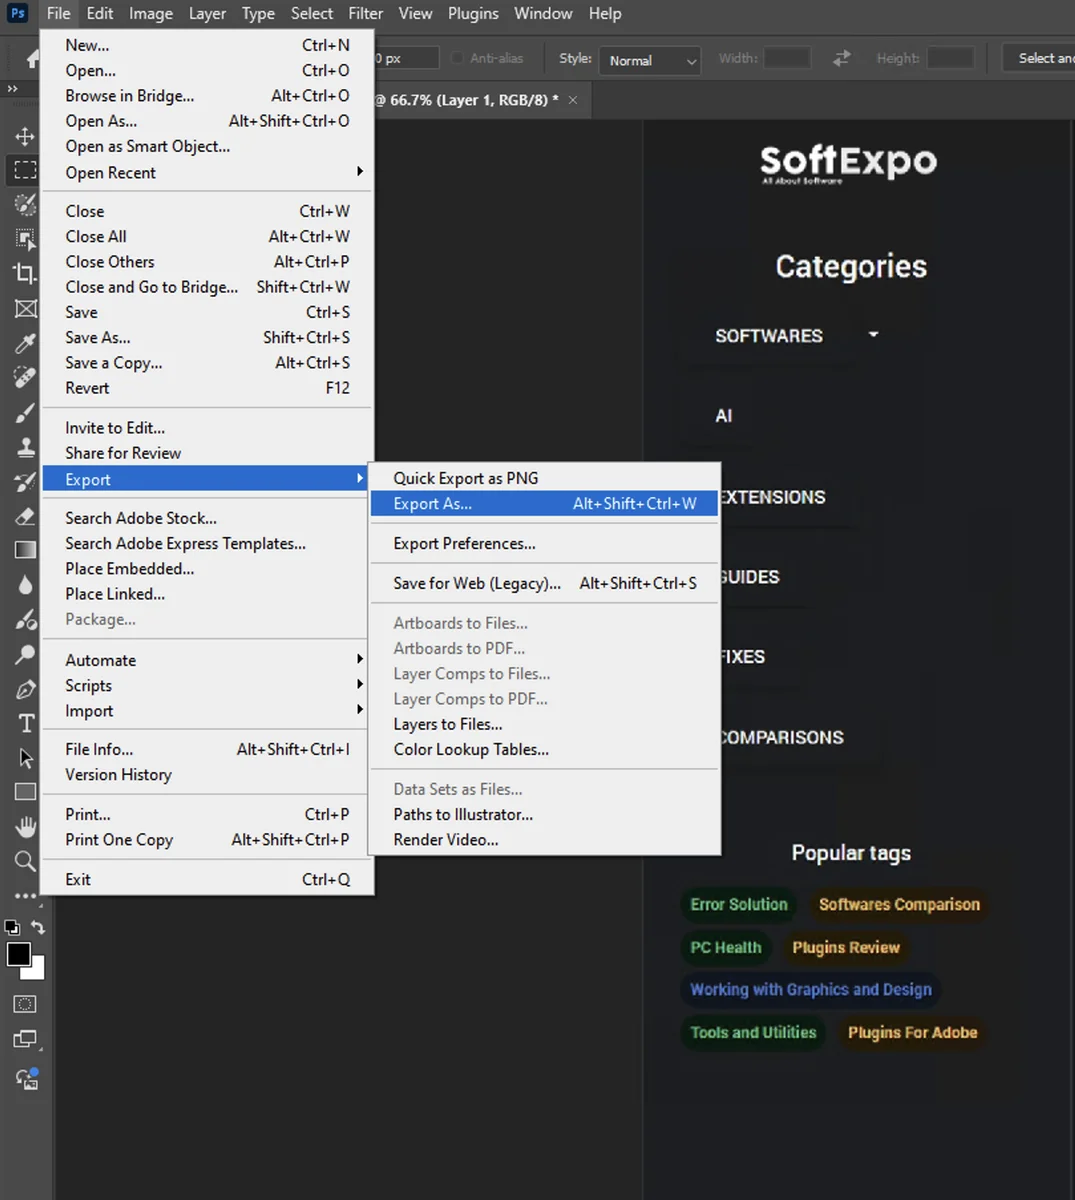
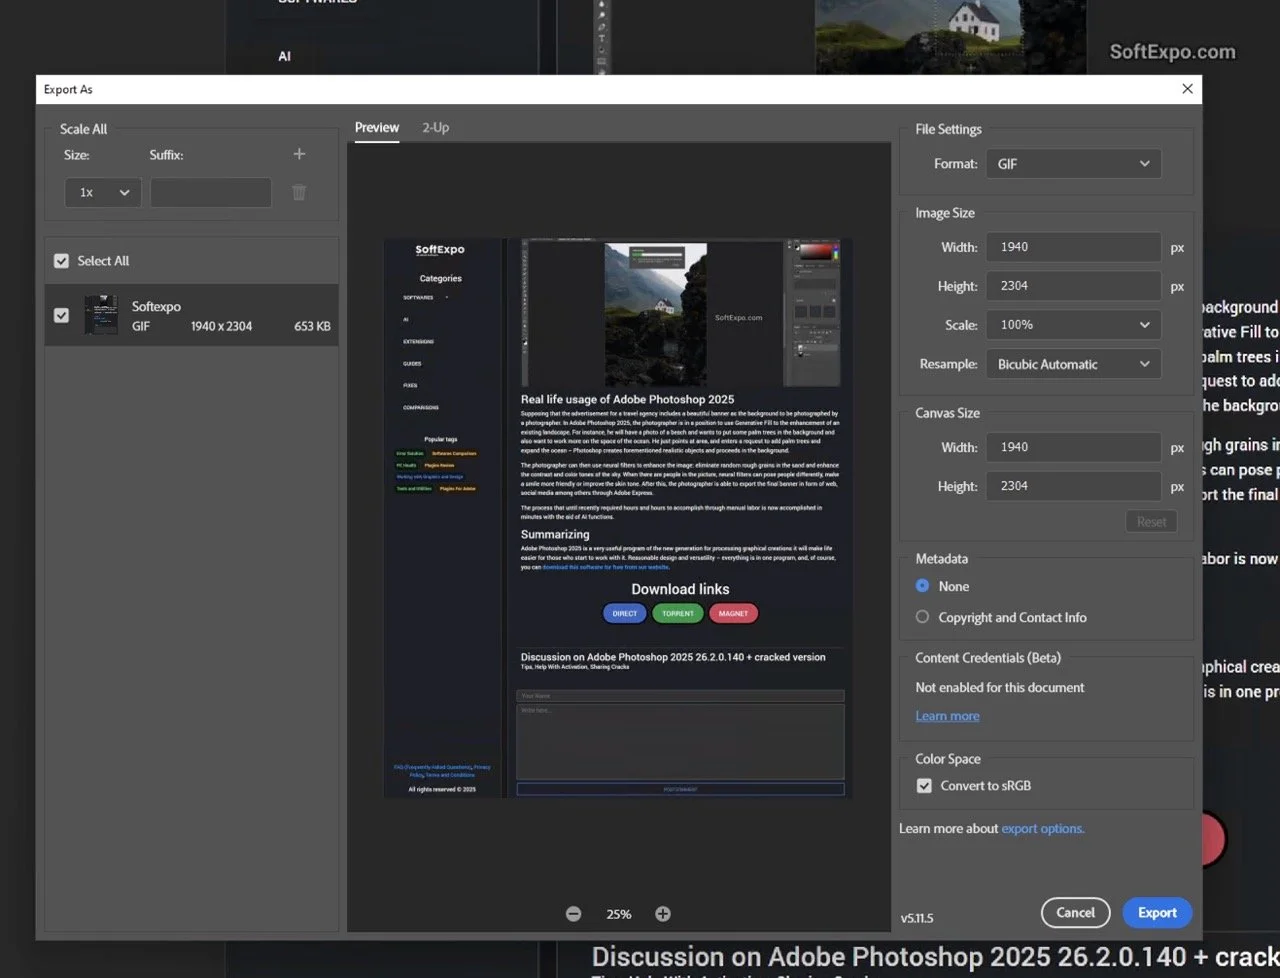
- Open export settings: Go to File > Export > Save for Web (Legacy). Do not use 'Export As,' as it often fails to save animation data correctly.
- Finalize and Save: In the export window, ensure the format is set to GIF at the top right. Adjust the 'Colors' to 256 for maximum quality. Check the animation preview in the bottom left, then click Save to store the file on your computer.
Tips for Better Results
- Manage file size: If your GIF is too large, reduce the 'Image Size' percentage in the Save for Web dialog or lower the color count from 256 to 128.
- Use Dithering: Ensure the 'Dither' option is set to 'Diffusion' or 'Pattern' in the export settings. This prevents color banding and makes gradients look smoother.
- Crop before export: Use the Crop Tool (C) to remove unnecessary background space before you start the export process, which focuses the viewer's attention and lowers file size.
- Duplicate frames for pauses: If you want the animation to pause on a specific image, select that frame in the timeline and click the 'Duplicate Selected Frames' icon (the plus square) to extend its visibility without altering the global timing.
Common Mistakes to Avoid
The GIF isn't moving: This usually happens if you use 'Save As' or 'Export As' instead of 'Save for Web (Legacy).' Always use the Legacy exporter for animated content.
Transparent background looks messy: GIFs only support 1-bit transparency (fully transparent or fully opaque). If your edges look jagged (a 'halo' effect), create a 'Matte' color in the export settings that matches the website background where the GIF will live.