All rights reserved © 2026
So you’ve grabbed yourself Embrilliance Essentials—or maybe you’re still on the fence about it? Either way, buckle up. This embroidery software isn’t just another digital tool cluttering your desktop – it’s genuinely a game-changer for anyone obsessed with stitching (and let’s be honest, who isn’t once they start?). From those cute little monograms your grandma would adore to wildly intricate multi-color masterpieces that’ll make people go “Wait, you made that?!”—this program handles it all.
But here’s the thing. Like learning to drive stick shift or figuring out your new smartphone, there’s a learning curve. And that top toolbar? Think of it as your dashboard—everything crucial lives there. Master it, and suddenly you’re not wrestling with the software anymore, so you’re flowing through projects. Skip it, and… well, prepare for some head-scratching moments.
Whether you’re tweaking store-bought designs, squishing patterns to fit different hoops, or just getting files ready for your machine, understanding these buttons transforms everything. Let’s dive in, shall we?
Top left corner. That’s where you’ll spot the “New” button—your blank canvas creator. Click it. Boom. Fresh workspace appears, titled something generic like “Untitled 15” (because the software counts sequentially each session). Organizational bliss, really.
Right next door sits the Open button—looks like a folder, acts like one too. This puppy lets you browse through your computer’s design collection and pull in whatever embroidery file you’re itching to work with. Got Thumbnailer installed? Lucky you, because then you’ll actually see previews instead of playing the guessing game with filenames.
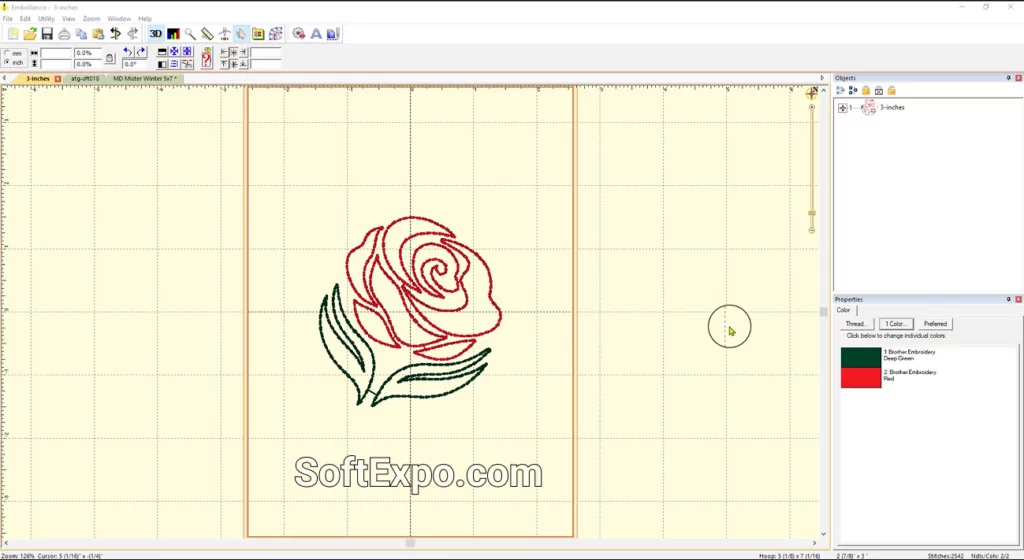
Those overlapping paper sheets? That’s your copy button. Select something, click it, and voilà—you’ve duplicated your design. The paste button then drops that duplicate wherever you want on your workspace, and here’s the sweet part: the original stays on your clipboard. Need five copies? Paste away, friend.
This becomes absolutely invaluable when you’re building repeat patterns or testing how different arrangements look. No more reopening files constantly. Just copy, paste, move around, experiment. It’s honestly one of those features you’ll wonder how you lived without.
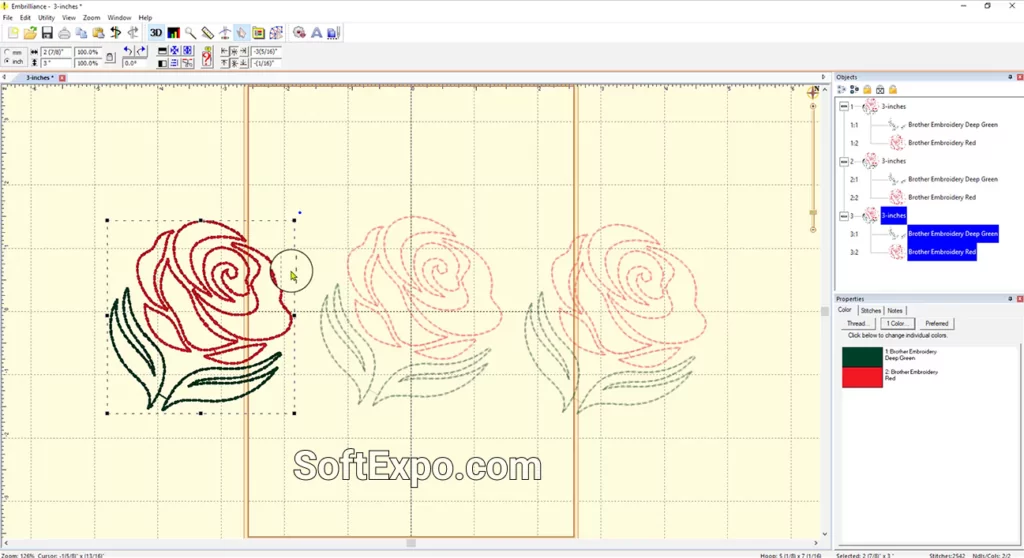
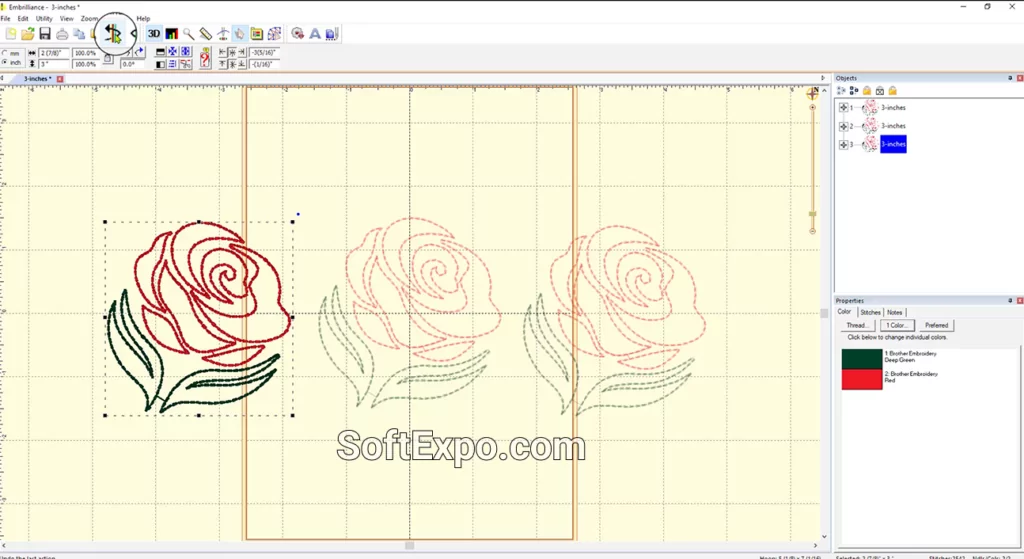
Look, everyone makes mistakes. That’s just… life, you know? The undo button becomes your safety net—reverses whatever you just did, step by step, letting you experiment without that nagging fear of ruining everything. And when you realize, “Actually, that looked better before,” the redo button brings it back.
These two? Essential. Especially when you’re fine-tuning stitch density or rearranging complex layouts and thinking “Did that improve it or make it worse?” Just undo, compare, decide. No permanent consequences here.
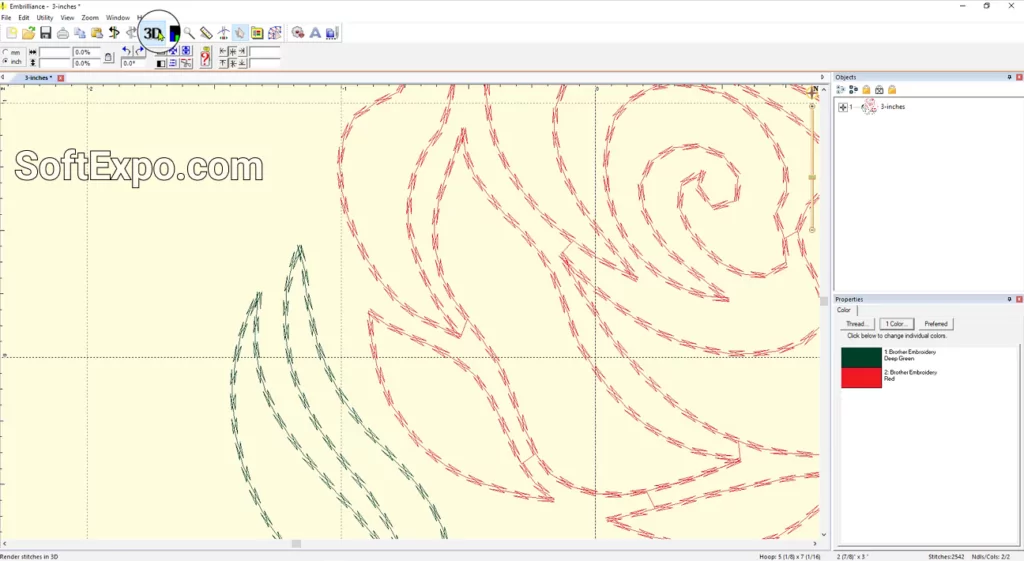
Now we’re talking about something cool. Toggle this on, and your flat design suddenly pops into something resembling actual embroidered fabric—dimensional, textured, showing how thread colors will interact. It’s like a preview of your finished project before you’ve sewn a single stitch.
Want to see the technical construction underneath? Flip 3D off. Now you’re looking at simple line structures—super useful when you need to examine stitch angles or understand how the design’s built. Two views, one button. Pretty clever, honestly.
This might be my favorite quality-control feature (okay, maybe I’m biased, but stick with me). The density map visualizes stitch concentration using color codes. Red zones? Problem areas. Too many stitches crammed together equals potential disaster: puckering, broken threads, distorted fabric—the embroidery nightmare trifecta.
Before committing your precious time and materials, run this check. Especially crucial when you’ve grabbed a design from some random internet corner and you’re thinking, “Is this actually digitized well, or am I about to waste an hour?” The density map tells all.
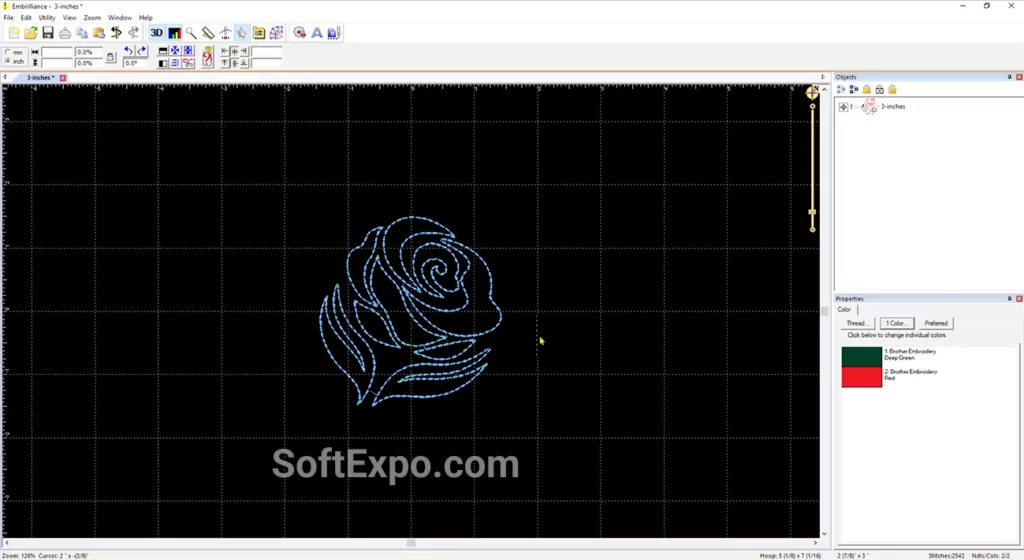
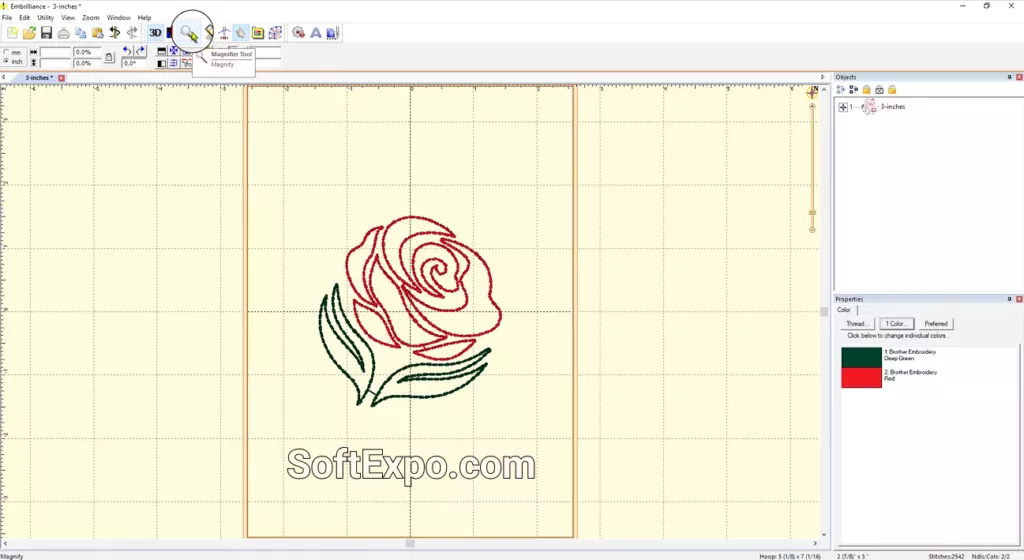
Precision matters. Sometimes you need to zoom way in and examine individual stitches—their angles, placement, spacing. The magnifier tool lets you draw a selection box around any area, instantly enlarging it for inspection.
Placing elements with surgical accuracy? Need to see if two sections align perfectly? This tool’s your answer. Getting back to normal view just requires clicking that hoop button to recenter everything. Simple.
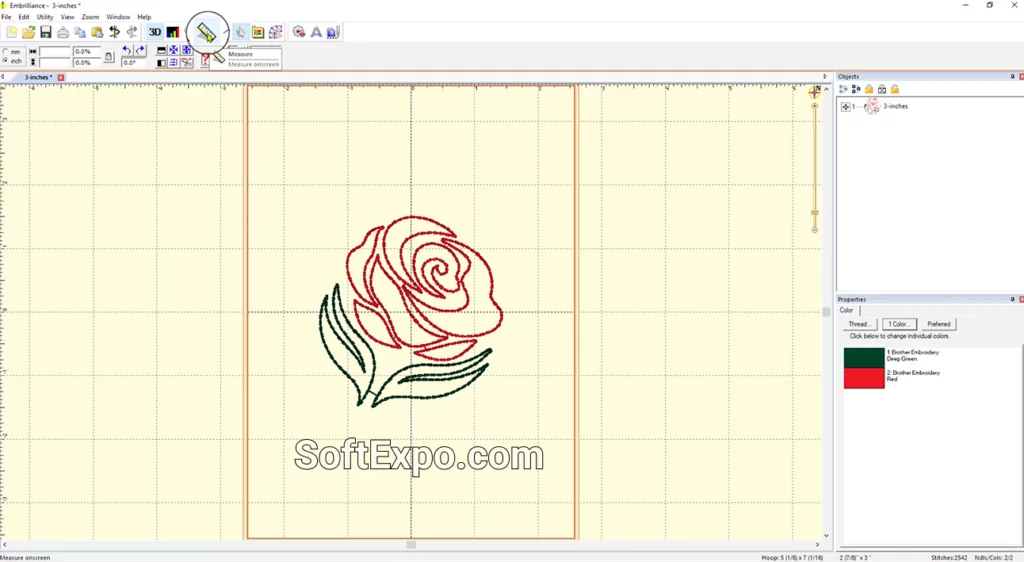
That little ruler icon? Gold for anyone who’s ever thought, “Will this actually fit in my 4×4 hoop?” Click and drag between two points, and boom—exact measurements appear in the lower-left corner (don’t miss it down there!).
Beyond just checking if designs fit within hoop boundaries, this tool helps maintain consistent spacing when you’re merging multiple elements. Oh, and it shows angle calculations too, which comes in handy for alignment work. Pretty versatile for such an unassuming button.
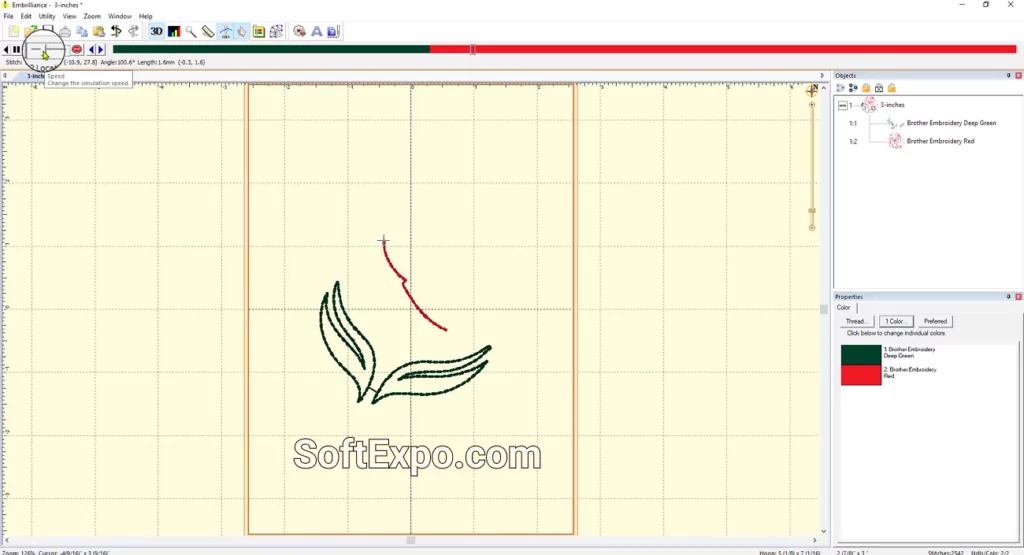
Okay, confession time: I could play with this feature for hours. It’s genuinely mesmerizing. The stitch simulator shows exactly how your design will sew out on an actual machine. You’ll see a color band displaying thread colors in sequence, playback controls letting you watch the entire process unfold.
Want slow-motion analysis to catch potential issues? Done. Prefer high-speed review? You got it. The step-through function? Advances one stitch at a time—perfect when you’ve identified a problem area and need to pinpoint the exact moment things go wonky. This saves mountains of time and material by catching mistakes before production. Seriously invaluable.
Here’s the truth: practice builds muscle memory. The more you use these tools, the less you’ll think about where buttons are or what they do. It becomes instinctive—click, adjust, perfect, done.
The toolbar layout groups related functions logically (thank goodness), making the learning curve less steep than it could’ve been. And when you combine these controls with Embrilliance’s ability to resize designs and convert between file formats? You’ve got complete creative freedom sitting right there on your desktop.
And if you don’t want to limit your imagination and want to bring your boldest designs to life, the Design & Creativity section will easily help you do just that.
Master the toolbar, master the software. That’s really what it comes down to. Every button serves a purpose—from basic workspace creation and design duplication to sophisticated quality checks via density maps and stitch simulators. The 3D view brings designs to life before you’ve threaded your first needle, while magnifier and measure tools deliver precision down to tiny fractions of inches.