Description
GIMP (GNU Image Manipulation Program) is a powerful, free open-source image editor that rivals paid software like Adobe Photoshop. You will learn the fundamental workflow of using GIMP 3.0 to open, edit, and export a photograph. This guide focuses on the essential tools required to improve your images immediately without getting lost in the complex interface.
Before beginning, ensure you have installed the latest version of GIMP. The layout may look intimidating at first, but the logic remains consistent: you open a file, apply tools from the toolbox, and export the result to a standard format like JPG or PNG.
What You'll Need
- GIMP 3.0 (or newer): This tutorial assumes the modern interface introduced in version 3.0 (released 2025).
- A practice image: Any standard photo (JPG/PNG) from your computer.
- Windows 10 or 11: The screenshots and shortcuts described apply to Windows environments.
Step-by-Step Guide
- Open Your Image
Launch GIMP. Go to File > Open (or press Ctrl+O). Navigate to your picture folder, select the file, and click Open. Alternatively, you can drag and drop an image file directly from your Windows folder into the dark gray central canvas area.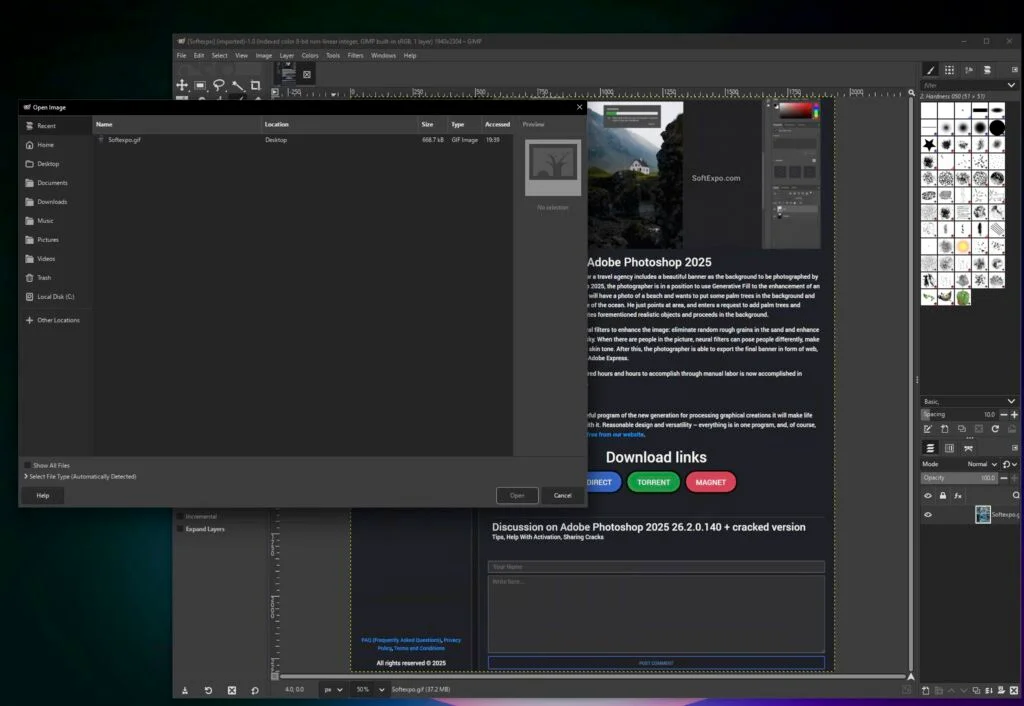
- Crop the Image
Select the Crop Tool from the toolbox on the top left (it looks like a paper cutter knife), or press Shift+C. Click and drag a box over the part of the image you want to keep. You can adjust the edges by dragging the corners. Press Enter to apply the crop.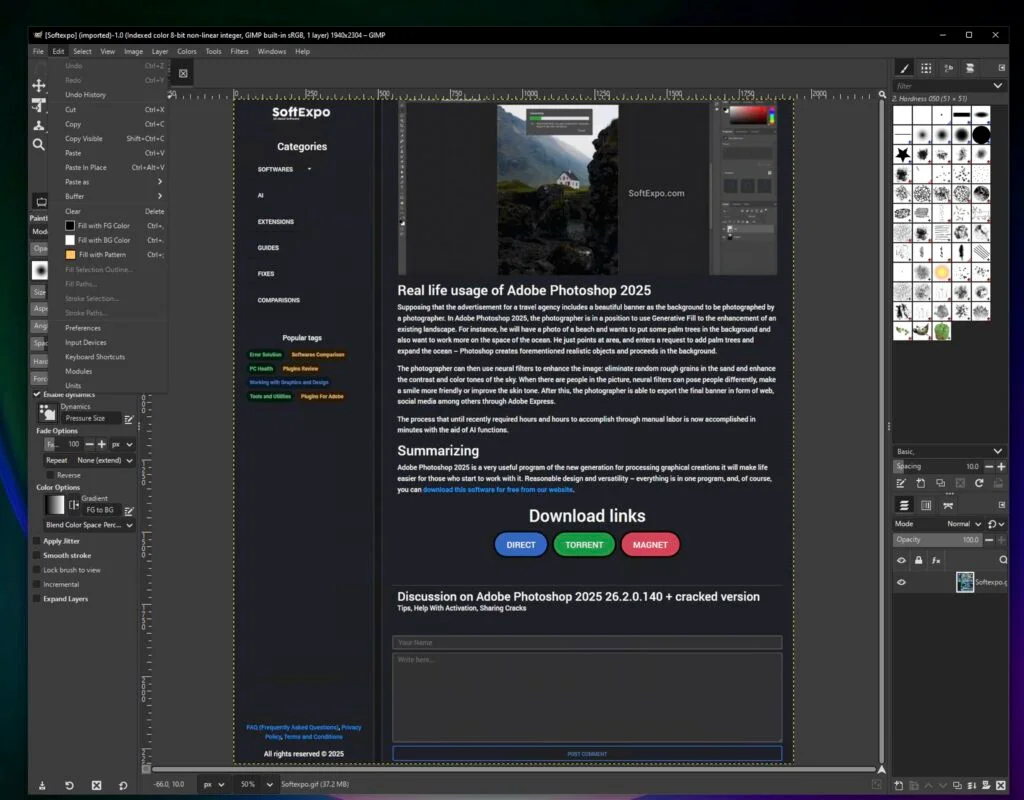
- Adjust Exposure and Colors
Go to the menu bar and select Colors > Exposure. A dialog box will appear. Drag the Exposure slider slightly to the right to brighten a dark image, or left to darken it. Check the Preview box to see changes in real-time. Click OK when satisfied.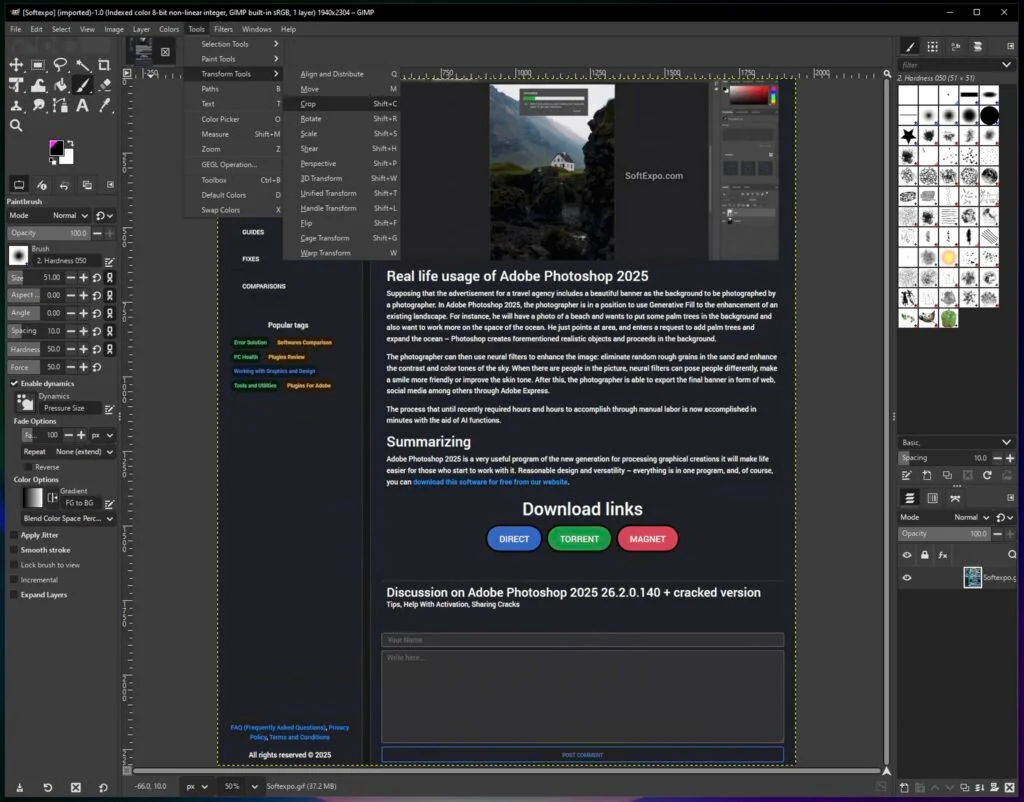
- Resize the Image (Optional)
If your photo is too large for sharing, go to Image > Scale Image. In the dialog box, ensure the chain-link icon next to Width and Height is connected (this keeps the image from stretching). Enter your desired Width (e.g., 1920 pixels) and press Tab; the Height will adjust automatically. Click Scale.
- Save Your Project (XCF)
If you plan to edit this later, save your work as a GIMP project file. Go to File > Save (Ctrl+S). This creates an .XCF file, which preserves your layers and edit history but cannot be viewed in web browsers. - Export the Final Image
To create a file you can share or print, you must export rather than save. Go to File > Export As (Shift+Ctrl+E). In the dialog box, type a name with the extension you want (e.g., vacation_edited.jpg). Click Export. A second window will ask for quality settings; keep the default 90 and click Export again.
Tips for Better Results
- Use the Spacebar to Pan: Hold the Spacebar and click-drag your mouse to move around the canvas when zoomed in. This is much faster than using scroll bars.
- Undo is Your Friend: GIMP keeps a long history of your actions. Press Ctrl+Z to undo the last mistake, or go to Windows > Dockable Dialogs > Undo History to jump back multiple steps.
- Use 'Keep' for Color Profiles: When opening an image, GIMP may ask to convert the color profile. Generally, click Keep to preserve the original colors unless you have a specific reason to convert.
Common Mistakes to Avoid
Confusing 'Save' with 'Export'
New users often try to "Save" their image to getting a JPG, only to find GIMP insists on the XCF format. Remember: Save is for project files (working drafts), while Export is for finished images (JPG, PNG).
Forgetting to Scale Layers
If you paste a second image into your project and it looks huge, it's likely larger than your canvas. Right-click the new layer in the Layers panel (bottom right) and select Scale Layer to resize just that specific element.
How to Feather Edges in Photoshop: Easy and Fast Techniques

How to Invert Colors in Photoshop: Step-by-Step Guide