Description
Feathering edges in Photoshop is a fundamental skill that softens the transition between a selection and its background, allowing for seamless composites and professional-looking photo edits. By gradually fading the opacity of an object's pixels at its border, you eliminate harsh, jagged cutouts that often scream "fake" in digital art. This tutorial will walk you through the most effective methods to achieve this effect, focusing on both quick fixes and non-destructive workflows that let you change your mind later.
Understanding how to control edge softness is critical whether you are blending a subject into a new background, creating a gentle vignette, or softening a specific effect like a brightness adjustment. While the concept is simple, Photoshop offers several ways to apply feathering, each best suited for different situations. You will learn three distinct techniques: using the Select and Mask workspace for precision, the Properties panel for non-destructive editing, and the classic Modify command for speed.
What You'll Need
To follow along with this guide, you will need a working installation of Adobe Photoshop on Windows. The steps below apply to Photoshop CC versions from 2020 through 2026, as the core feathering tools have remained consistent. You will also need an image file to practice on; a photograph with a clear subject, such as a person or a pet, works best for seeing the results of edge softening. No prior experience with masking is strictly required, though familiarity with basic selection tools like the Lasso or Marquee tool is helpful.
Step-by-Step Guide
We will cover the three most reliable methods, starting with the modern, non-destructive approach which is the industry standard for high-quality editing.
Method 1: Using the Select and Mask Workspace (Recommended)
This method allows you to preview the softness before committing to it, making it the best choice for beginners and professionals alike.
- Open your image in Photoshop and duplicate the background layer by pressing (Ctrl+J) so you don't damage your original file.

- Choose a selection tool from the toolbar, such as the Object Selection Tool or Quick Selection Tool.

- Make a rough selection of your subject. It does not need to be pixel-perfect right now.
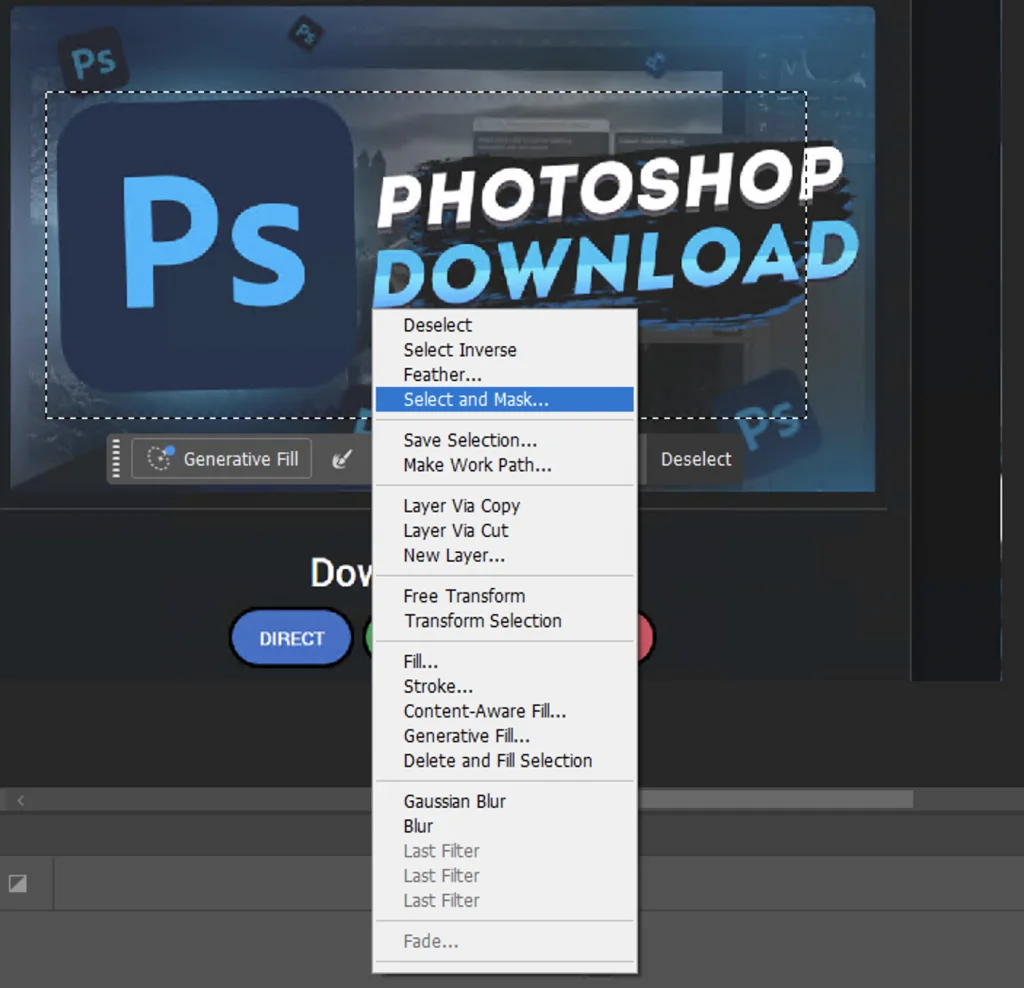
- With the selection active, look at the Options Bar at the top of the screen and click the button labeled Select and Mask. This opens a dedicated workspace.
- In the View Mode settings on the right, change the View to "On Black" or "On White" (depending on your image colors) to clearly see the edges of your selection.
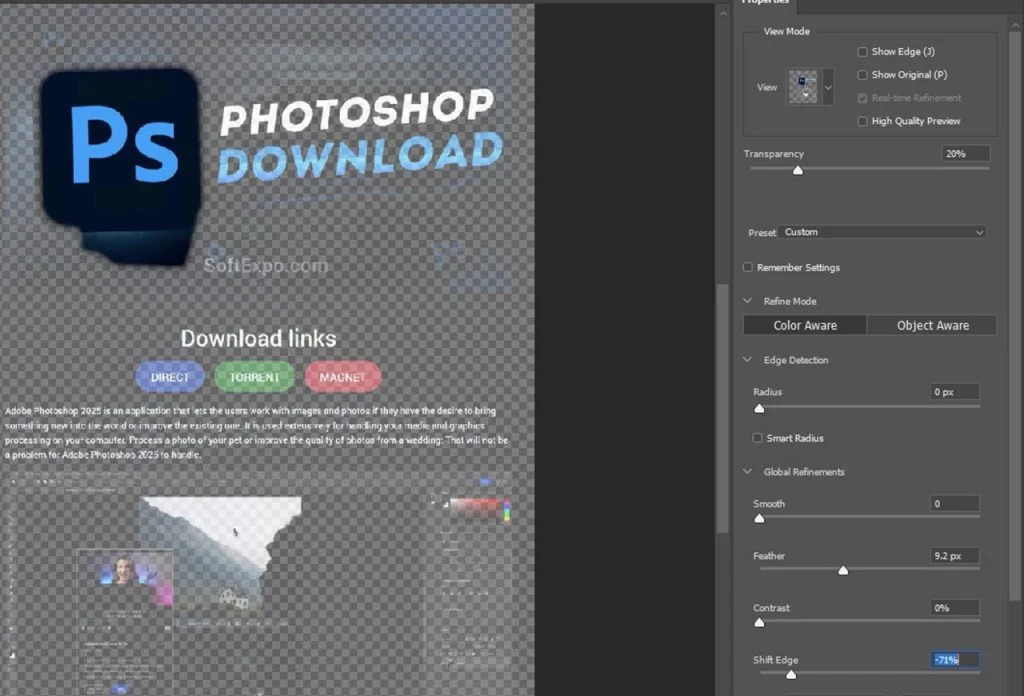
- Locate the Global Refinements section in the Properties panel on the right side.
- Slowly drag the Feather slider to the right. Watch how the hard edges of your subject blurred and softened. A value between 1.0 px and 5.0 px is usually sufficient for realistic composites.
- Once you are happy with the preview, go to the Output Settings at the bottom of the panel.

- Change the "Output To" dropdown menu to Layer Mask.
- Click OK. Your subject is now isolated with a soft, feathered edge on a mask, which you can further refine later if needed.


Method 2: Non-Destructive Layer Mask Properties
If you have already created a mask and realized the edges are too sharp, you don't need to redo the selection. You can feather the mask directly.
- Select the layer in your Layers Panel that contains the mask you want to soften.
- Click directly on the Layer Mask thumbnail (the black and white box next to the image thumbnail) to ensure it is active. White brackets will appear around it.
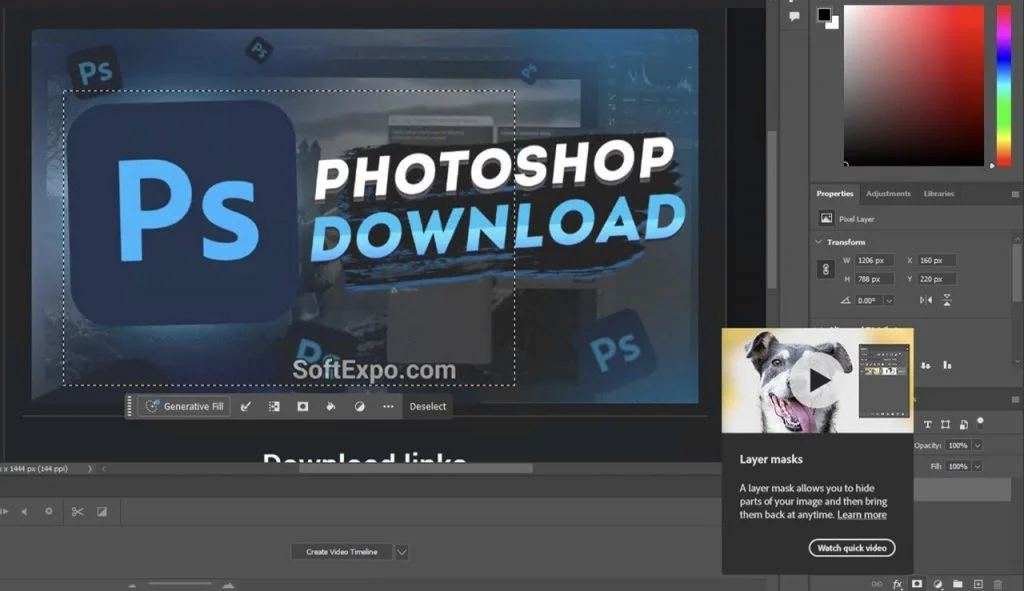
- Open the Properties Panel by going to Window > Properties in the main menu.
- In the Properties panel, ensure the "Mask" icon (a rectangle with a circle inside) is selected at the top.
- Find the Feather slider.
- Drag the slider to the right. As you move it, you will see the edges of your mask soften in real-time on your canvas.
- Because this is non-destructive, you can return to this panel at any time and reduce the feather value back to 0 px if you change your mind.
Method 3: The "Modify Selection" Command (Classic)
This is the fastest method if you just need a quick feathered selection for a vignette or a simple color fill.
- Select the Elliptical Marquee Tool or Rectangular Marquee Tool from the toolbar.
- Draw your shape on the canvas.
- With the "marching ants" selection active, go to the top menu and select Select > Modify > Feather. Alternatively, use the keyboard shortcut (Shift+F6).
- A small dialog box will appear asking for a "Feather Radius."
- Enter a pixel value (e.g., 20 px for a large soft vignette or 3 px for a subtle edge) and click OK.
- You won't see an immediate change to the selection outline itself, but the feathering is now applied.
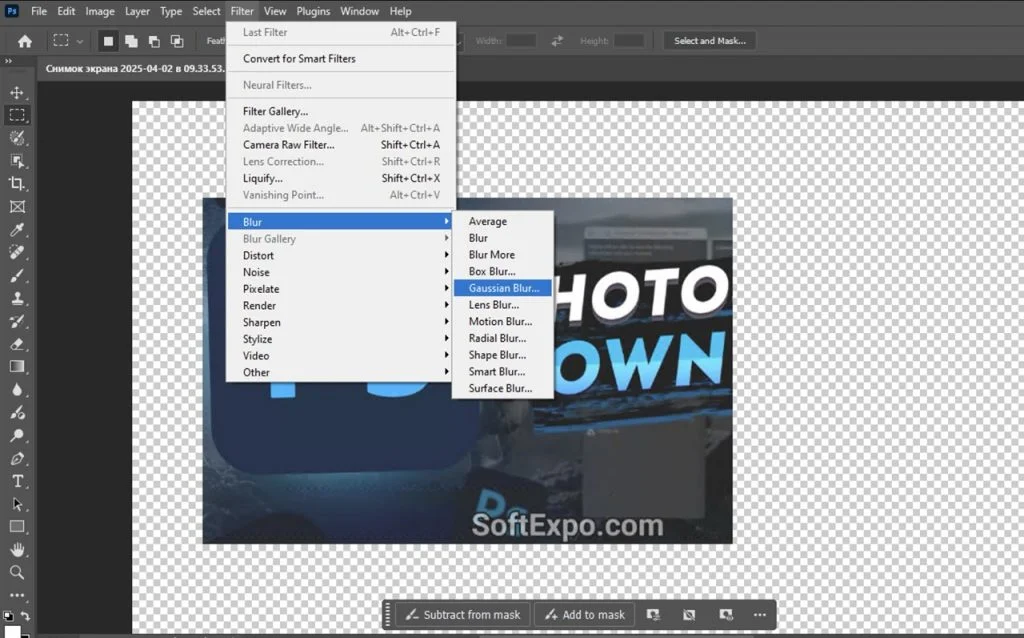
- To see the effect, apply an action: copy the selection (Ctrl+C) and paste it (Ctrl+V), or add a Solid Color adjustment layer to fill the selection.
Tips for Better Results
- Understanding Radius: The "Feather Radius" value determines how far the softness extends from your selection edge. A radius of 5 pixels means the transition from 100% opaque to 0% transparent will happen over a distance of 10 pixels total (5 pixels inside the edge, 5 pixels outside).
- Resolution Matters: A 5-pixel feather might look huge on a low-resolution web image (600px wide) but almost invisible on a high-resolution print photo (4000px wide). Always adjust your values relative to the image size.
- Avoid Double Feathering: If you set a feather value in the tool's Options Bar before drawing a selection, and then apply "Select > Modify > Feather" afterwards, you will double the softness. It is generally safer to keep the tool options at 0 px and apply feathering afterwards.
- Use a Background for Checking: When feathering an extracted subject, temporarily create a solid color layer (bright pink or green) underneath your subject layer. This high-contrast background will instantly reveal if your feathered edges have picked up unwanted halos or background colors.
Common Mistakes to Avoid
Over-Feathering the Edge: Beginners often apply too much feathering (e.g., 20px+ on a person), making the subject look like they are glowing or blurry. For realistic composites, keep the feather radius small—usually between 0.5 and 2 pixels—just enough to remove the digital jaggedness (aliasing) without losing edge definition.
Feathering the Wrong Layer: A classic frustration occurs when you apply a feather command but see no change. This often happens because you are working on the wrong layer or have not actually applied an action (like masking or deleting) after setting the feather radius. Remember, the "marching ants" outline is just a visual guide and does not accurately show the softness until you apply a mask or fill.
Deleting Instead of Masking: Avoid hitting the "Delete" key to remove a background after feathering. This is a destructive edit that permanently removes pixels. If you realize later that you feathered too much, you cannot fix it easily. Always use Layer Masks (Method 1 or 2) so you can adjust the edge softness at any time during your creative process.

How to Crop in Photoshop: Simple and Effective Techniques

How to Invert Colors in Photoshop: Step-by-Step Guide