Description
Renoise is a unique Digital Audio Workstation (DAW) that combines the traditional tracker workflow with modern production features, most notably the ability to use third-party VST and AU plugins. While Renoise is famous for its internal sampler, integrating external VST instruments and effects allows you to access a virtually infinite palette of sounds and processors. This tutorial guides you through the essential process of configuring, loading, and controlling VST plugins within the Renoise environment.
Using external plugins in a tracker interface can seem counter-intuitive at first, as the workflow differs significantly from piano-roll based DAWs. However, once mastered, the combination of Renoise's precise sequencing commands with powerful VST synthesizers creates a rapid and creative production environment. Before you begin, ensure you have Renoise installed (version 3.0 or later is recommended for best VST3 support) and at least one third-party VST plugin installed on your Windows system.
What You'll Need
- Renoise (64-bit recommended): Installed and running on Windows 10 or 11.
- VST Plugins: At least one VST2 or VST3 plugin (.dll or .vst3 file) installed on your system.
- Administrator Access: You may need this to configure folder paths if your plugins are in protected system folders.
Step-by-Step Guide
- Open Plugin Preferences
Launch Renoise. Navigate to the top menu bar and select Edit > Preferences (or press Ctrl + ,). In the Preferences window, click on the Plug/Misc tab to access plugin settings.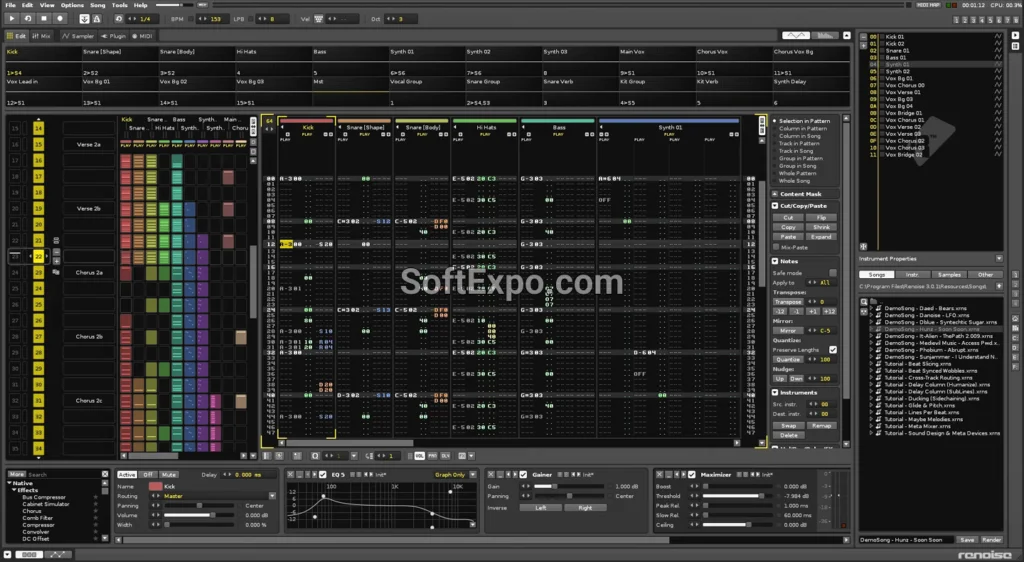
- Set Plugin Paths
Locate the "VST Plugins" section. You will see slots for custom folders. Click Browse and select the folder where your VST plugins are installed (commonlyC:Program FilesVSTPluginsorC:Program FilesCommon FilesVST3). You can add multiple paths if your plugins are scattered across different drives.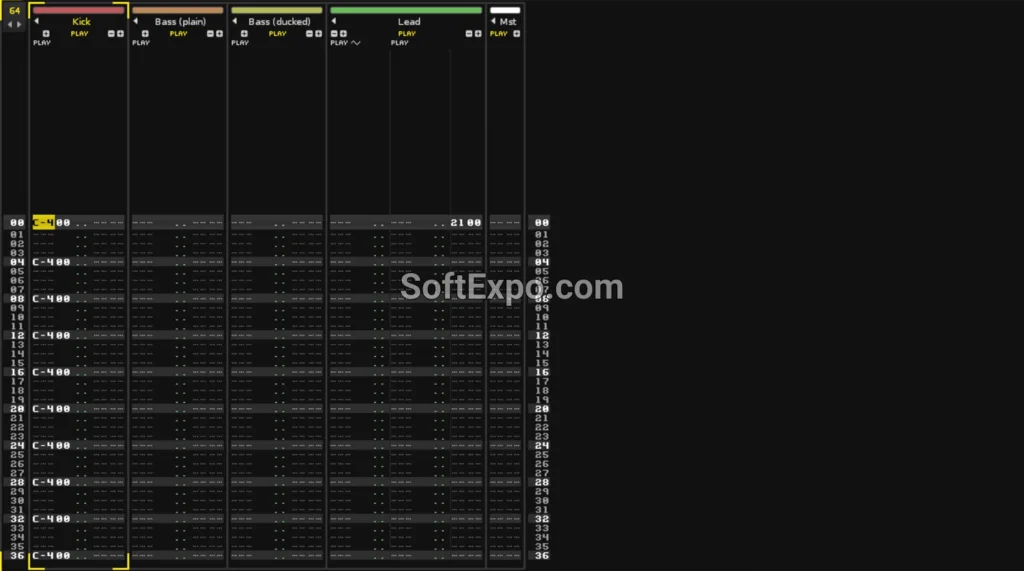
- Rescan Plugins
Once your paths are set, click the Rescan button in the same window. Renoise will scan the directories for valid plugins. If you want to force a full refresh, check the "Rescan previously failed plugins" box before scanning. Close the Preferences window when finished.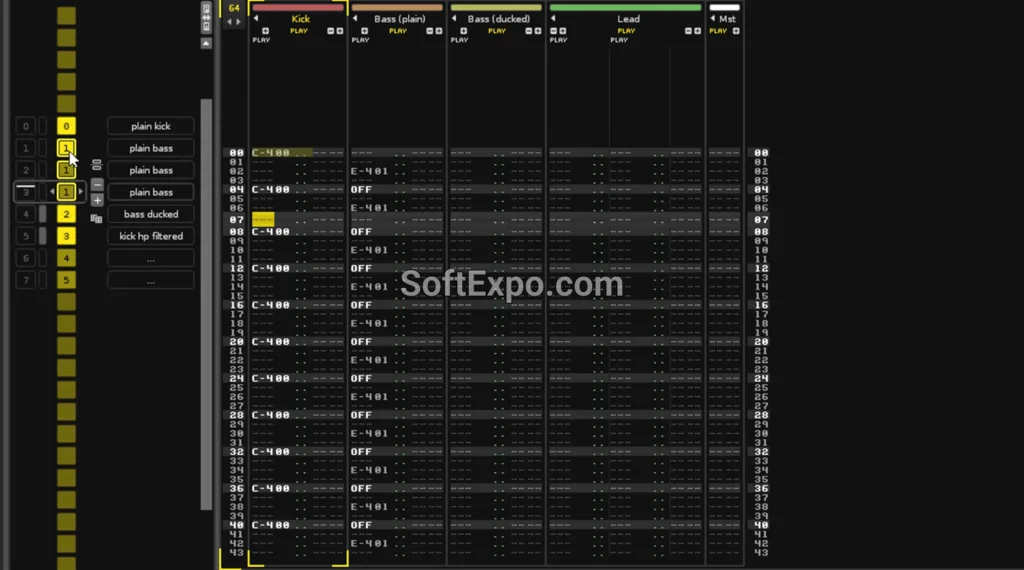
- Select an Empty Instrument Slot
Look at the Instrument Selector panel in the top-right corner of the main interface. Click on an empty slot (e.g., Slot 00 or 01) to ensure you are loading the plugin into a new instrument container.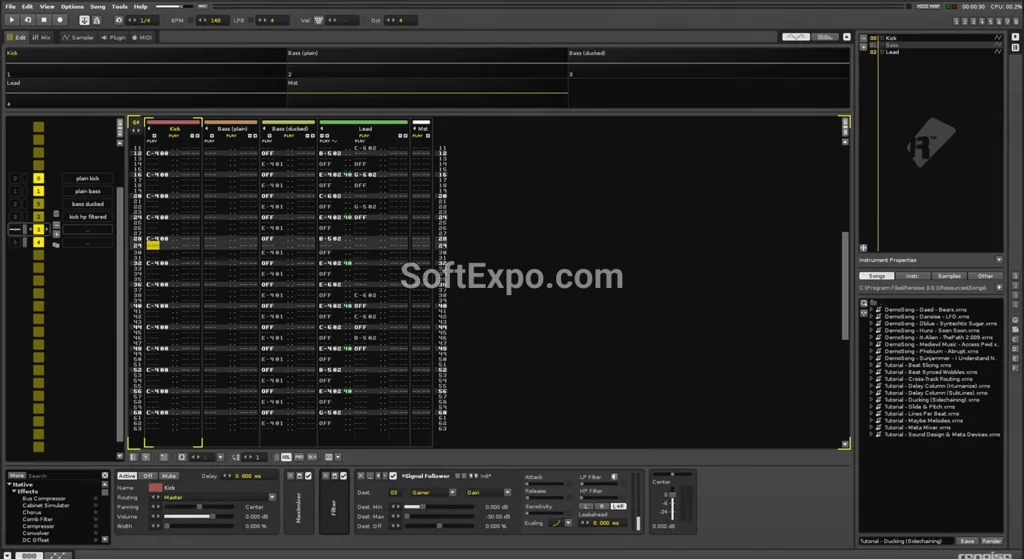
- Load the Plugin
Click the Plugin tab located immediately below the Instrument Selector (or press F6 to switch the lower frame to the Plugin panel). Click the dropdown menu that says "None" or "No Plugin Loaded". A list of your installed plugins will appear, categorized by vendor or type. Double-click your desired VST instrument to load it. - Open the Plugin Interface (GUI)
After loading, the plugin's name will appear in the slot. To view the plugin's visual interface, click the Ext. Editor button (icon looks like a small window) in the Plugin Properties panel. This opens the VST's custom window where you can tweak synth parameters. - Sequence Notes
With the plugin selected, navigate to the Pattern Editor (central grid). Ensure Edit Mode is active (press Esc so the border turns red). Use your computer keyboard (Z, S, X, D, C, V...) to trigger notes. You should hear the VST output sound. - Add VST Effects (Optional)
To add a VST effect (like a reverb or compressor) instead of an instrument, look at the Track DSPs panel at the bottom of the screen (click the DSP tab or press F3). Locate the track you want to process, click the search box (magnifying glass), and select your VST effect from the list.
Tips for Better Results
- Use "Render to Sample": To save CPU, you can right-click a VST instrument slot and select Render to Sample. This converts the current VST patch into a native Renoise sample instrument, allowing you to use tracker tricks like sample offset (0Sxx) and reverse (0Bxx) that don't work on VSTs.
- Sandbox Your Plugins: If you have an unstable plugin that crashes Renoise, go to the Plugin Properties and enable "Run in sandbox". This runs the plugin in a separate process, so if it crashes, it won't take down your entire project.
- Keyboard Shortcuts: Press F1 through F8 to quickly toggle between different views (Pattern Editor, Mixer, Instrument Editor, etc.) to speed up your workflow.
- Organize Folders: Keep your VSTs organized by vendor or type in your Windows file system. Renoise reflects your folder structure, making it easier to find specific tools during a session.
Common Mistakes to Avoid
- Mismatched Bit Depth: Ensure you are not trying to load 32-bit plugins in the 64-bit version of Renoise (or vice versa) without a bridge. It is highly recommended to use 64-bit plugins with 64-bit Renoise on modern Windows systems.
- Forgot to Rescan: If you install a new plugin while Renoise is open, it won't appear until you manually click Rescan in the Preferences menu.
- Hidden GUI: If the VST window disappears behind Renoise, check the "Auto-Close" or "Keep on Top" settings in the plugin window's header, or simply click the instrument slot again to bring it forward.

How to Feather Edges in Photoshop: Easy and Fast Techniques

Avant Browser Top Alternatives: 2025 Guide