Description
Rotating an image effectively creates the correct orientation for viewing, editing, or printing your work. Whether you scanned a photo upside down, need to fix a crooked horizon, or want to turn a specific design element, Photoshop offers distinct tools for each purpose. You need to distinguish between rotating the entire canvas and rotating a single layer to avoid accidental edits to the rest of your project.
Most users can complete these tasks using the standard menu bar or simple keyboard shortcuts. Understanding the difference between destructive rotation (changing pixels permanently) and non-destructive rotation (using Smart Objects) helps maintain image quality during your workflow.
What You'll Need
- Software: Adobe Photoshop (Windows 10 or Windows 11 recommended).
- Image File: Any standard format (JPG, PNG, PSD, TIFF).
- Project Status: An open document with at least one active layer.
Step-by-Step Guide
- Open your image in Photoshop. Go to File > Open (Ctrl+O) and select the image you wish to edit.
- Decide on your rotation goal. Determine if you need to rotate the entire picture (the canvas) or just one specific object (a layer) within the picture.
- Method A: Rotating the Entire Canvas. Use this to fix photos that are sideways or upside down.
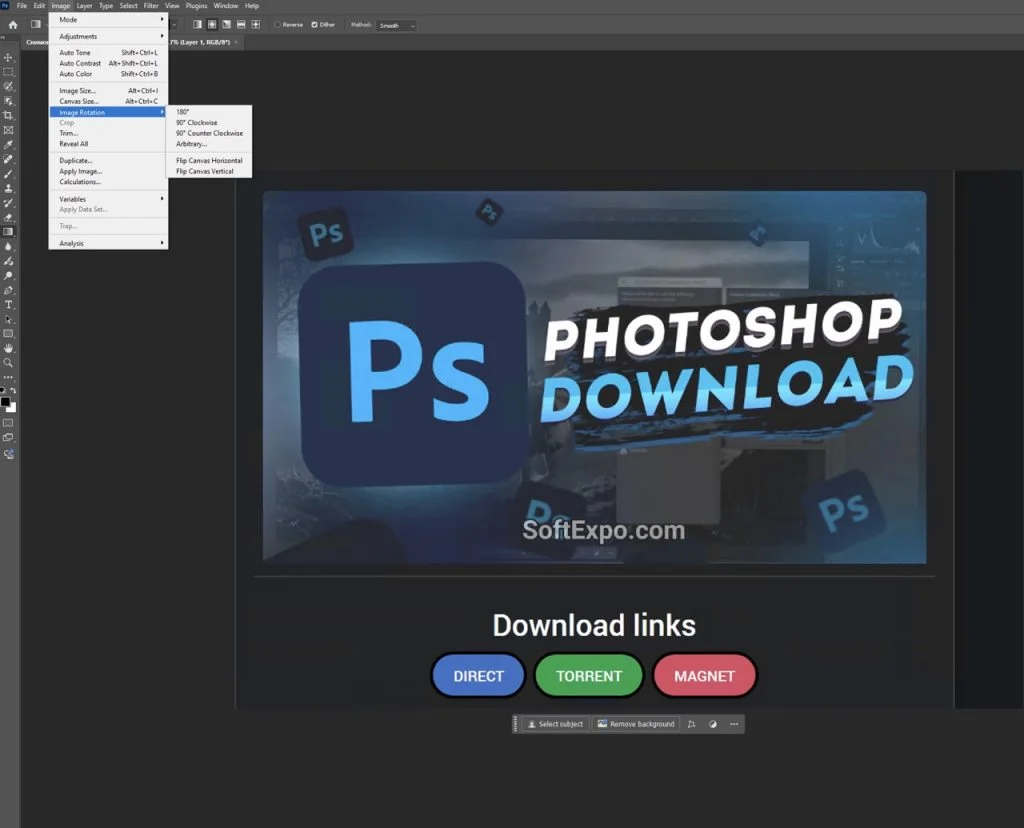
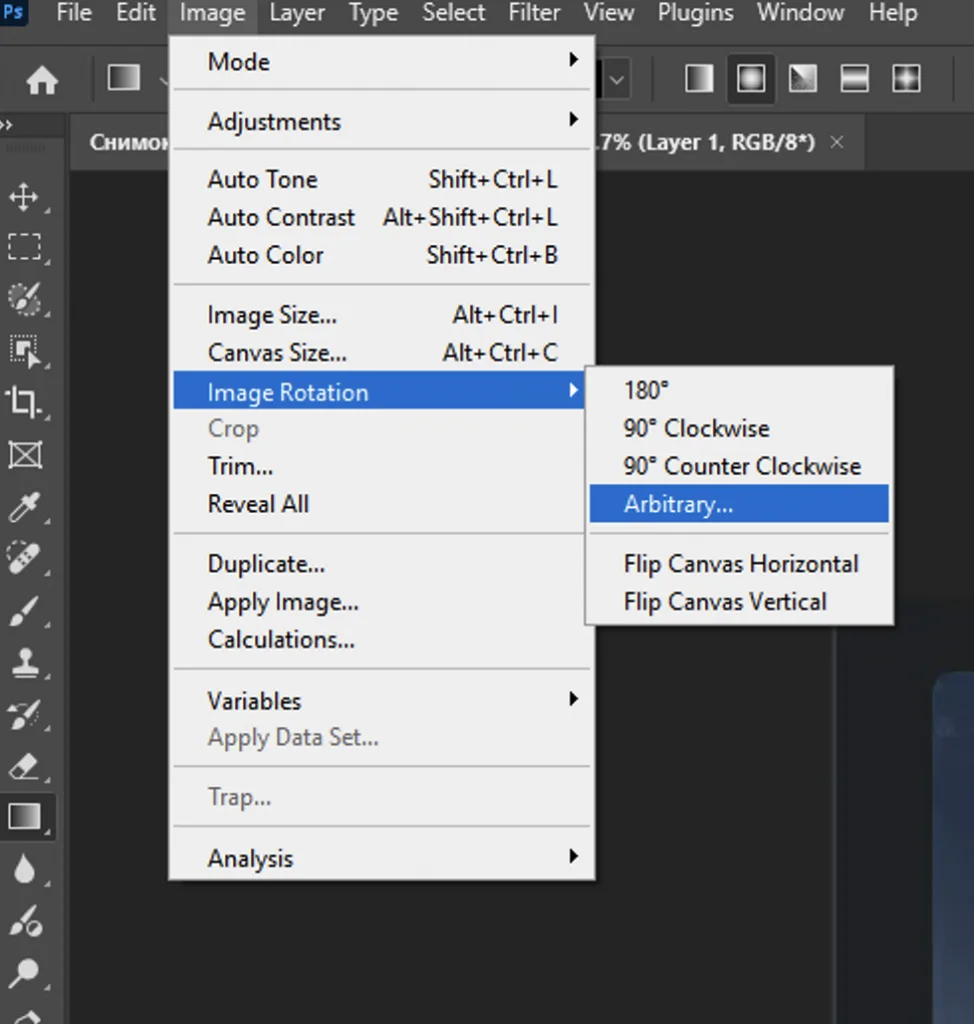
Go to the top menu bar and select Image > Image Rotation. Choose one of the following:
- 90° Clockwise: Turns the image to the right.
- 90° Counter Clockwise: Turns the image to the left.
- 180°: Flips the image upside down.
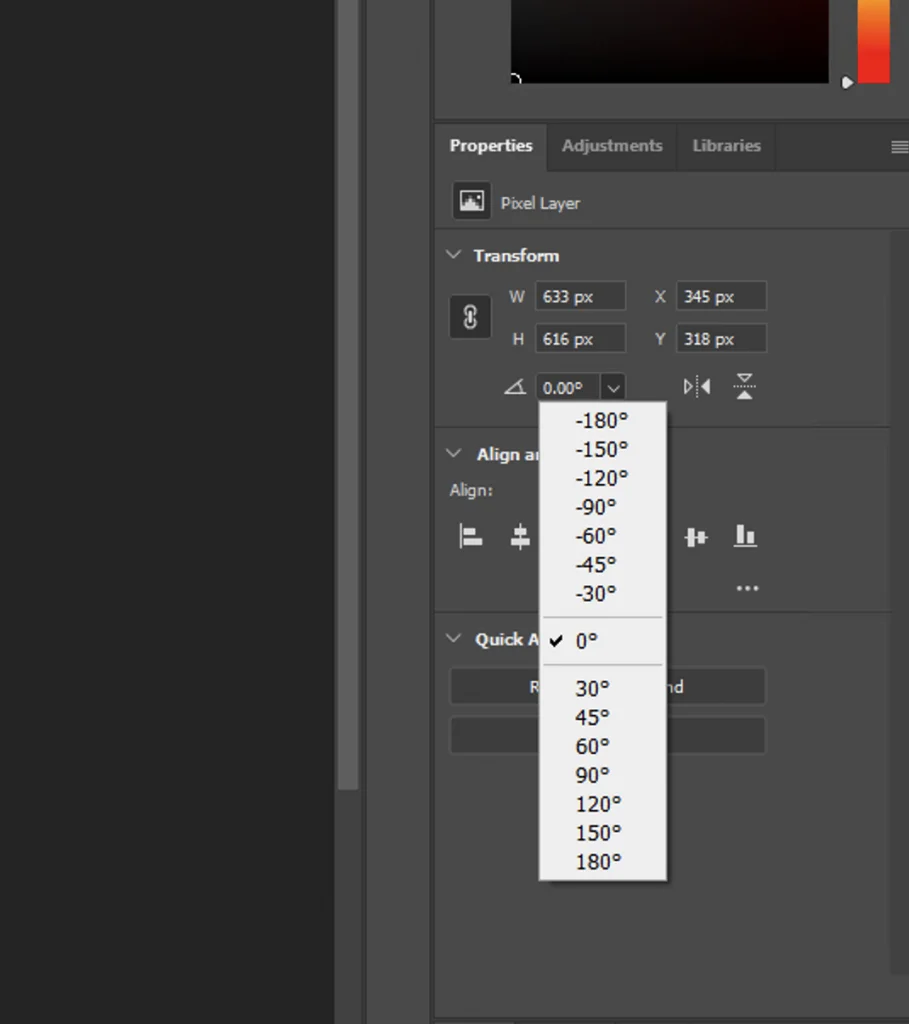
- Arbitrary: Allows you to type a specific angle (e.g., 2.5 degrees) for precise adjustments.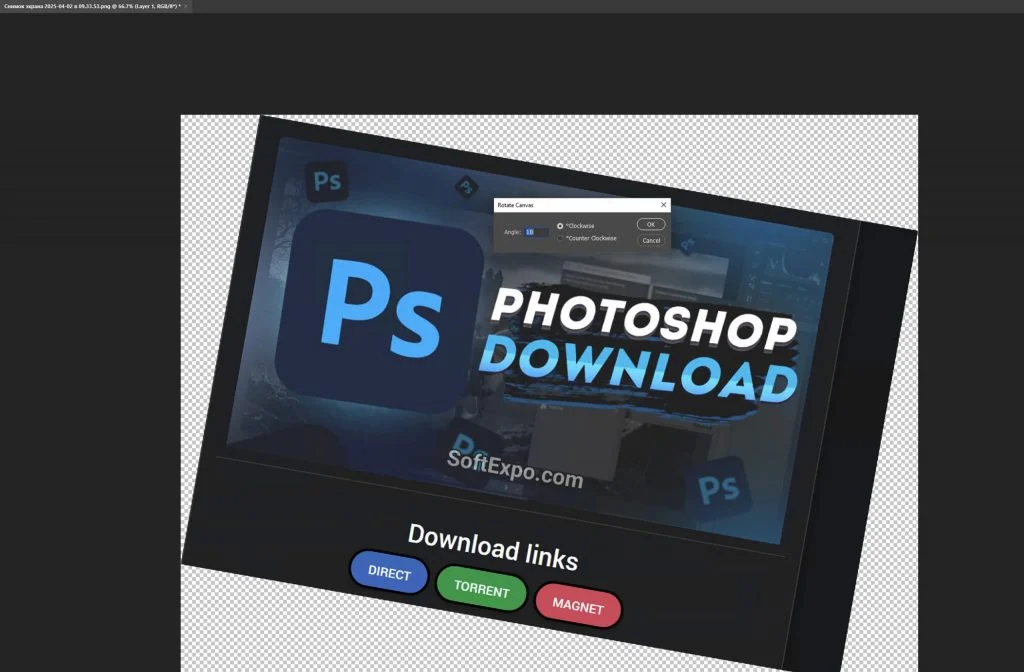
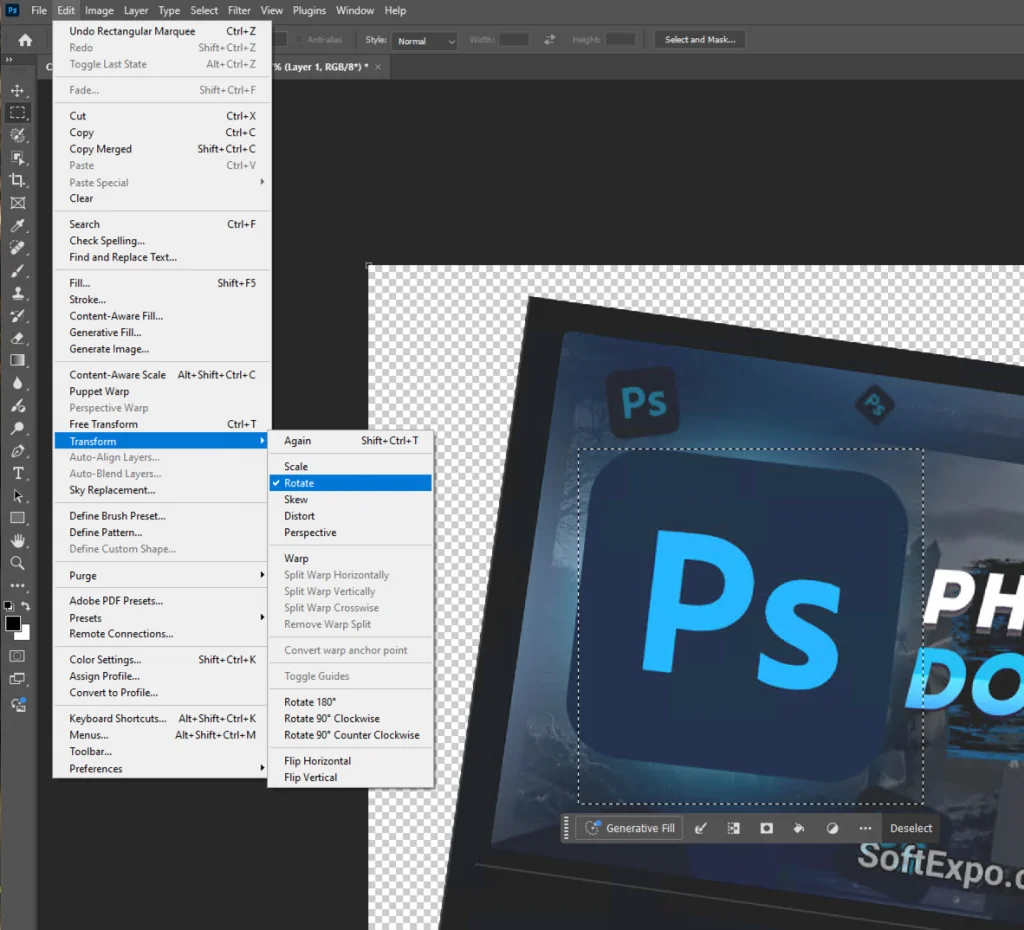
- Method B: Rotating a Single Layer. Use this to turn a specific object without moving the background.
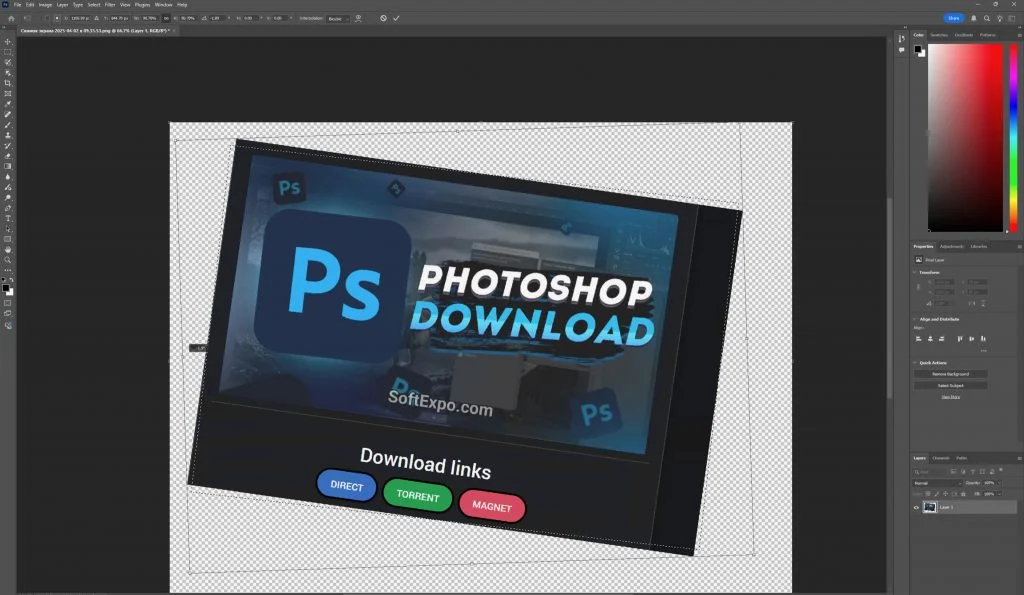
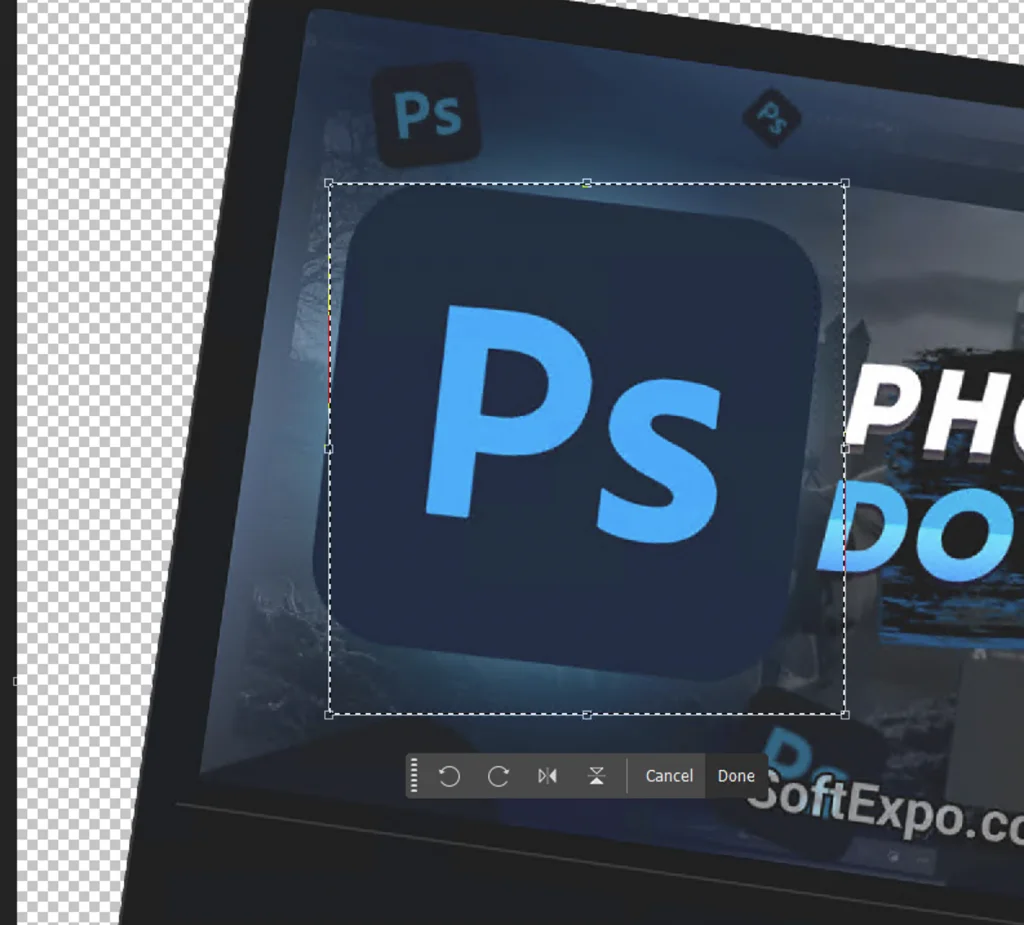
Select the layer you want to rotate in the Layers Panel (F7). Press Ctrl+T on your keyboard to activate Free Transform.
- Adjust the Layer Rotation. Move your cursor slightly outside one of the corner handles of the bounding box until the cursor turns into a curved, double-sided arrow. Click and drag to rotate the object.
- Method C: Straightening a Crooked Horizon. Select the Crop Tool (press C). In the options bar at the top, click the Straighten icon (looks like a small level). Click and drag a line across the horizon in your photo; Photoshop will automatically rotate and crop the image to make that line perfectly horizontal.
- Finalize the changes. For the Canvas method, the change is instant. For Free Transform or the Crop Tool, press Enter to commit the rotation or Esc to cancel.
- Save your work. Go to File > Save As (Ctrl+Shift+S) to save the rotated version.


Tips for Better Results
- Use Smart Objects: Before using Free Transform (Method B), right-click your layer in the Layers panel and select "Convert to Smart Object." This allows you to rotate the layer multiple times without losing pixel quality.
- Hold Shift for Precision: When using Free Transform, hold the Shift key while dragging. This snaps the rotation to 15-degree increments, making it easy to hit exactly 90 or 45 degrees.
- Fill Missing Corners: If straightening an image creates empty transparent corners, check the "Generative Expand" or "Content-Aware" box in the Crop Tool options bar to automatically fill those gaps with matching imagery.
- Rotate View Only: If you only need to rotate the canvas temporarily to make drawing easier (like turning a sketchpad), press R and drag on the canvas. Press Esc to reset the view upright without altering the file.
Common Mistakes to Avoid
- Confusing Canvas vs. Layer: If your background turns white or checkerboard when you rotate an object, you likely rotated the specific layer instead of the Image Canvas. Use Image > Image Rotation for the whole picture.
- Cutting Off Details: When straightening a photo, the automatic crop might remove important details near the edges. Watch the crop preview boundaries carefully before pressing Enter.
Recommendations

How to Feather Edges in Photoshop: Easy and Fast Techniques
Feathering edges in Photoshop is a fundamental skill that softens the transition between a selection and its

How to Invert Colors in Photoshop: Step-by-Step Guide
To invert colors in Photoshop on Windows, the fastest method is to select your layer and press Ctrl + I on your

Last updated: 23.01.2026
Views: 18


