Description
Inverting colors in Adobe Photoshop is a fundamental skill that instantly flips the color spectrum of your image, turning whites to blacks, blues to oranges, and greens to magentas. This technique is essential for creating film negative effects, analyzing tonal values, or designing high-contrast artistic graphics. Before you begin, ensure you have your image ready and Photoshop open on your Windows computer.
What You'll Need
To follow this guide effectively, you should have the following ready:
- A PC running Windows 10 or Windows 11.
- Adobe Photoshop installed (Any version from CS6 to Photoshop 2026 works, but this guide uses the modern interface).
- A digital image file (JPG, PNG, or PSD) that you wish to edit.
- Basic familiarity with the Photoshop interface, specifically the Layers panel.
Step-by-Step Guide
There are three primary ways to invert colors. We will cover the destructive method (permanent change) and the non-destructive method (editable), which is the industry standard for professional workflows.
Method 1: The Quick Keyboard Shortcut (Destructive)
Use this method if you need a fast result and do not plan to edit the original colors later.
- Open your image in Photoshop by going to File > Open and selecting your file.
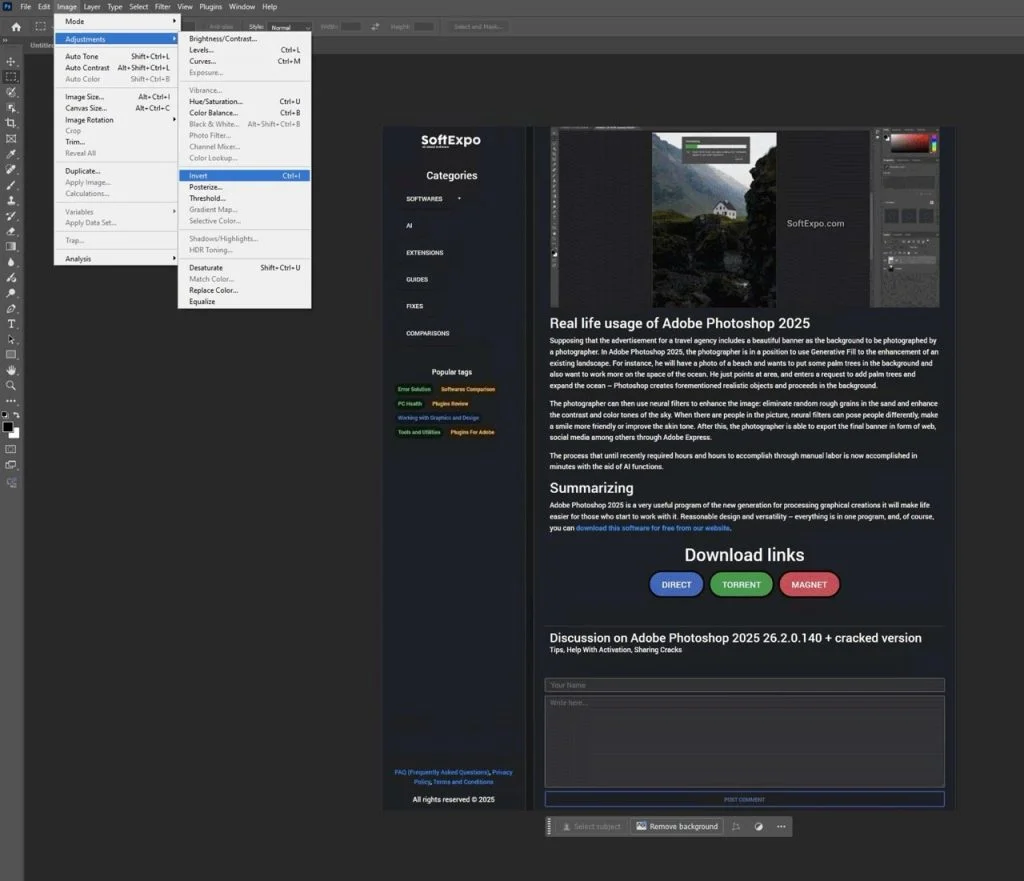
- Look at the Layers panel on the bottom right of your screen. Click once on the specific layer you want to invert to ensure it is active.
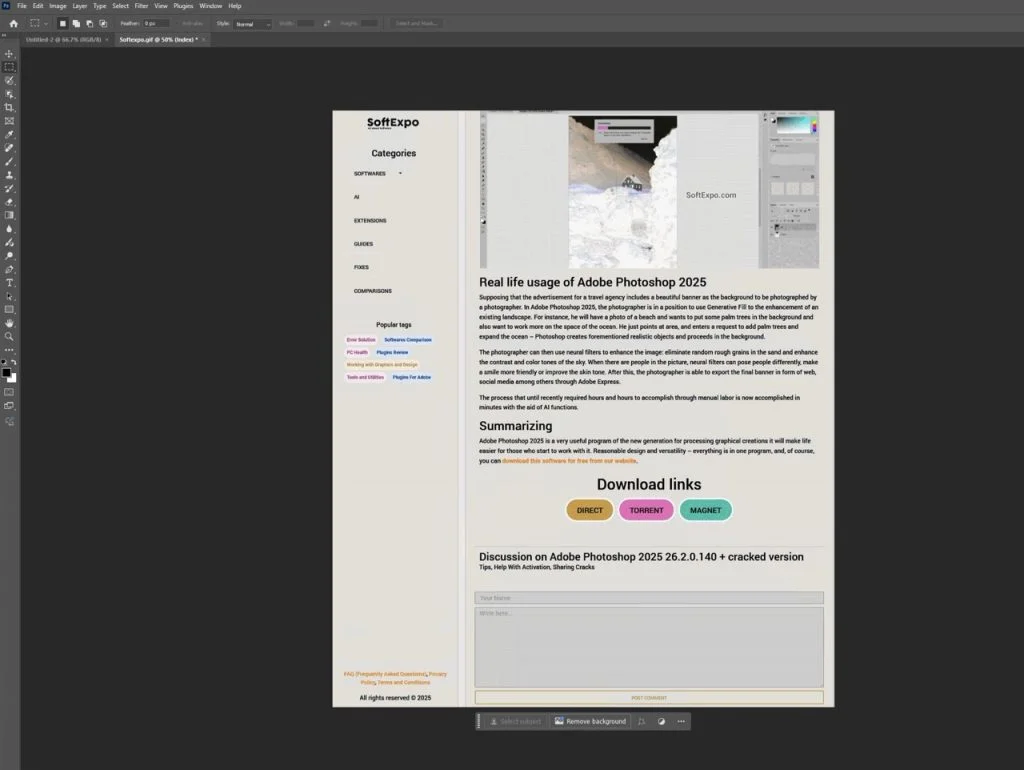
- Press Ctrl + I on your keyboard.
- Your image colors will immediately flip to their opposites.
- To save your work, go to File > Save As to create a new file, ensuring you don't overwrite your original.
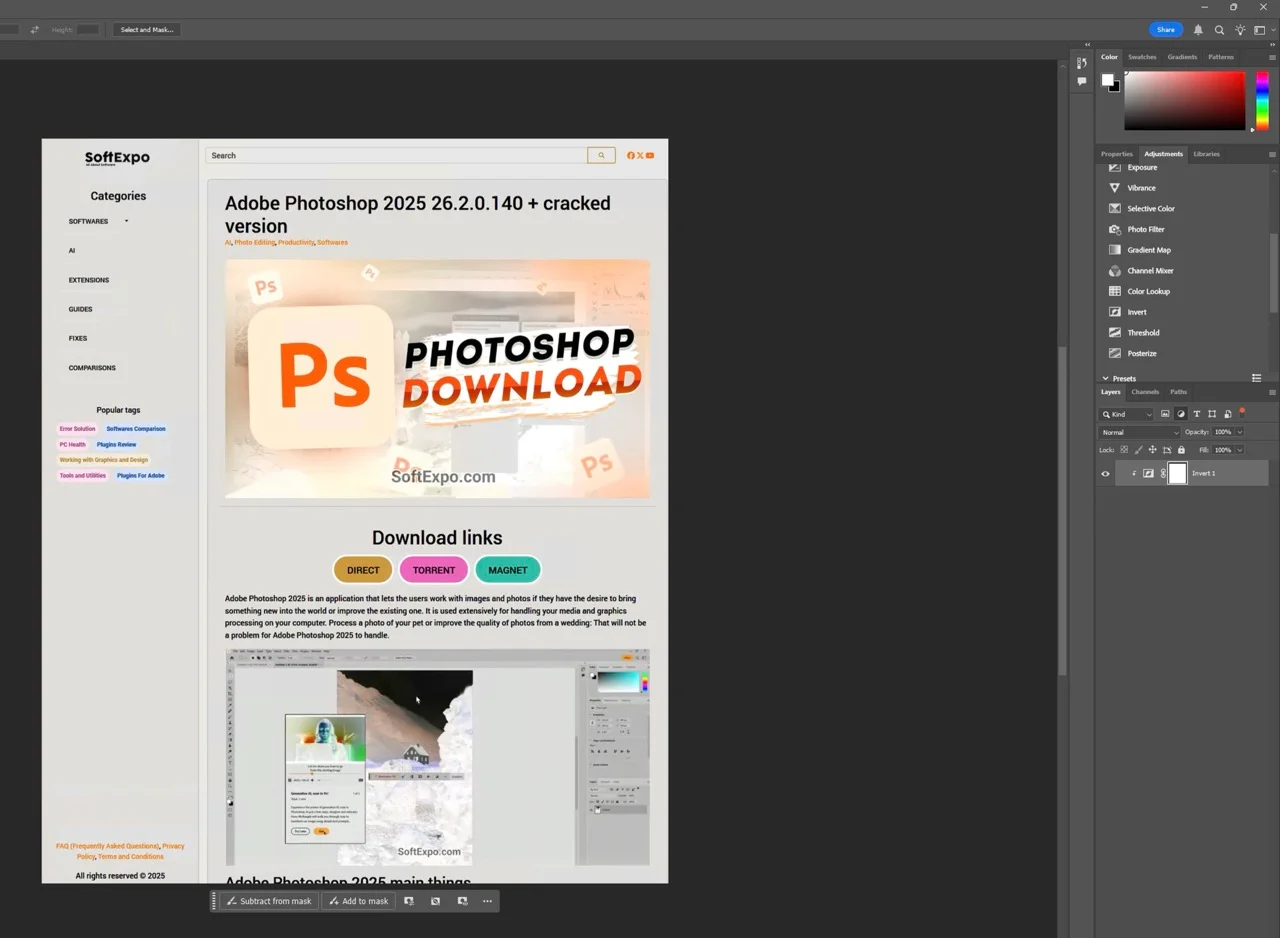
Method 2: Using the Adjustment Layer (Non-Destructive)
This is the recommended method for most projects because it allows you to toggle the effect on or off and keeps your original image data safe.
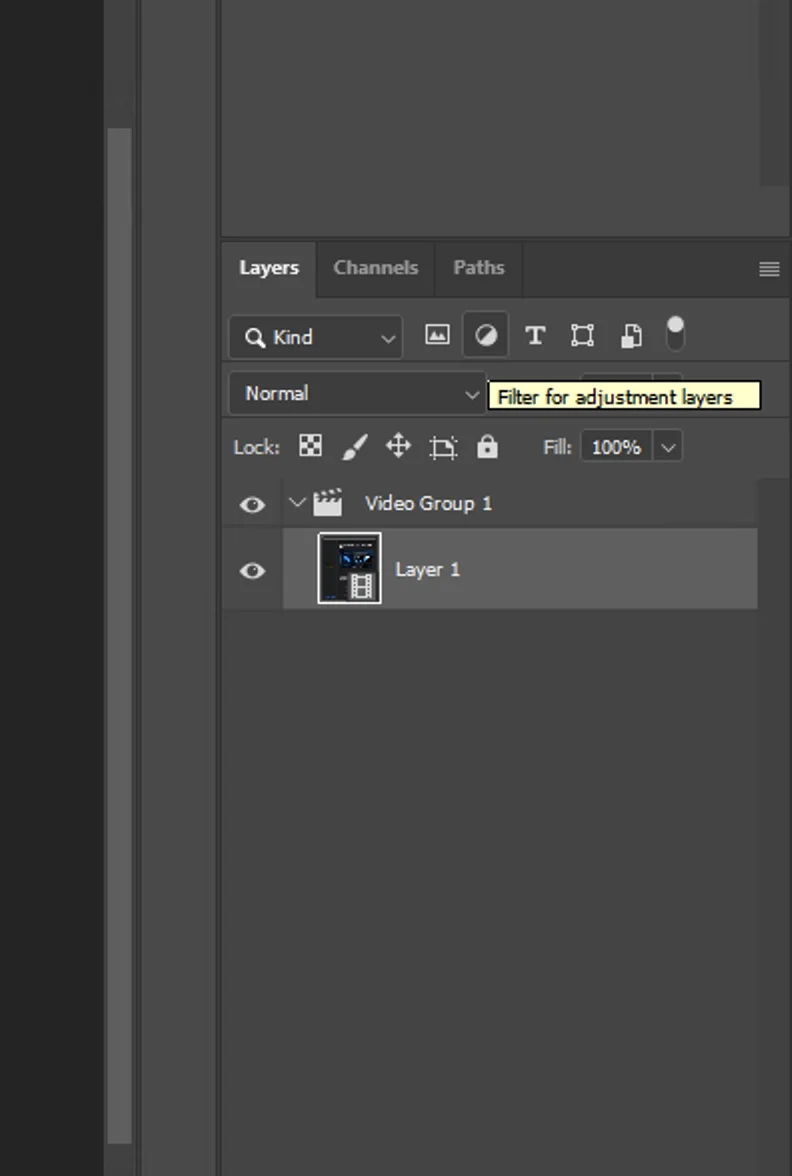
- Open your image and locate the Layers panel.
- Go to the bottom of the Layers panel and click the Create new fill or adjustment layer icon (it looks like a half-filled circle).
- From the pop-up menu that appears, select Invert.
- A new layer named "Invert 1" will appear above your image layer. The effect is applied immediately.
- If you want to disable the effect later, simply click the Eye icon next to the Invert layer to hide it.
Method 3: Inverting Only a Specific Area
Sometimes you only want to invert a specific object or section of your photo.
- Select the Marquee Tool (press M) or the Lasso Tool (press L) from the toolbar on the left.
- Click and drag on your canvas to draw a selection around the area you want to invert. You will see "marching ants" outlining your selection.
- With the selection active, navigate to Layer > New Adjustment Layer > Invert in the top menu bar.
- Click OK when the dialog box appears.
- Photoshop automatically creates a mask for your selection. Only the area you selected will appear inverted.
Tips for Better Results
- Use Smart Objects: Before using destructive methods, right-click your layer and choose "Convert to Smart Object." This allows you to use Smart Filters, which can be edited later.
- Combine with Blending Modes: Change the Blending Mode of your Invert adjustment layer from "Normal" to "Color" or "Luminosity" to invert only the hue or the brightness values, creating unique artistic effects.
- Invert Masks: You can also invert the black-and-white layer masks themselves. Click on a mask thumbnail in the Layers panel and press Ctrl + I. This hides what was visible and reveals what was hidden.
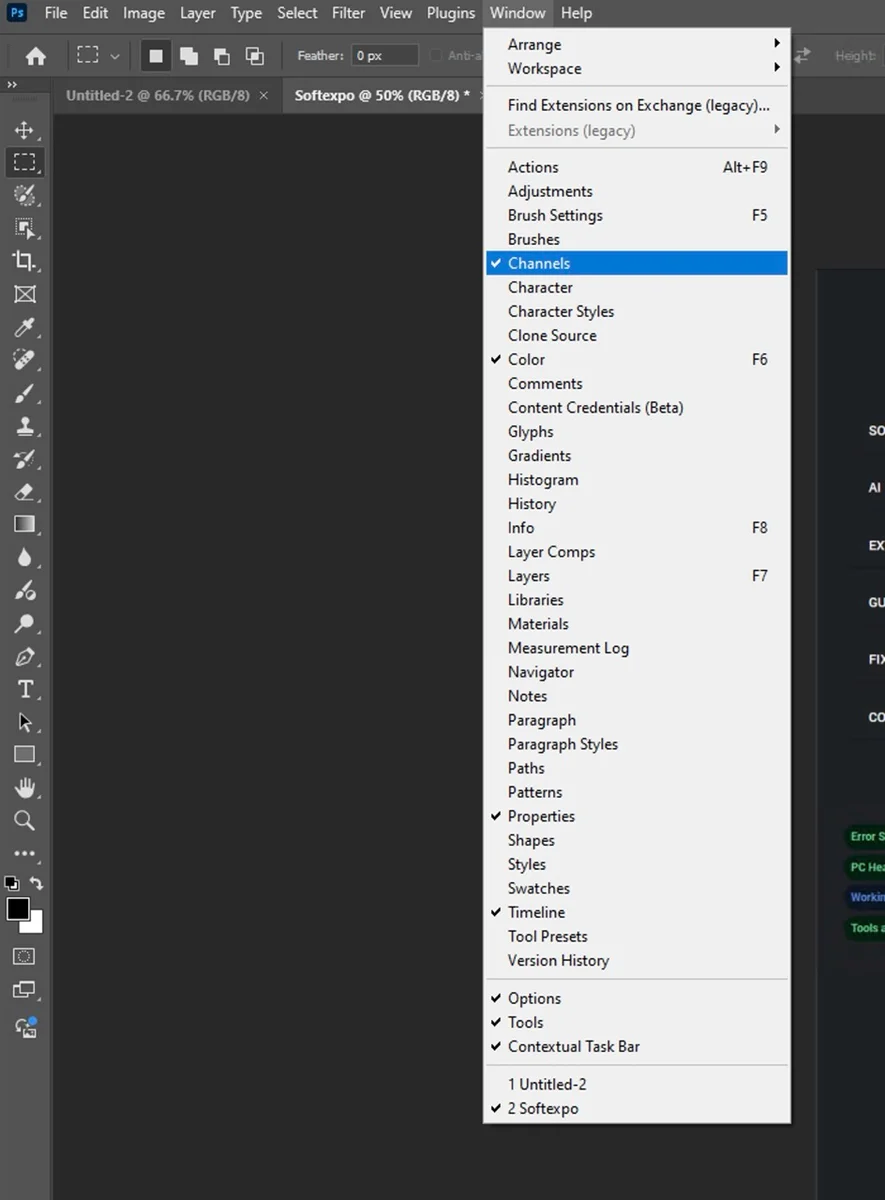
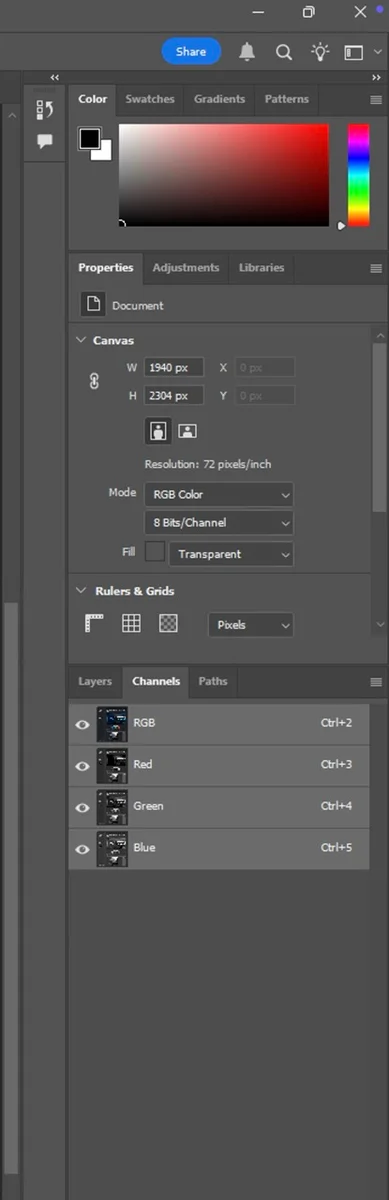
- Check Your Channels: For advanced color correction, you can invert specific color channels (Red, Green, or Blue) in the Channels panel to fix color casts in scanned film negatives.
Common Mistakes to Avoid
Inverting the Wrong Layer
If nothing happens when you press the shortcut, check your Layers panel. You might have an empty layer or a hidden layer selected. Click explicitly on the image thumbnail you intend to edit.
Greyed Out Options
If the Invert option is greyed out in the menu, your image might be in a mode that doesn't support it, such as Indexed Color. Go to Image > Mode and ensure RGB Color is checked.
Confusion with Layer Masks
If you have an adjustment layer selected but press Ctrl + I, Photoshop will invert the mask of that layer (changing white to black), not the actual image colors. Make sure you select the actual image layer or the Invert adjustment layer itself depending on your goal.
How to Feather Edges in Photoshop: Easy and Fast Techniques
How to Crop in Photoshop: Simple and Effective Techniques


