Description
Cropping is one of the most fundamental skills in Photoshop, allowing you to improve composition, remove distractions, and resize images for specific platforms. By mastering the Crop Tool, you can completely transform the focus of a photograph in seconds. Before you begin, ensure you have your image open in Photoshop on your Windows computer.
What You'll Need
- Adobe Photoshop (Creative Cloud 2025 or newer recommended for AI features)
- An image file (JPG, PNG, or PSD)
- Basic familiarity with the Windows interface
Step-by-Step Guide
- Select the Crop Tool
Locate the Crop Tool in the left-hand toolbar. It looks like two intersecting right angles. You can also press the C key on your keyboard to activate it immediately.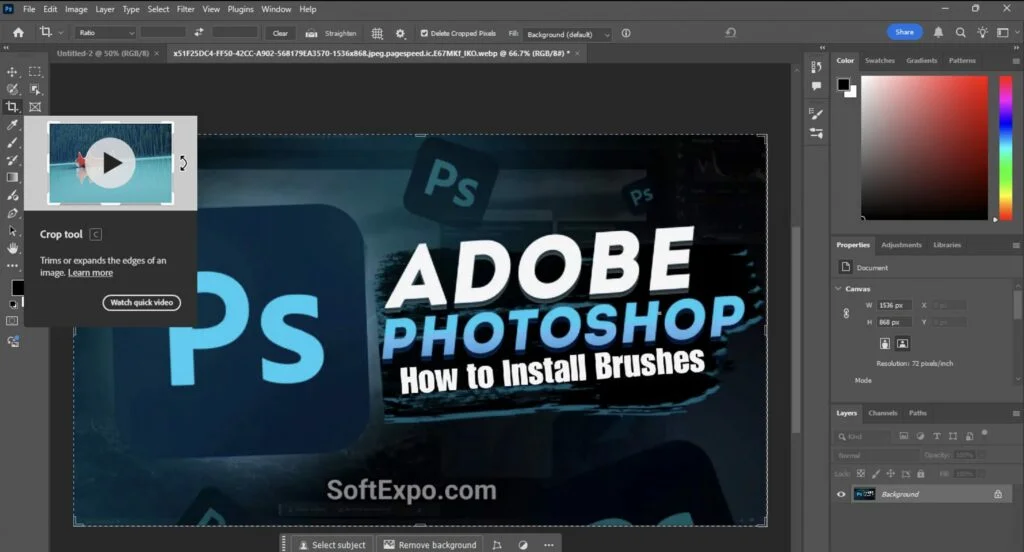
- Choose Your Aspect Ratio
Look at the Options Bar at the top of the screen. Click the dropdown menu on the far left (often set to "Ratio" or "Original Ratio"). Select a preset like 1:1 (Square) for social media, or choose W x H x Resolution to type in exact dimensions (e.g., 1920 px x 1080 px).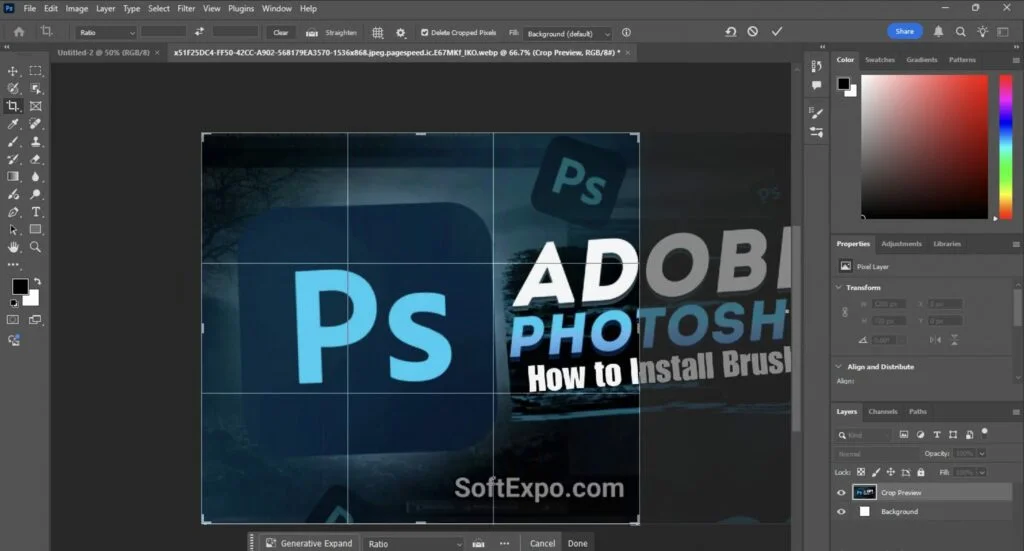
- Adjust the Crop Borders
Click and drag the corner "handles" of the crop box inward to remove unwanted areas. You can also click and drag inside the box to reposition the image itself.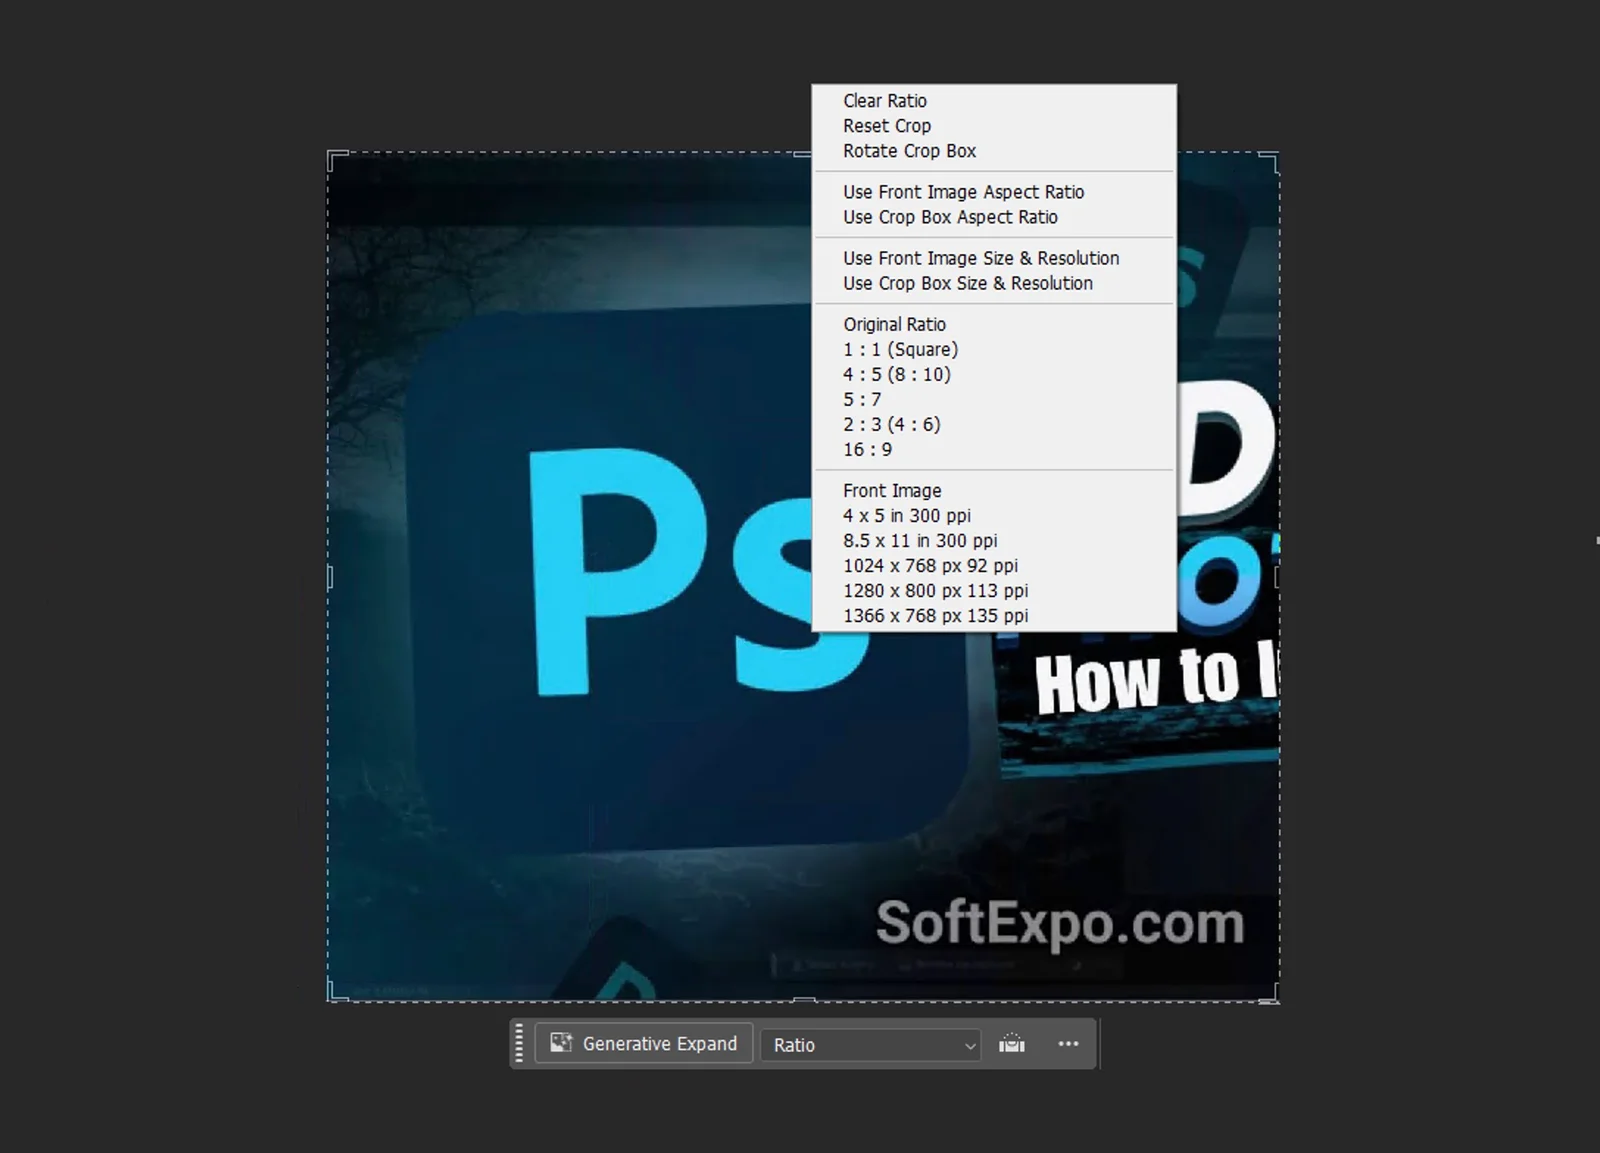
- Straighten the Image (Optional)
If your photo is crooked, click the Straighten icon (it looks like a small level) in the Options Bar. Click and drag a line across a horizon or vertical edge in your photo, and Photoshop will automatically rotate the image to align with that line.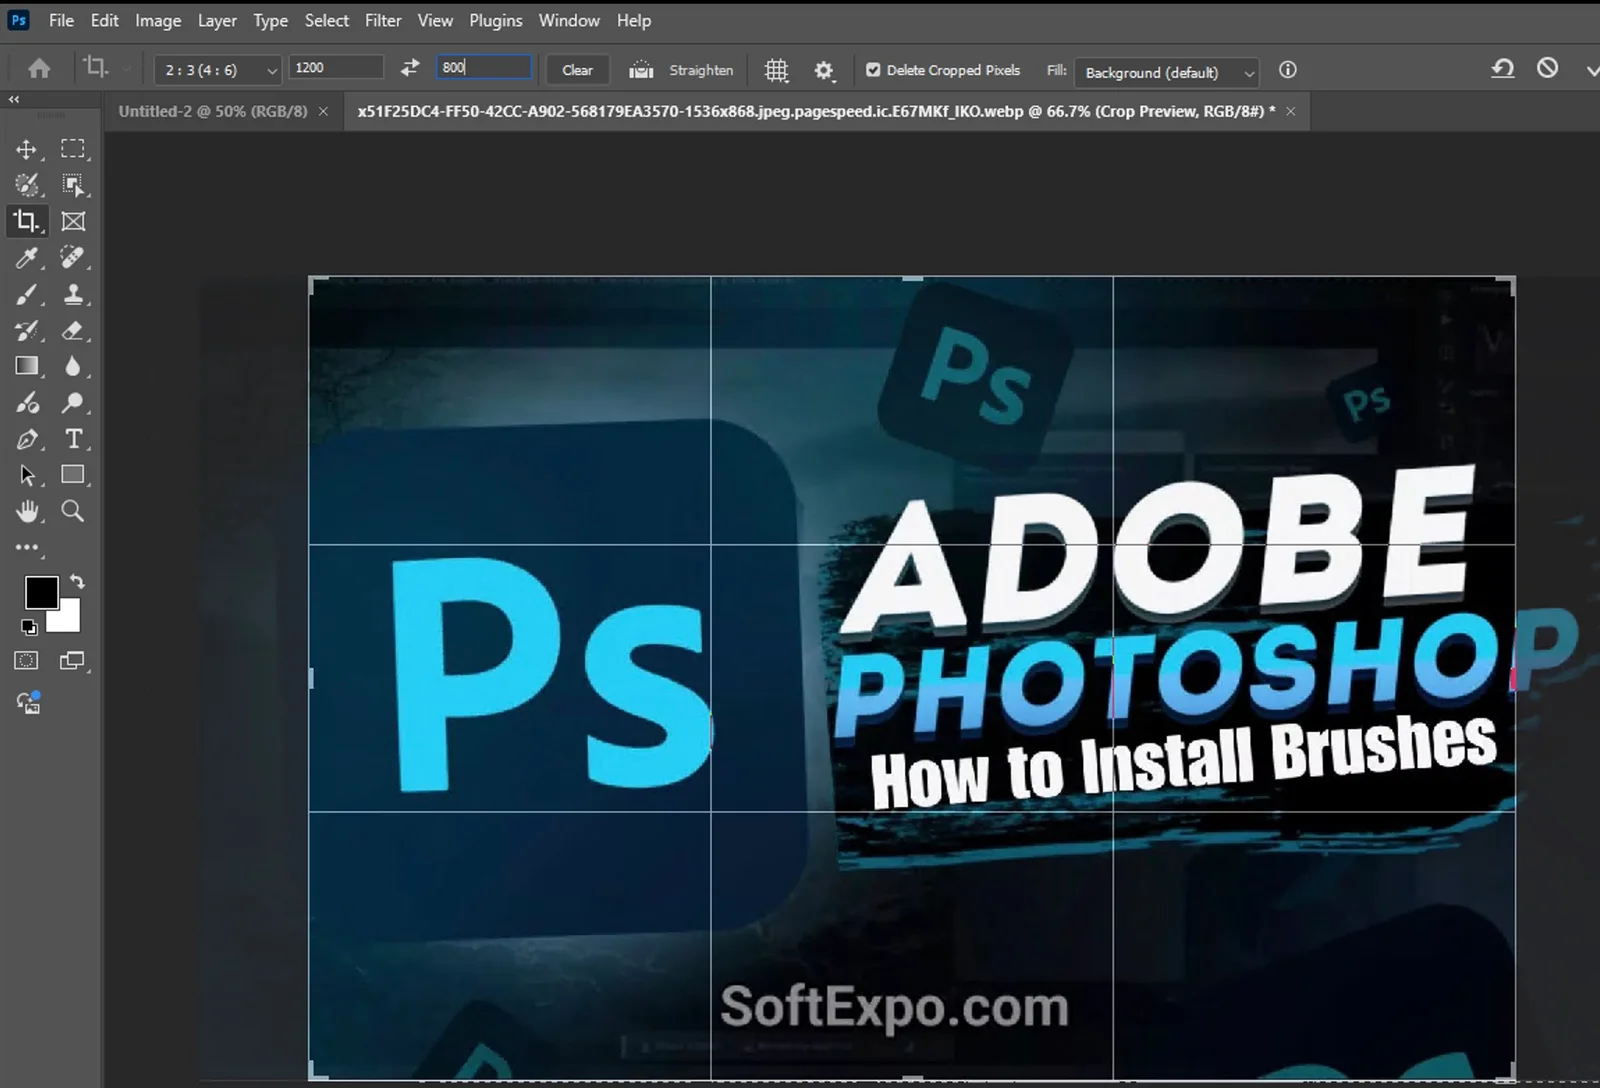
- Set Crop Options
Before finishing, check the Delete Cropped Pixels box in the Options Bar. If you uncheck this, Photoshop keeps the hidden pixels, allowing you to resize the image later (non-destructive). If checked, those pixels are permanently removed.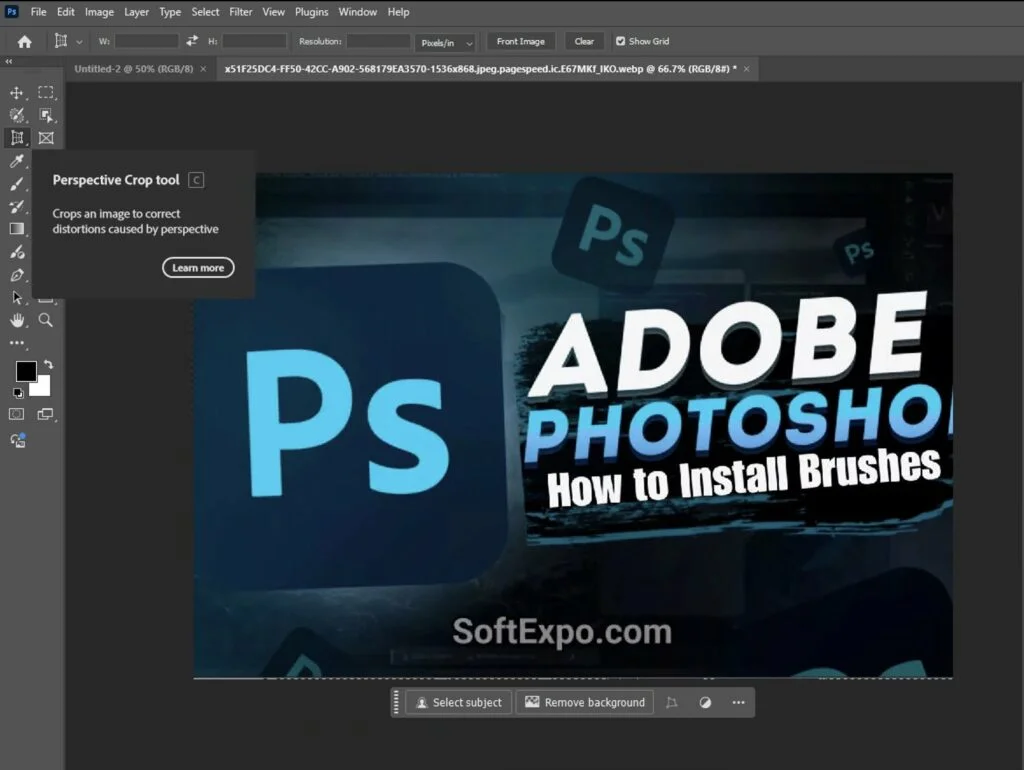
- Commit the Crop
Once you are happy with the composition, press Enter on your keyboard or click the Checkmark icon in the Options Bar to apply the changes.
Tips for Better Results
- Cycle Overlays: Press the O key while cropping to cycle through different composition guides, such as the Rule of Thirds, Golden Ratio, or Grid.
- Swap Orientation: Press the X key to instantly switch your crop box between portrait and landscape orientation.
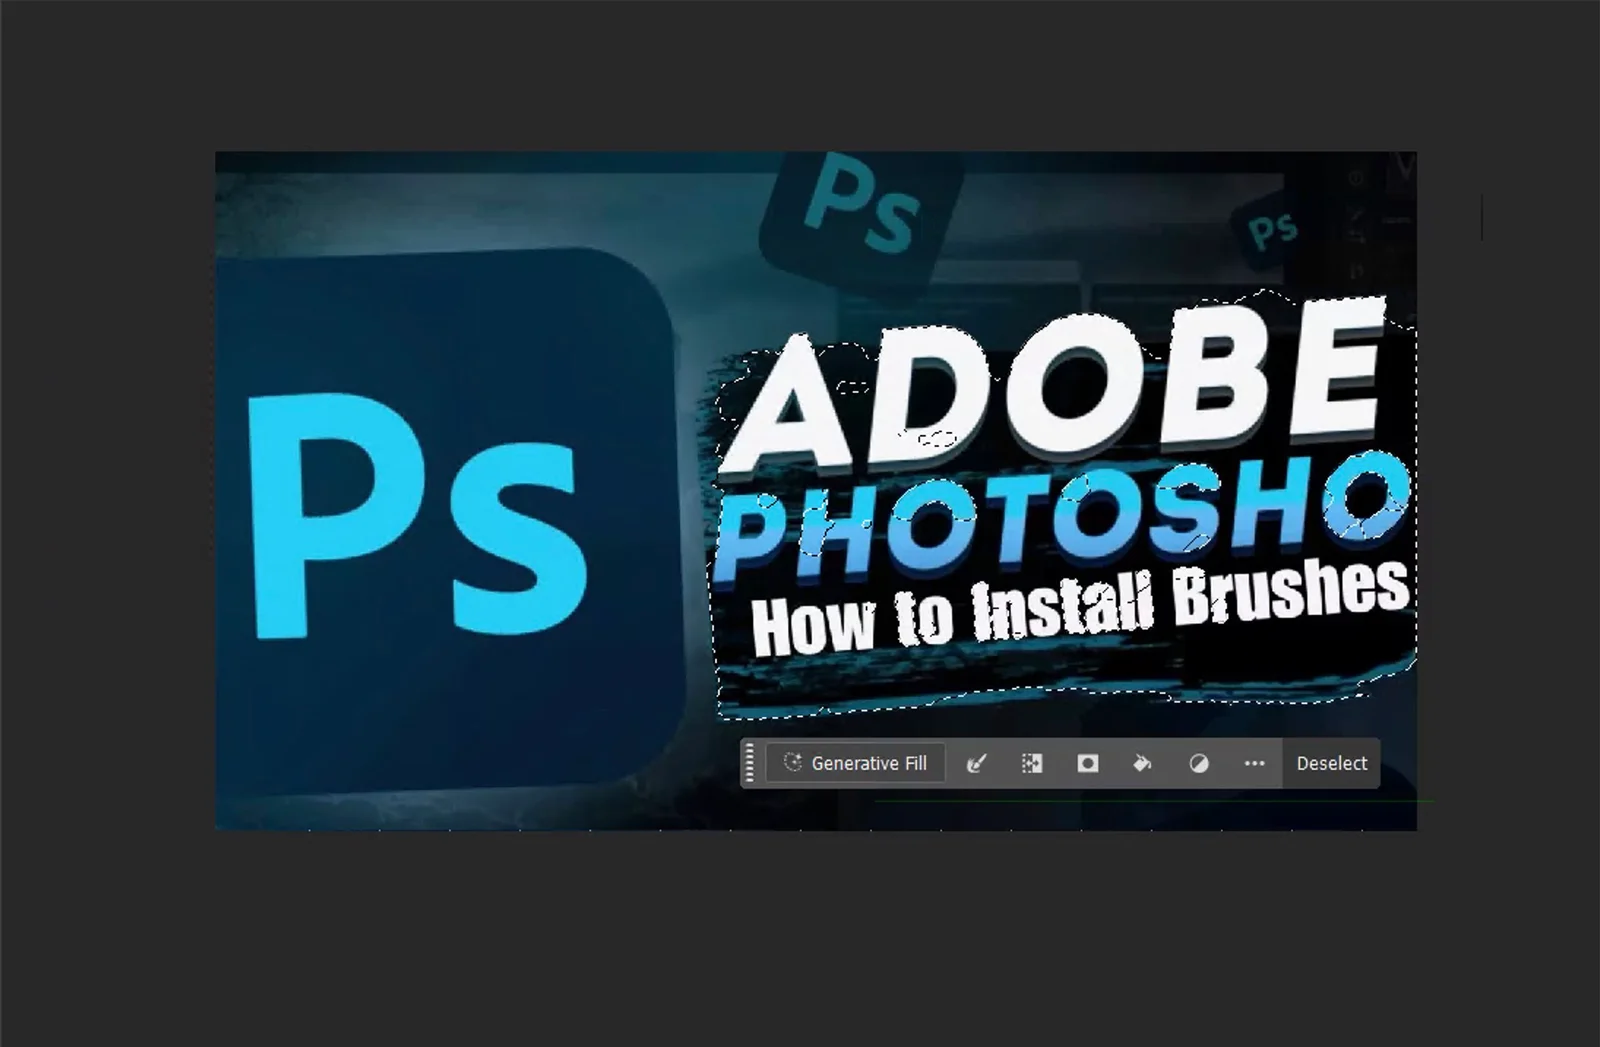
- Generative Expand: In newer versions of Photoshop, change the "Fill" option in the top bar to Generative Expand. If you drag the crop handles outward past the image edge, AI will generate new pixels to fill the blank space seamlessly.
Common Mistakes to Avoid
Permanently Deleting Pixels
Beginners often leave "Delete Cropped Pixels" checked. If you save the file and close it, you cannot get the original edges back. Always uncheck this box if you might need to adjust the framing later.
Accidental Perspective Changes
If your image looks distorted or "squashed" after cropping, you may have accidentally used the "Perspective Crop Tool" (hidden under the main Crop Tool). Press Esc to cancel and ensure you have the standard Crop Tool selected.

How to Feather Edges in Photoshop: Easy and Fast Techniques

How to Invert Colors in Photoshop: Step-by-Step Guide