Description
Creating text that perfectly curves around a circle is a fundamental skill in Photoshop, essential for designing badges, logos, and stamps. While standard text tools type in straight lines, Photoshop's path functionality allows you to bend type into any shape you desire. This guide will walk you through the precise method to wrap text around a circular path, ensuring your typography looks professional and polished.
You don't need advanced graphic design skills to achieve this effect. By combining the Shape tools with the Type tool, you can create fully editable curved text in just a few minutes. Make sure you have Adobe Photoshop installed on your Windows machine before you begin.
What You'll Need
To follow along, you simply need a working installation of Adobe Photoshop (CC 2020 or newer is recommended for the best interface experience, though this technique works on older versions too). No external plugins or assets are required—just a blank document and your mouse or keyboard.
Step-by-Step Guide
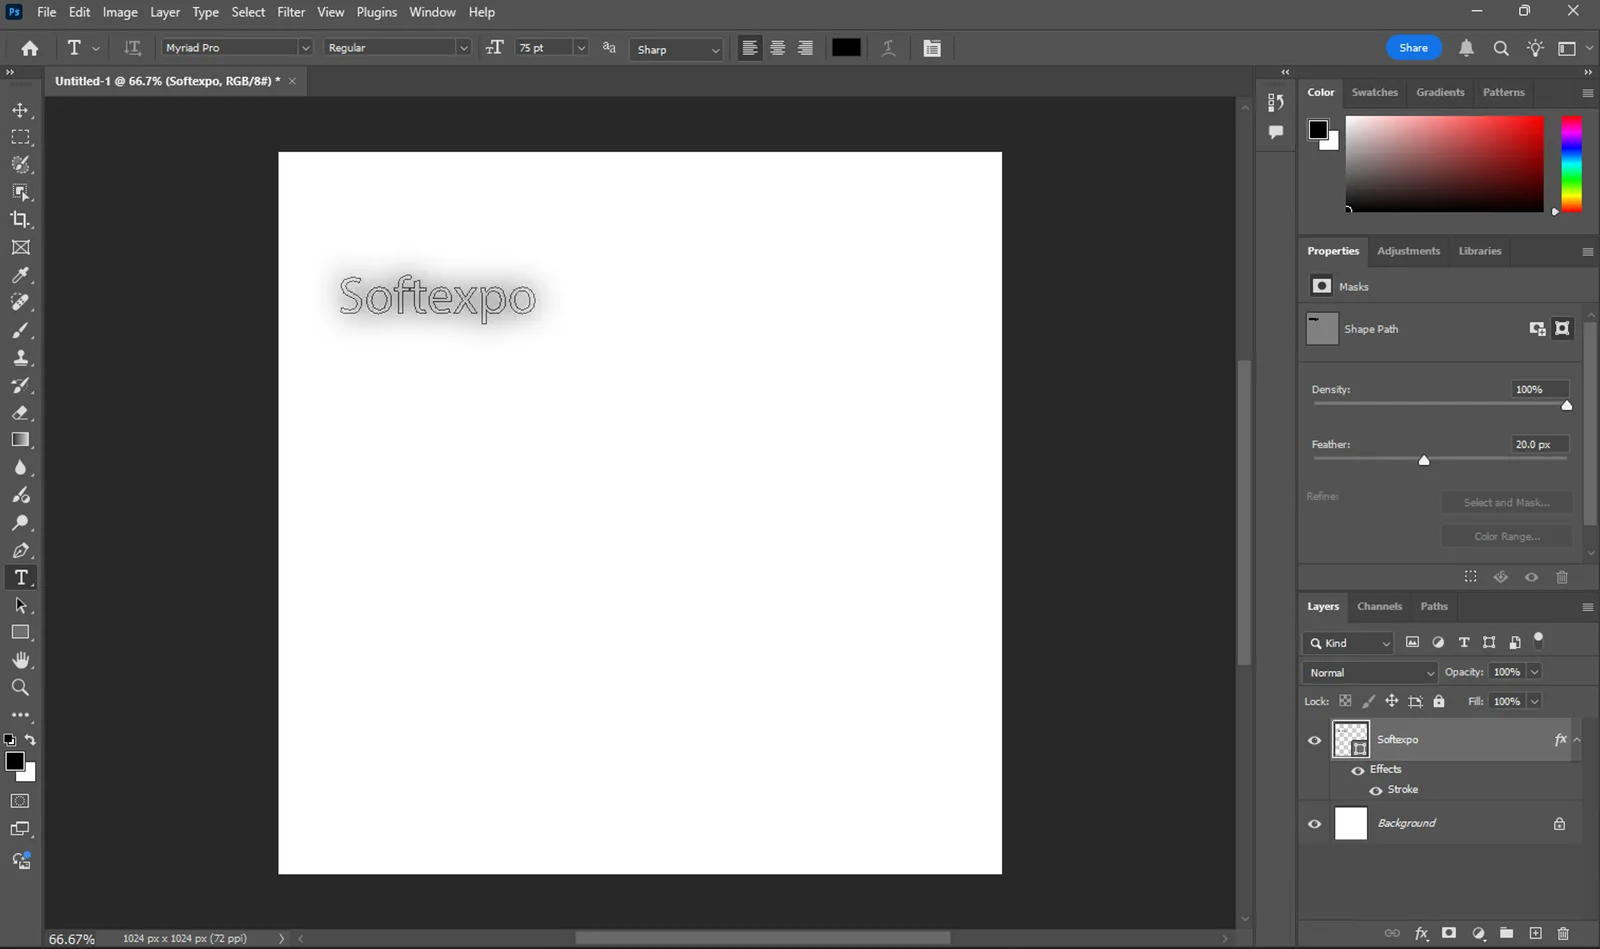
- Create a New Document: Open Photoshop and create a new file (File > New). A square canvas (e.g., 1000x1000 pixels) works best for circular designs.
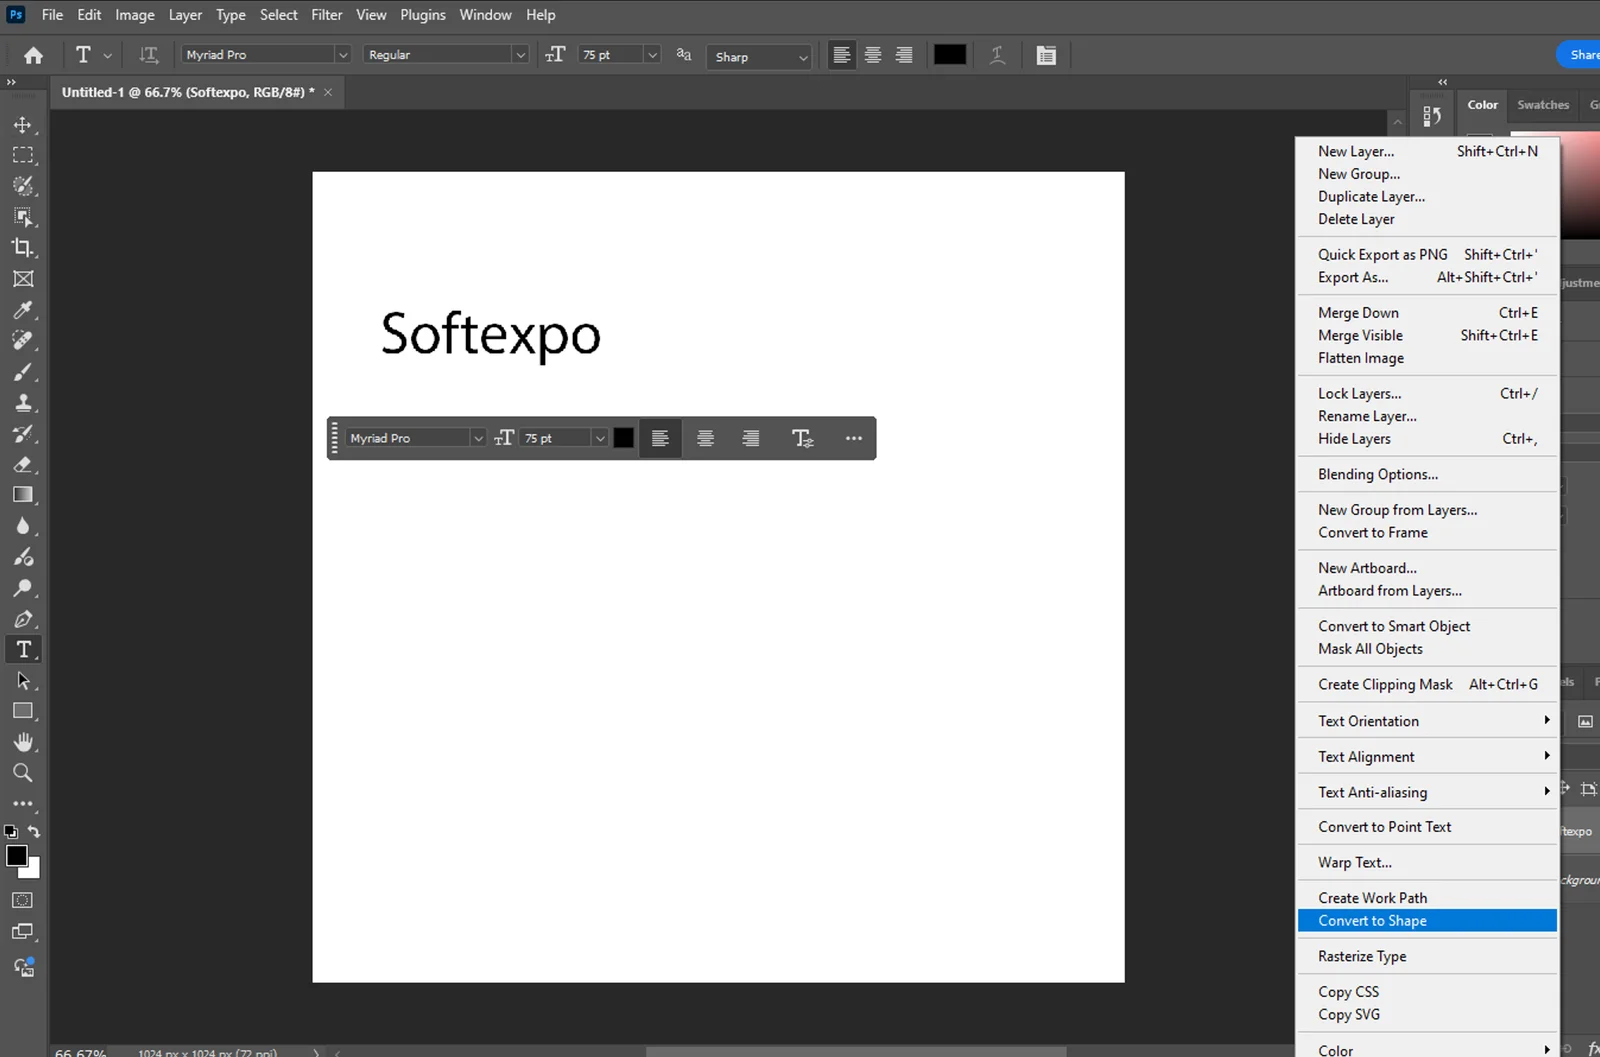
- Select the Ellipse Tool: Locate the Shape tools in the left toolbar (usually hidden under the Rectangle Tool). Right-click and select the Ellipse Tool.
- Set Tool Mode to 'Path': In the Options bar at the very top of the screen, look for a dropdown menu that says 'Shape' or 'Pixels'. Click it and change it to Path. This is crucial as it creates a guide for the text without adding a colored shape layer.
- Draw Your Circle: Click and drag on your canvas to draw the circle. Hold down the Shift key while dragging to ensure it creates a perfect circle rather than an oval.
- Activate the Type Tool: Press T on your keyboard to select the Horizontal Type Tool. Choose your desired font, size, and color in the top Options bar. Center alignment works best for this technique.
- Click on the Path: Move your cursor over the edge of the circle you just drew. Watch closely: the cursor icon will change from a square box to a squiggly curved line intersecting the I-beam. Click exactly when you see this wavy line.
- Type Your Text: Type your phrase (e.g., "ESTABLISHED 2026"). The text will automatically wrap around the curve of the circle. Press the Checkmark in the options bar or press Ctrl + Enter to commit the text.
- Reposition the Text: To rotate or move the text, select the Path Selection Tool (press A, or click the Black Arrow icon in the toolbar). Hover over your text on the circle until the cursor changes to an arrow with a small text icon next to it.
- Drag to Rotate: Click and drag along the circle path. You will see the text slide along the curve. Drag it until it is perfectly centered or positioned where you want it.
Tips for Better Results
- Flipping Text: If you want text on the bottom of the circle that reads right-side up (not upside down), use the Path Selection Tool and drag the text cursor inside the circle. This flips the text orientation.
- Adjusting Spacing: Curved text often looks crunched. Open the Character Panel (Window > Character) and increase the Tracking (the VA icon) to add space between letters for better readability.
- Using Baseline Shift: When flipping text to the bottom, it often sits inside the circle line rather than on top. Use the Baseline Shift option in the Character Panel (looks like A shifted above a line) to push the text vertically until it aligns with your top text.
- Guides Help: Go to View > New Guide Layout to add a center crosshair to your document. This makes it much easier to draw your initial circle exactly in the middle.
Common Mistakes to Avoid
Cursor didn't change: If you clicked and the text appeared inside the circle as a paragraph block, you missed the path edge. Make sure you see the wavy line icon before clicking. Use Ctrl + Z to undo and try again.
Path disappears: If your circle path vanishes after you click away, don't worry. It is still there. Click on your text layer or use the Paths panel to see it again. Photoshop hides paths when they aren't active to keep your view clean.

How to Curve Text in Photoshop: Step-by-Step Guide

How to Feather Edges in Photoshop: Easy and Fast Techniques