Description
Adding new fonts to Photoshop is one of the quickest ways to elevate your designs, allowing you to move beyond the standard system typefaces and create truly unique visuals. Whether you are branding a business or designing a social media graphic, the right typography can set the tone instantly. By installing fonts directly into your Windows operating system or syncing them via Adobe Creative Cloud, Photoshop will automatically detect and list them in your character panel.
You do not need to install fonts specifically "inside" Photoshop; instead, you install them on your computer, and Photoshop reads them from there. This process is simple, but doing it correctly ensures the fonts work across all your other applications as well.
What You'll Need
Before you begin, ensure you have the following ready:
- Windows 10 or Windows 11 installed on your PC.
- Adobe Photoshop (Creative Cloud version recommended for Method 1).
- Font Files (.ttf or .otf) downloaded to your computer, OR access to the Creative Cloud Desktop App.
Step-by-Step Guide
There are two primary ways to get new fonts: syncing them from Adobe's library or installing font files you downloaded from the web.
Method 1: Syncing from Adobe Fonts (The Easiest Way)
- Open the Creative Cloud Desktop app on your Windows taskbar.
- Click the Apps tab in the top-left, then select Manage Fonts (often represented by an 'f' icon) in the sidebar or top navigation.
- Click Browse More Fonts to open the Adobe Fonts website in your default browser.
- Search for a font family you like. You can use filters to sort by style (Serif, Sans Serif, Handwriting).
- Click the Add Family button (or the toggle switch next to specific styles) to activate them.
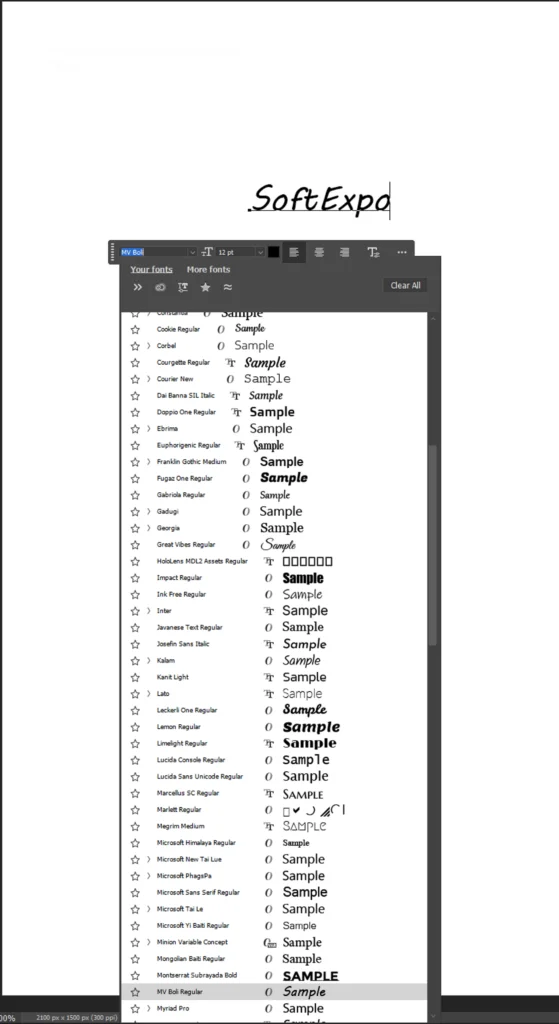
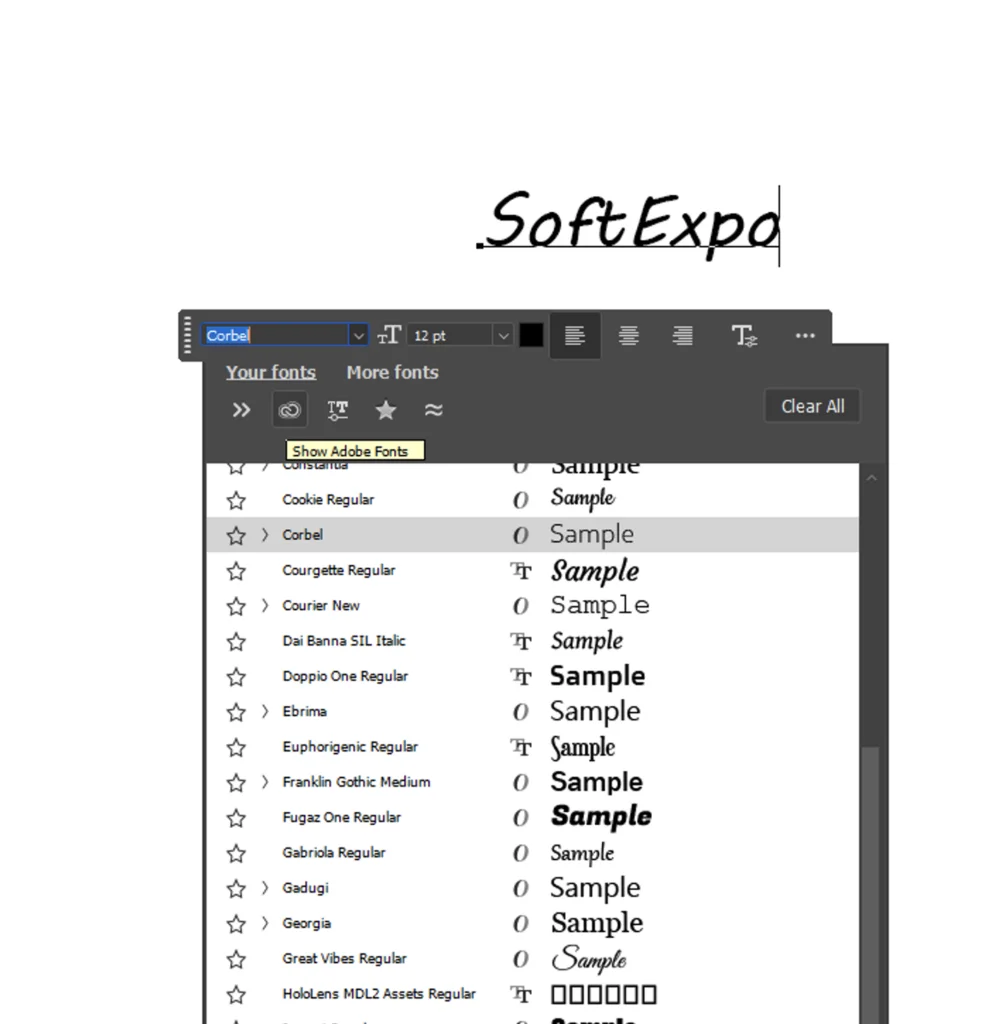
- Open Photoshop. Select the Type Tool (T) and check your font list. The new fonts will appear immediately with a small Creative Cloud icon next to them—no restart required.
Method 2: Installing Downloaded Fonts (Manual Method)
- Download your desired font from a reputable website (like Google Fonts or DaFont).
- Locate the downloaded file in your Downloads folder. It will often be a ZIP file.
- Right-click the ZIP file and select Extract All. Click Extract to confirm.
- Open the extracted folder and find the font file (look for .otf or .ttf extensions).
- Right-click the font file and select Install. (Pro Tip: If you have administrator privileges, select Install for all users to ensure the font works for everyone on the PC.)
- If Photoshop was open during this process, save your work and restart Photoshop.
- Once restarted, select the Type Tool (T), click the font dropdown menu in the top options bar, and type the name of your new font to select it.
Tips for Better Results
- Stick to OTF: If a downloaded font includes both .ttf (TrueType) and .otf (OpenType) versions, install the .otf version. It often contains advanced typography features like ligatures and alternate characters that Photoshop can utilize.
- Check Licenses: Always check the license file (usually a text file included in the download). Many free fonts are for "Personal Use Only," meaning you cannot use them for client work or commercial products without buying a license.
- Filter Your List: In the Photoshop font menu, you can click the Cloud icon filter to show only your synced Adobe fonts, making it easier to find the ones you just added.
Common Mistakes to Avoid
Not Extracting the ZIP File
A common error is trying to install a font directly from inside the ZIP folder without extracting it first. This often leads to an error message. Always extract the folder before right-clicking to install.
Forgetting to Restart
While Adobe Fonts sync instantly, manually installed fonts usually require you to close and reopen Photoshop for the software to refresh its font cache and see the new files.

How to Feather Edges in Photoshop: Easy and Fast Techniques

How to Install Brushes in Adobe Photoshop: Simple Instructions


