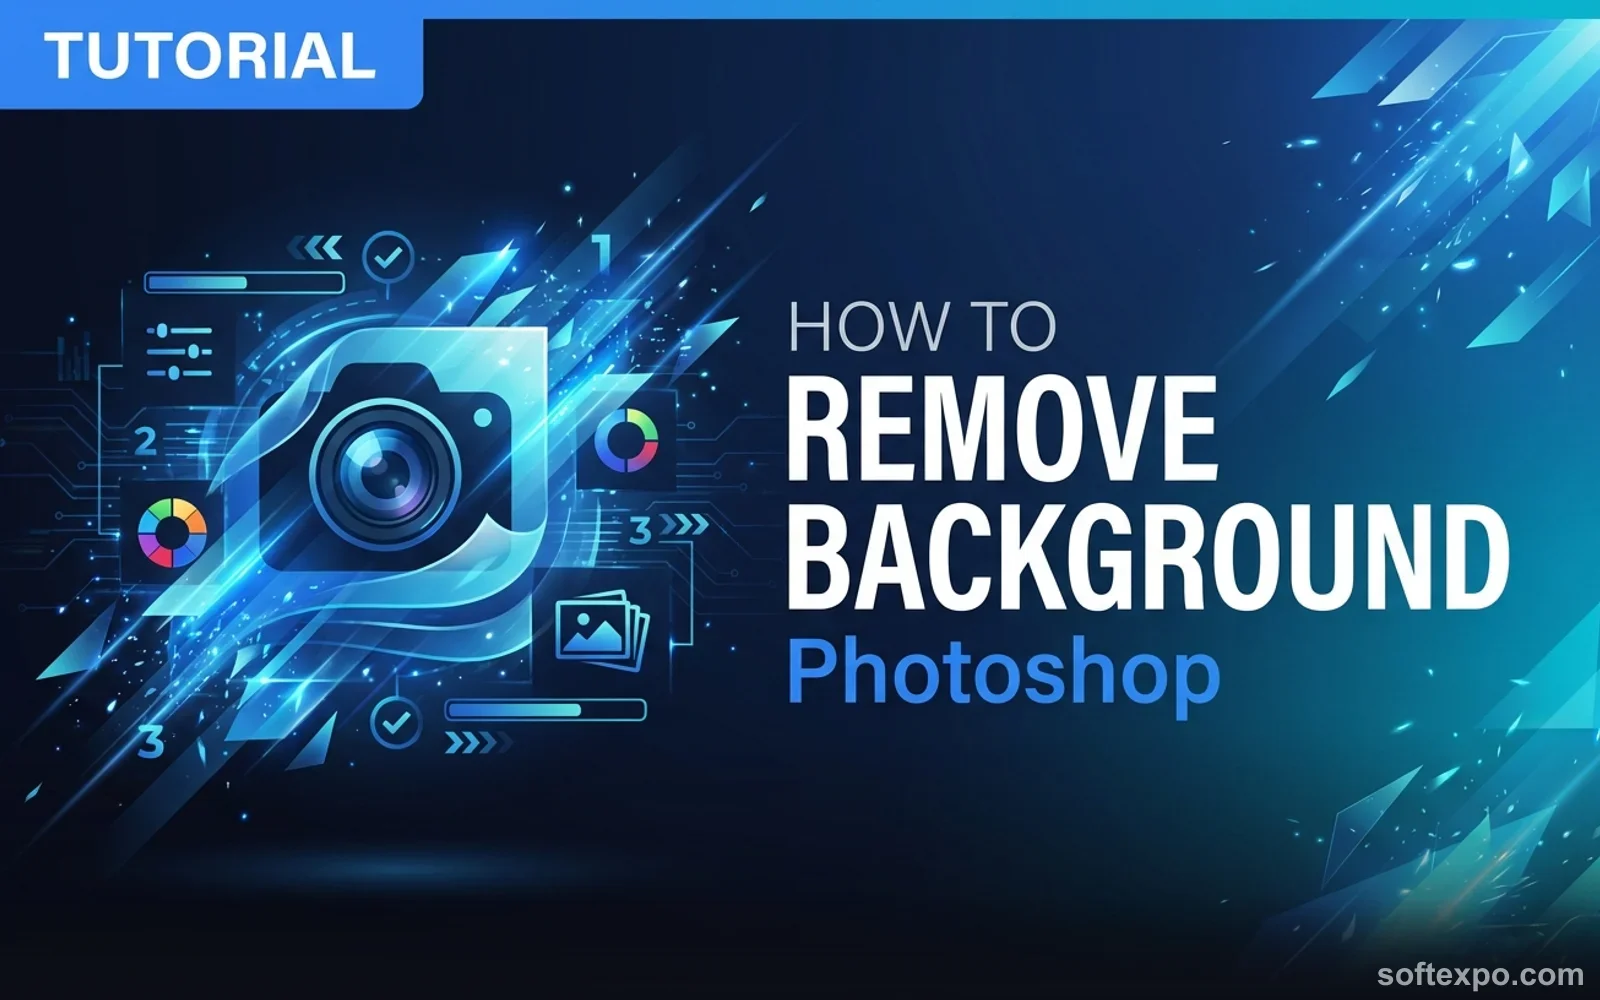
Description
You can isolate subjects and create transparent images in Photoshop using the dedicated AI-powered tools available in the 2026 release. This skill is essential for product photography, marketing materials, and composite images where you need to place a subject onto a different background. Before you begin, ensure you have an image with a clearly defined subject.
What You'll Need
- Adobe Photoshop CC (Version 2025 or 2026 recommended)
- A computer running Windows 10 or Windows 11
- An image file (JPG, PNG, or TIFF) with a subject you want to isolate
Step-by-Step Guide
- Open Your Image: Launch Photoshop and go to File > Open to load your image.

- Unlock the Background Layer: Look at the Layers panel (usually on the right). If your image is on a layer named 'Background' with a lock icon, click the lock icon once to convert it to a standard layer (Layer 0). This step allows for transparency.
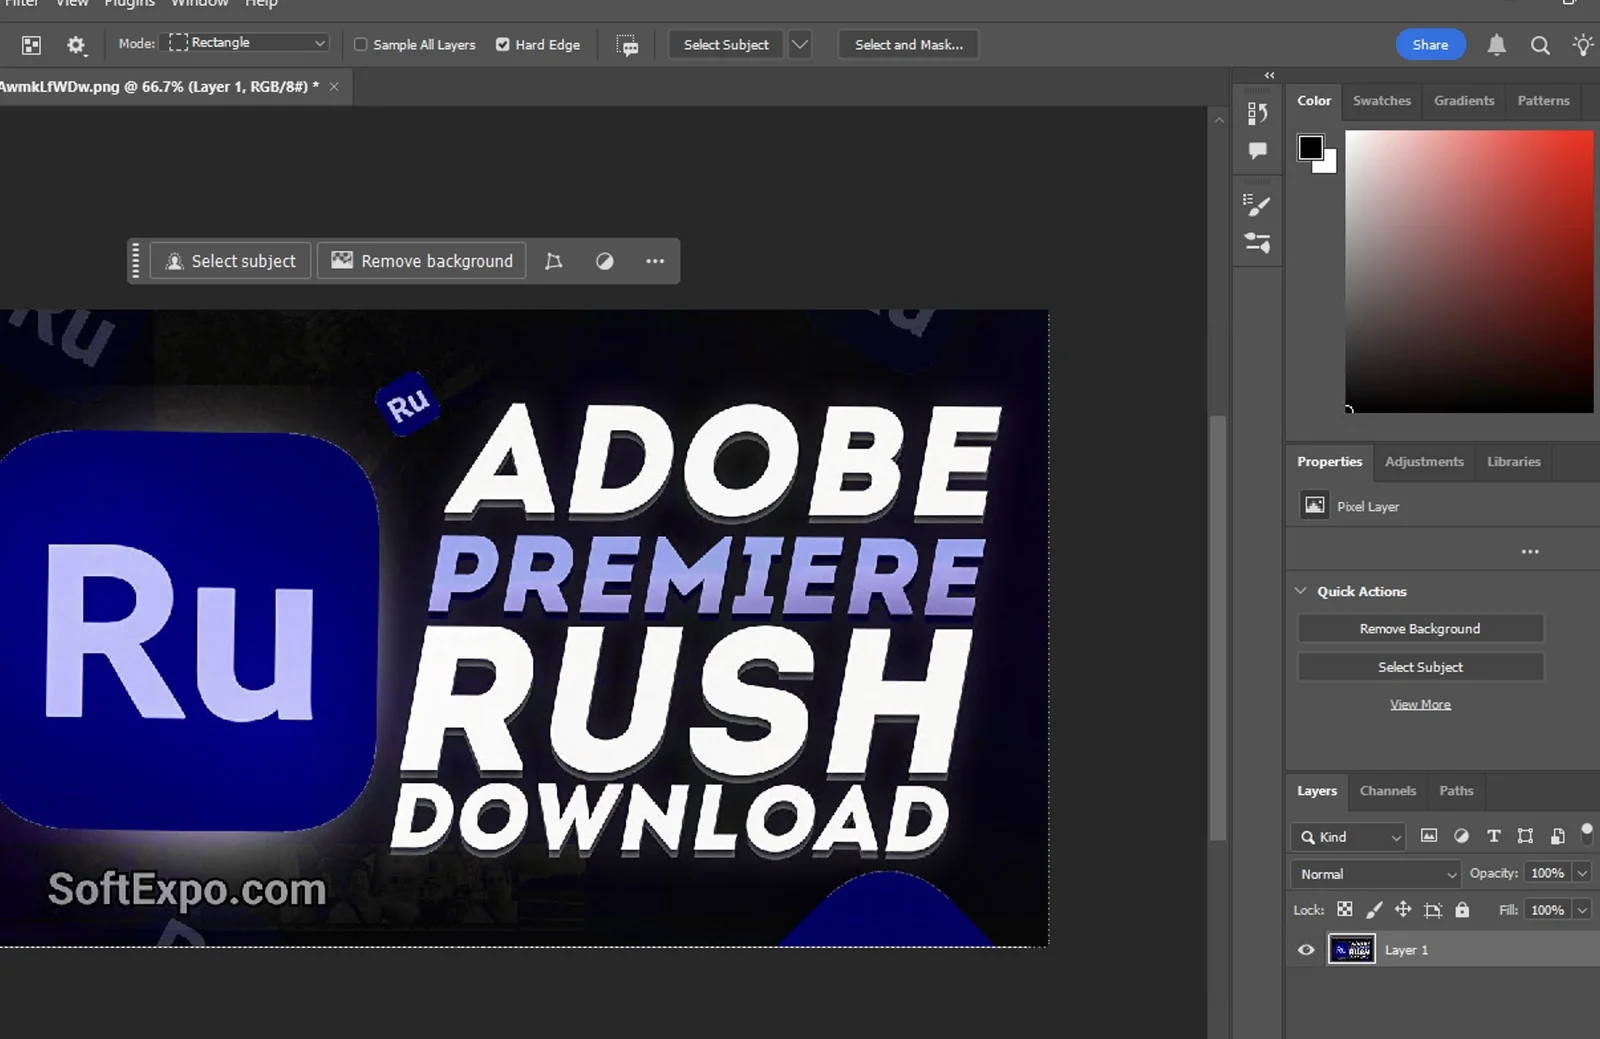
- Locate the Contextual Task Bar: In the latest versions of Photoshop, a floating bar appears near your subject or at the bottom of the canvas. If you do not see it, go to Window > Contextual Task Bar to enable it.
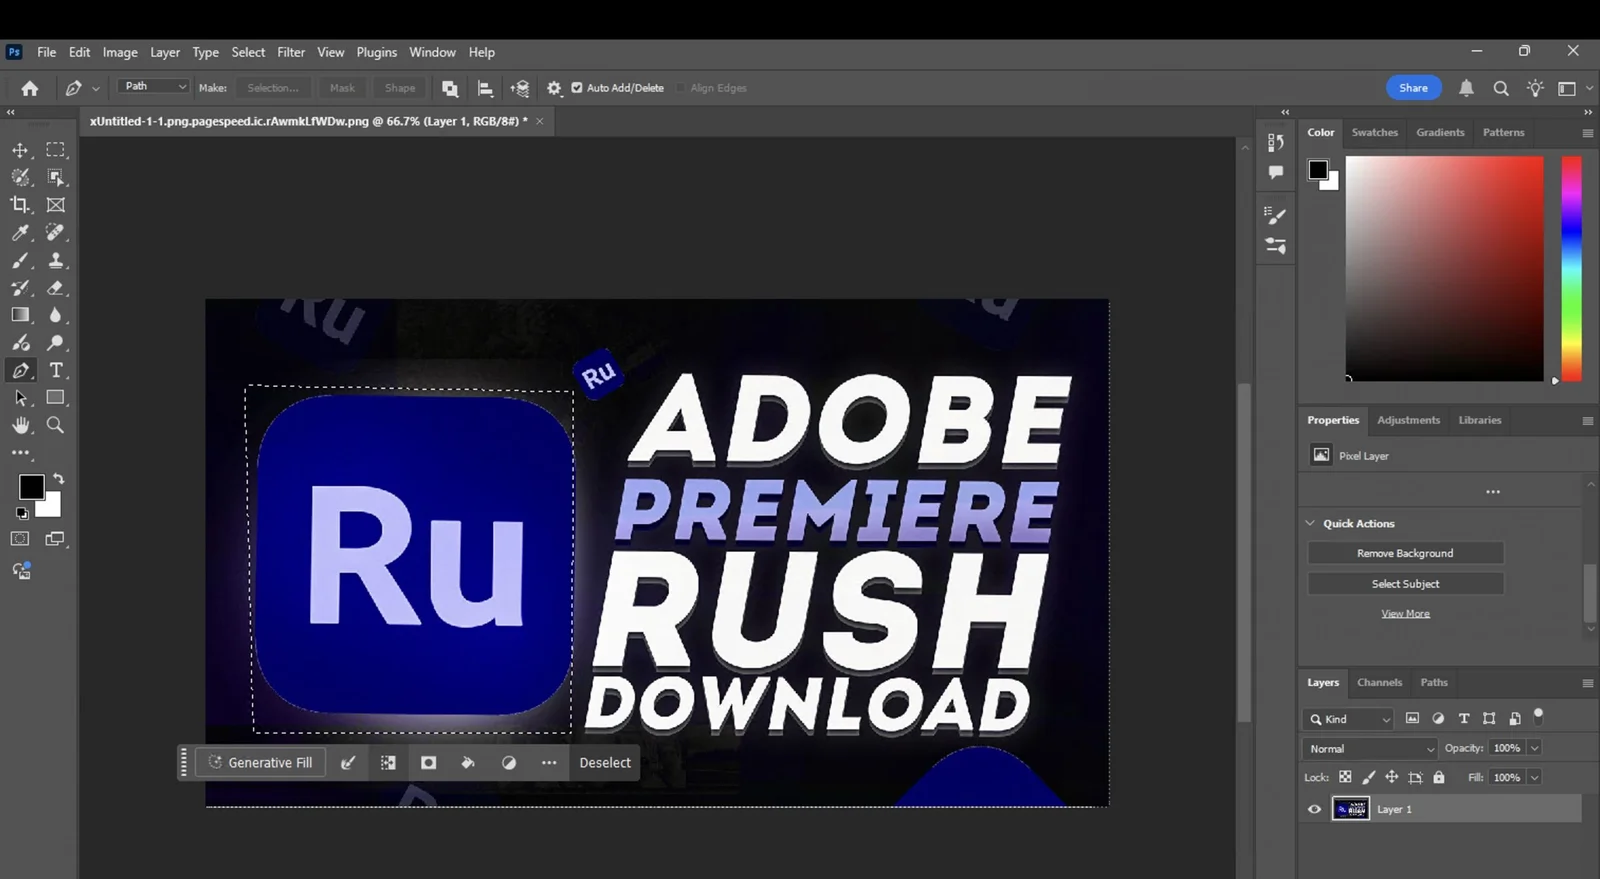
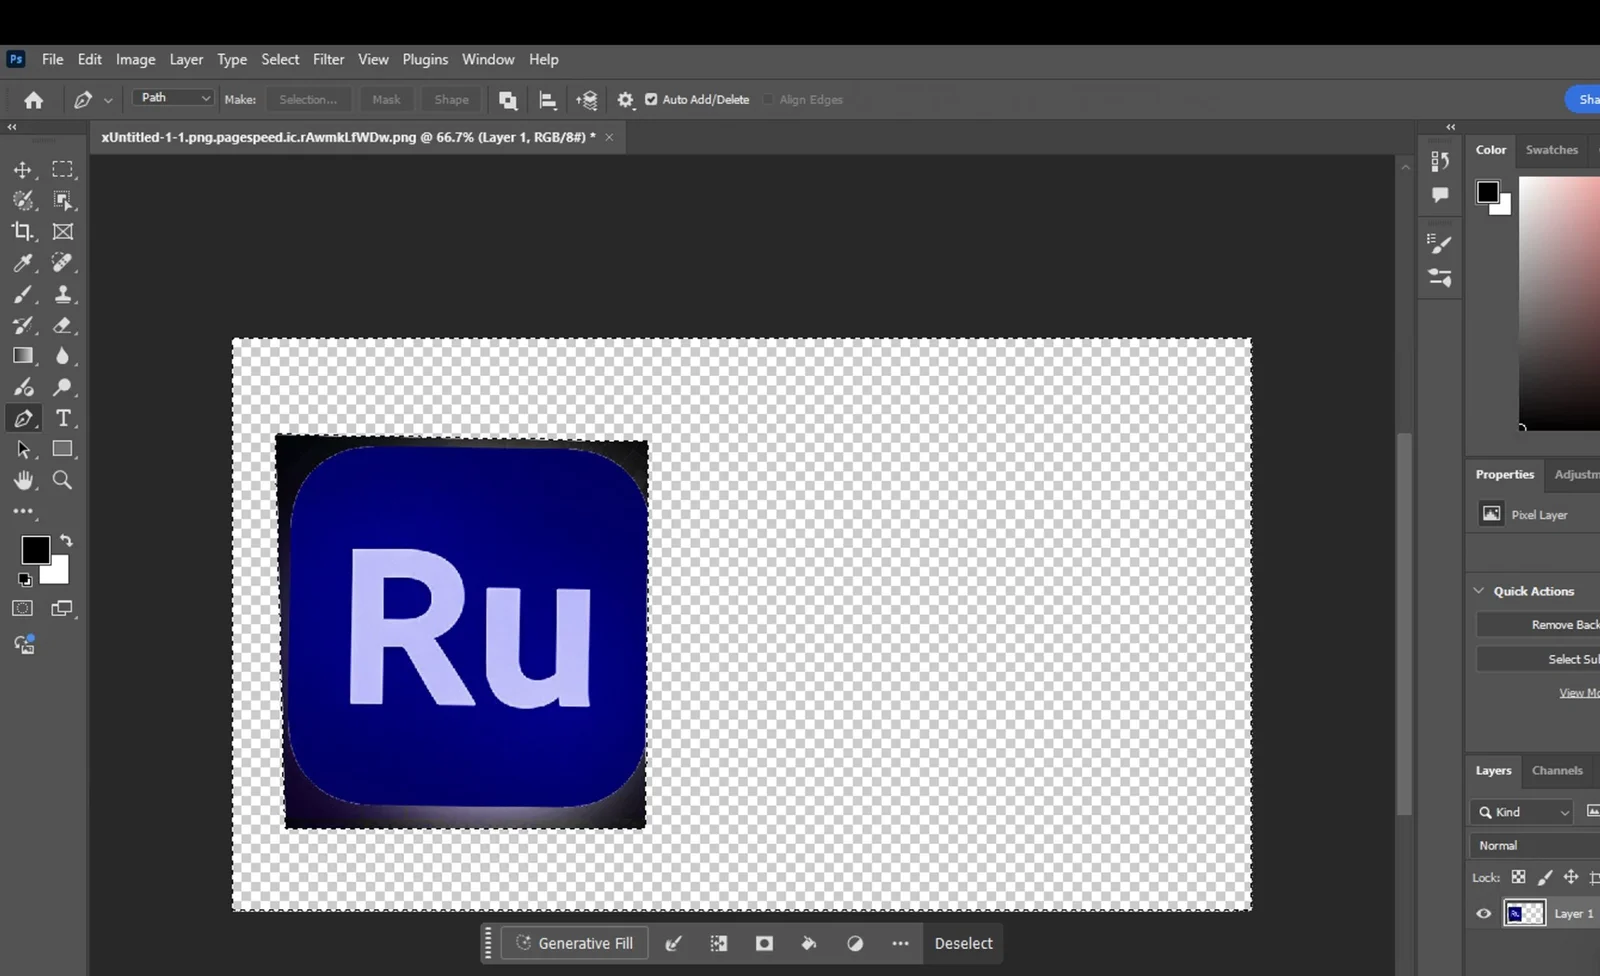
- Click Remove Background: With your layer selected, click the Remove Background button on the Contextual Task Bar. Photoshop's AI will detect the subject and instantly apply a layer mask, hiding the background.
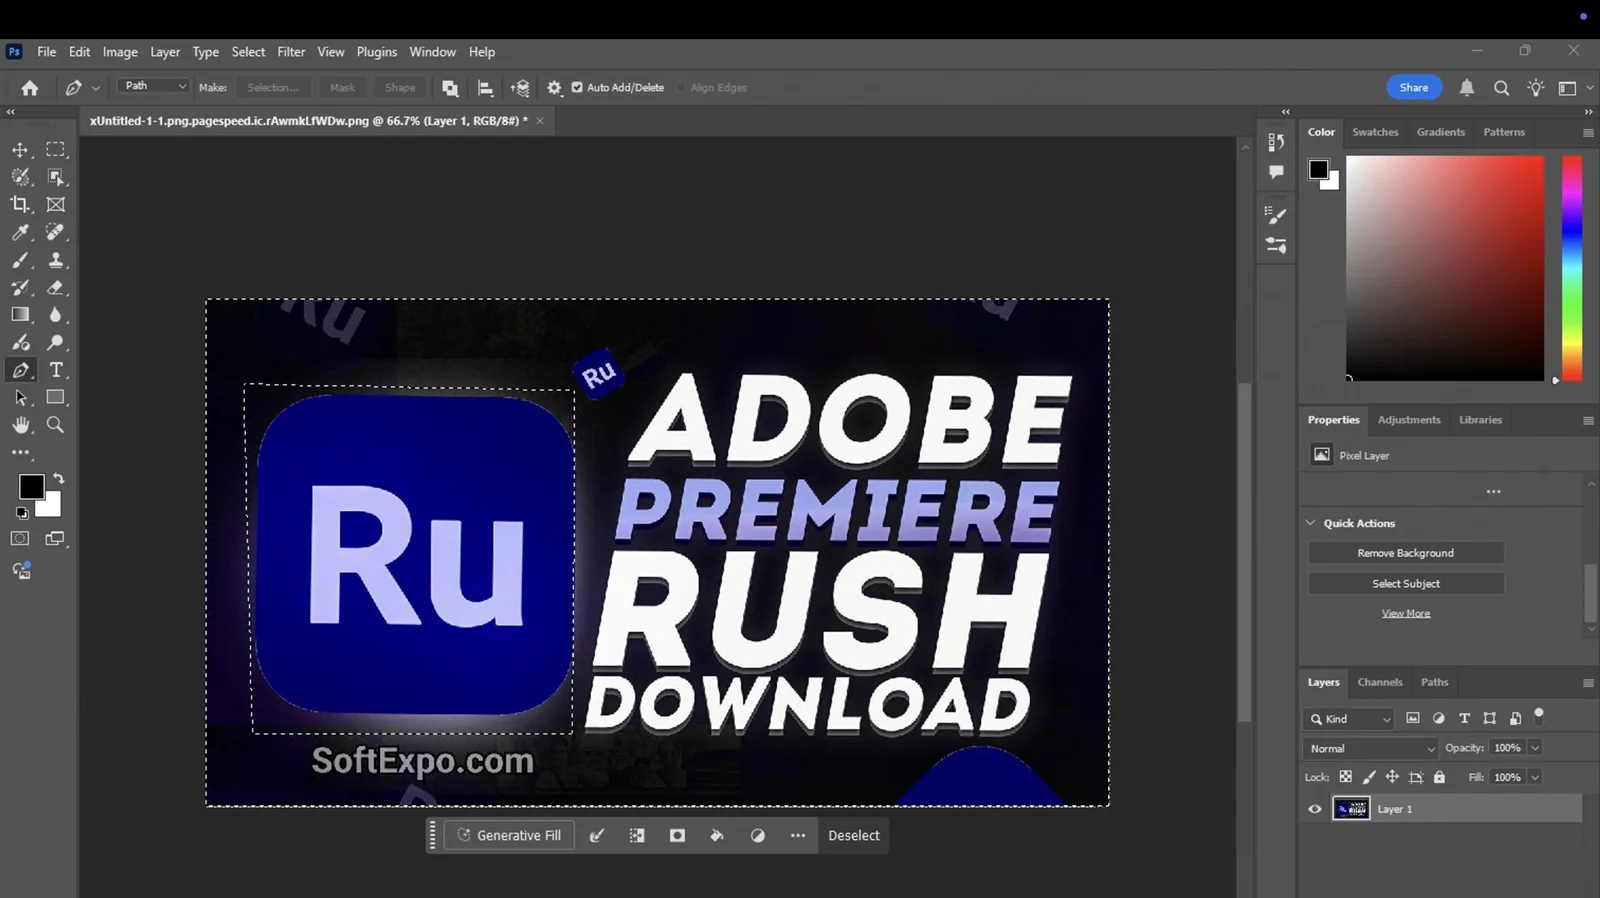
- Refine Edges (Optional): If the edges look rough (common with hair or fur), click the mask thumbnail in the Layers panel. Then, click Select and Mask in the Properties panel.
- Use Refine Hair: Inside the Select and Mask workspace, click the Refine Hair button in the top options bar. This automatically adjusts the selection around fine strands. When finished, click OK.
- Export the Image: To save your cutout with a transparent background, go to File > Export > Export As....
- Configure Export Settings: In the dialog box, set the Format to PNG and ensure the Transparency checkbox is ticked. Click Export to save the file to your computer.
Tips for Better Results
- Non-Destructive Editing: Photoshop uses a Layer Mask (the black and white box next to your layer) instead of deleting pixels. You can paint on this mask with a black brush to hide more areas or a white brush to reveal parts of the image.
- High Contrast Helps: Automated tools work best when there is a strong contrast between the subject and the background.
- Keyboard Shortcuts: Press Ctrl+Z to undo any mistakes instantly. Press Ctrl+Plus to zoom in and check your edges closely.
Common Mistakes to Avoid
- Exporting as JPG: Never save a cutout as a JPG file. This format does not support transparency and will fill your removed background with solid white. Always use PNG.
- Ignoring Halos: If you see a thin colored line around your subject (a halo), enter the Select and Mask workspace and use the Shift Edge slider to contract the selection slightly inward (-10% to -20%).
Recommendations

How to Feather Edges in Photoshop: Easy and Fast Techniques
Feathering edges in Photoshop is a fundamental skill that softens the transition between a selection and its

How to Invert Colors in Photoshop: Step-by-Step Guide
To invert colors in Photoshop on Windows, the fastest method is to select your layer and press Ctrl + I on your
Last updated: 22.01.2026
Views: 12


