Description
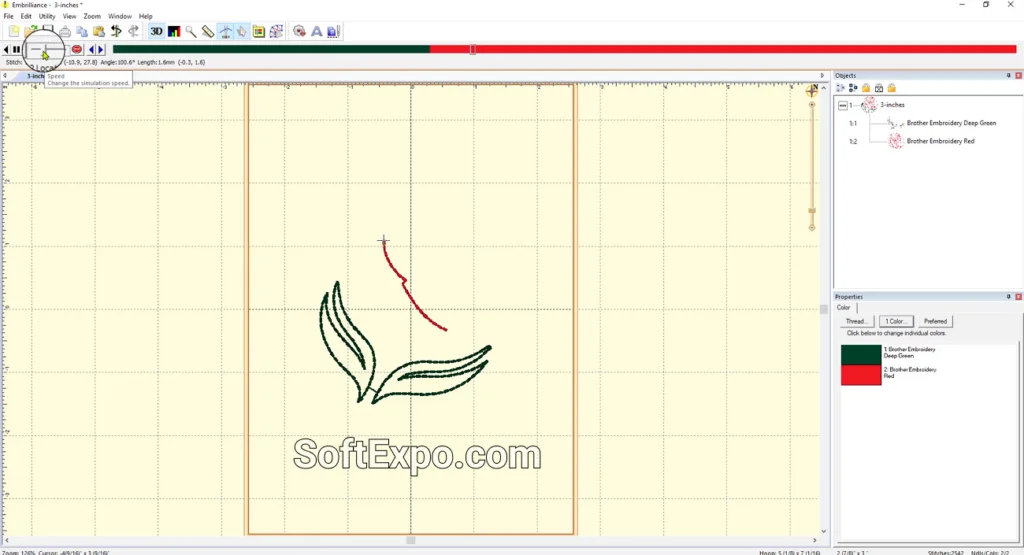
Mastering the top toolbar in Embrilliance Essentials is the fastest way to become efficient with your embroidery software. This interface acts as your primary command center, housing critical tools for importing designs, customizing lettering, and previewing your final stitch-out. By understanding these icons, you will spend less time searching for functions and more time creating.
What You'll Need
- Embrilliance Essentials installed on Windows 10 or Windows 11
- A mouse with a scroll wheel (recommended for easier zooming)
- No prior customization knowledge is required
Step-by-Step Guide
- Locate the Main File Tools
Look at the far left of the toolbar. You will see the standard New (page icon), Open (folder icon), and Save (floppy disk icon) buttons. Use Open only when you want to start a completely fresh project. To add a design to your current page, you must use the Merge tool described in the next step.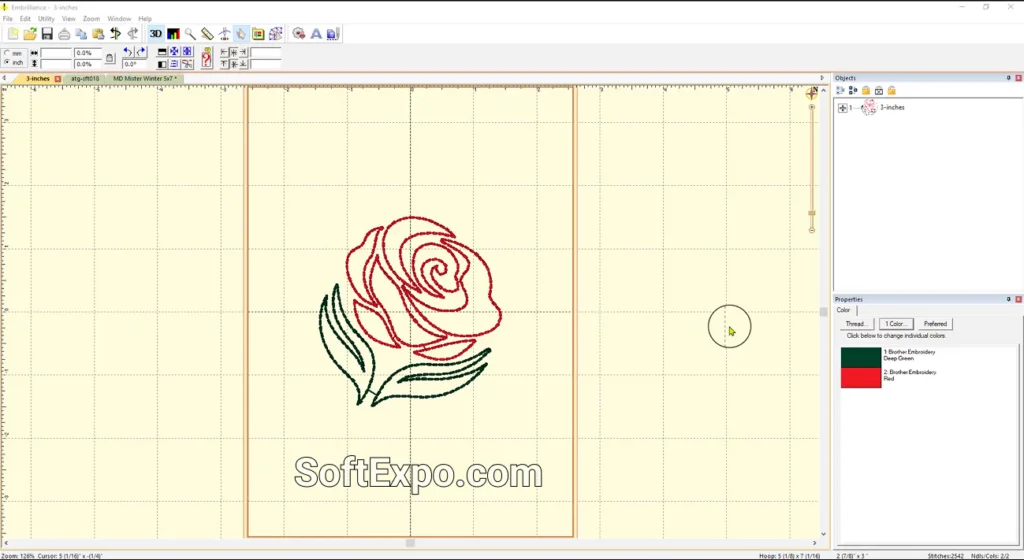
- Import Designs with the Merge Tool
Find the icon that looks like a needle with thread or a small embroidery file icon (often labeled 'Merge Stitch File' when hovered). Click this to bring an external design (like a PES or JEF file) into your current hoop. Do not confuse this with 'Open'.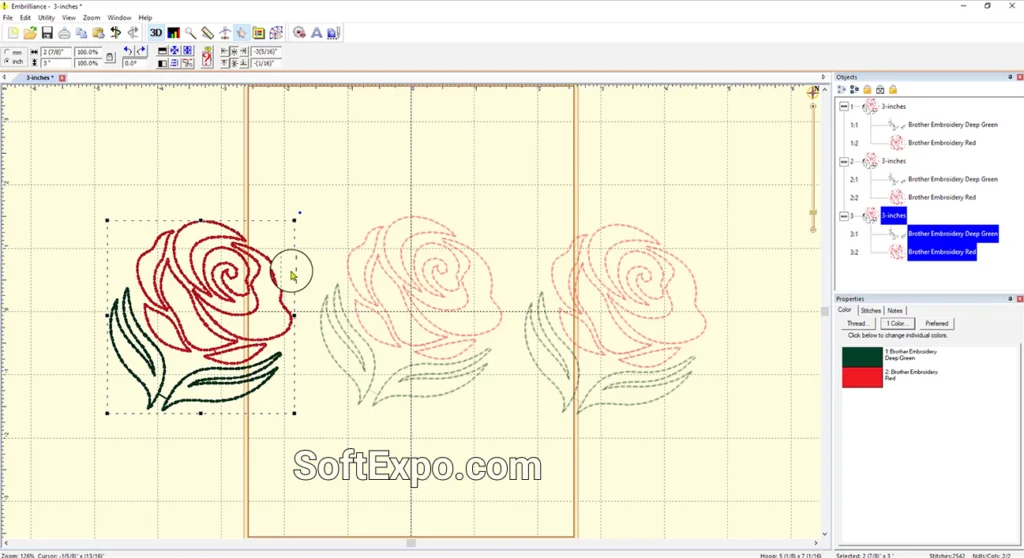
- Add Text with the Lettering Tool
Click the large blue letter 'A' icon towards the right side of the toolbar. This instantly places a text object on your screen. You can then type your custom text in the Properties pane (bottom right) and select your font.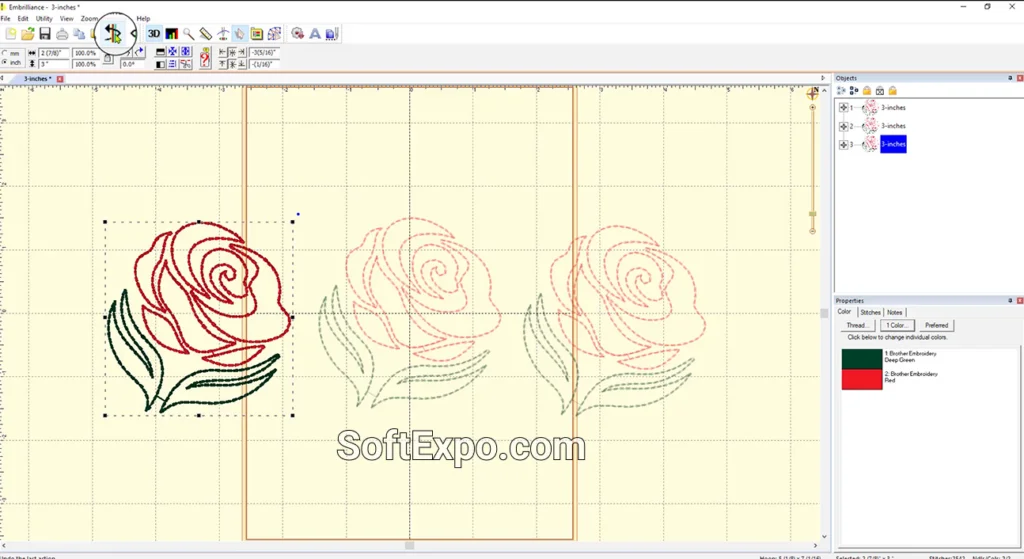
- Navigate Your Workspace
Locate the Zoom (magnifying glass) and Pan (hand) tools. A quicker method is to use the Compass Rose (Navigation HUD) usually found in the top right of the design window, or simply scroll your mouse wheel to zoom in and out.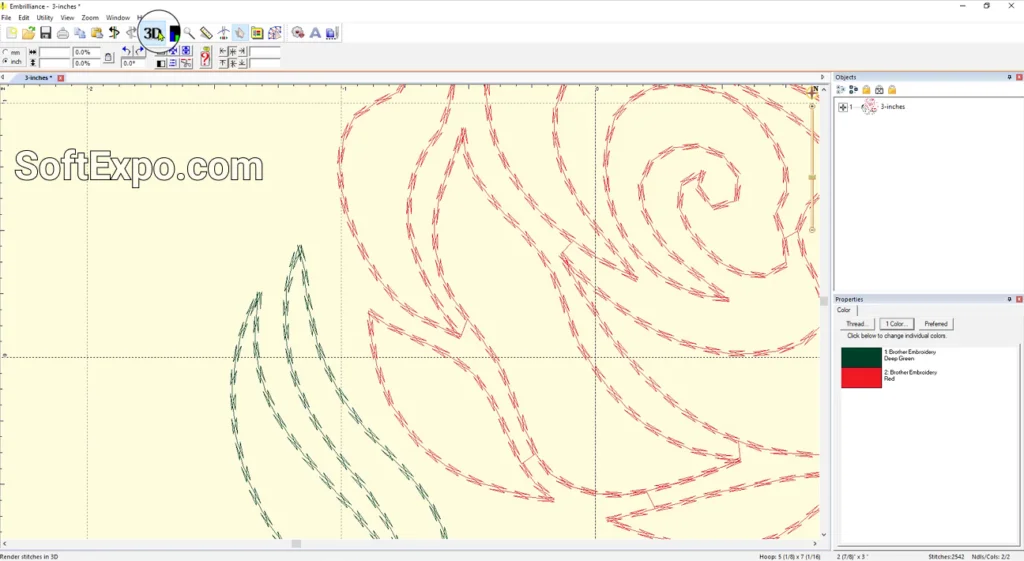
- Visualize with the View Toggles
Identify the 3D button (often a flower or textured icon). Click it to toggle between 'Stitch View' (realistic thread simulation) and 'Edit View' (outline/wireframe). Next to it, find the Hoop icon to show or hide your embroidery hoop boundary.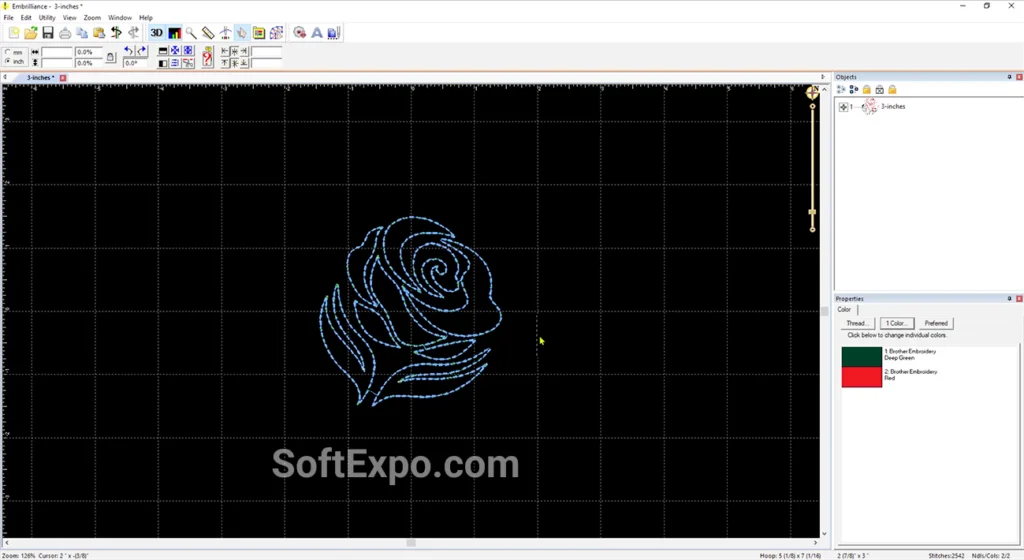
- Manipulate Your Design
Select any design on your screen. Use the Center button (arrows pointing to a center dot) to instantly align the design to the middle of the hoop. Use the Rotate buttons (curved arrows) to turn your design 90 degrees clockwise or counter-clockwise.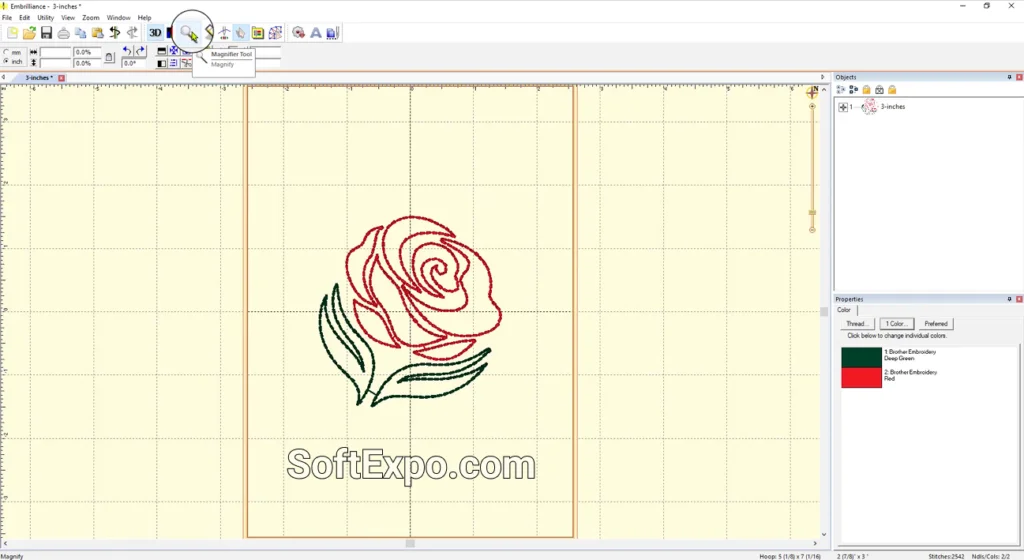
- Preview with Stitch Simulator
Click the Stitch Simulator button (icon looking like a Play button or embroidery machine). This opens a playback bar allowing you to watch the design stitch out virtually, which is crucial for checking stitch order before sending to the machine.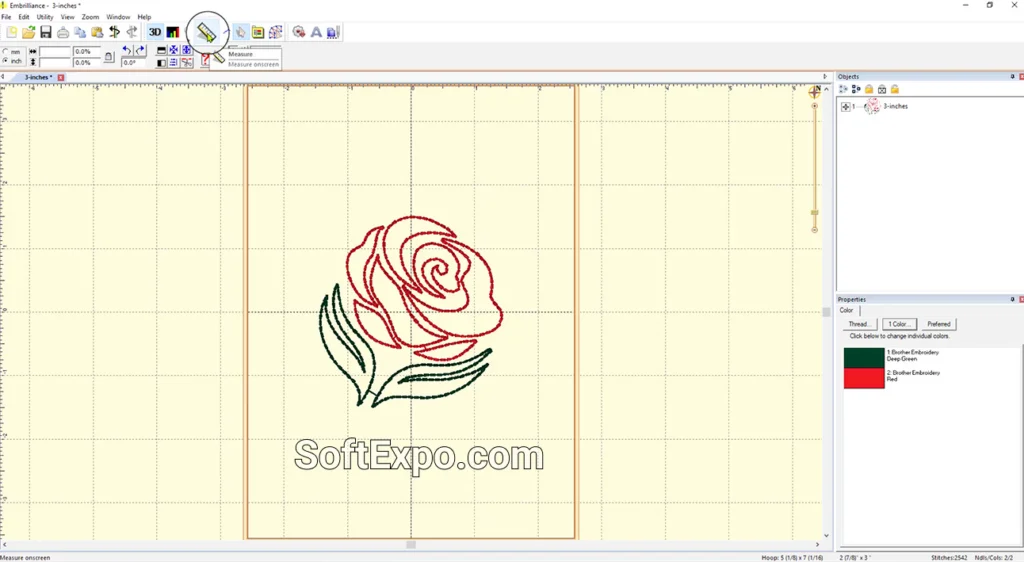
Tips for Better Results
- Use Keyboard Shortcuts: Press 'H' to toggle the Hoop, 'G' for the Grid, and '0' (zero) to zoom perfectly to your hoop size.
- Quick Zooming: Press 'A' to zoom to all objects or 'S' to zoom to just the selected object.
- Measure Twice: Use the Ruler tool in the toolbar to measure specific parts of a design. Click and drag across the area you want to measure to see the exact length in the status bar.
- Context Matters: If buttons like 'Copy' or 'Rotate' seem unresponsive, ensure you have actually clicked on a design to select it first.
Common Mistakes to Avoid
Confusing Open vs. Merge
The most common error is using 'Open' to add a second element to a design, which opens a new window instead. Always use the Merge Stitch File button to add elements to your existing workspace.
Missing Toolbars
If your toolbar disappears, go to the top menu bar, click View, then select Toolbars and ensure 'Standard' or 'Main' is checked. If icons look greyed out, it usually means no object is selected on the design page.
How to Feather Edges in Photoshop: Easy and Fast Techniques
How to Use GIMP: A Beginner’s Guide to Photo Editing