All rights reserved © 2026
Losing files suddenly? It’s like waking up to find your favorite book vanished from the shelf. Frustrating, right? Enter Stellar Data Recovery — the digital detective that dives deep into your drives, USB sticks, or memory cards to track down your lost photos, videos, documents, and emails. Compatible with both Windows and Mac, this tool turns your “oh no” moments into “got it back!” successes.
First things first: grab Stellar Data Recovery. Now, here’s the golden rule — don’t install it on the same drive that’s missing your files. Imagine trying to patch a leak by pouring more water in. it only makes a bigger mess. Install it on a different drive or your regular system disk if your external device is the problem.
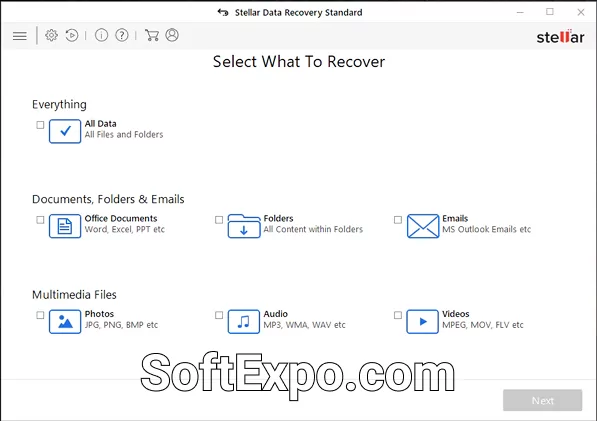
Once you launch the program, it’ll ask which treasure you’re after. Want only photos? Or how about a search party for all files, big and small? Picking specific file types speeds up the search and saves you from sifting through irrelevant clutter.

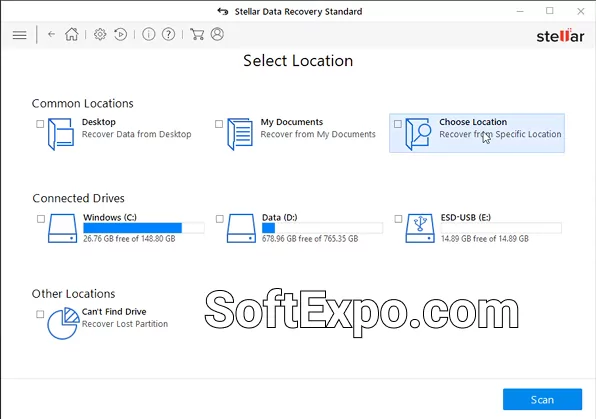
Now, choose which device or drive you want to scan. Whether it’s a stubborn USB flash drive, your internal hard disk, or a forgotten partition you accidentally deleted — Stellar shows all connected options. Yes, it even has your back if you formatted a whole partition by mistake!

Stellar offers two ways to dig: a Quick Scan for files recently deleted (think seconds or minutes ago) or a Deep Scan for those long-lost, well-hidden ones. Deep Scan is like sending in a brave explorer to crawl every nook and cranny of your drive. It takes time, but the payoff can be huge.

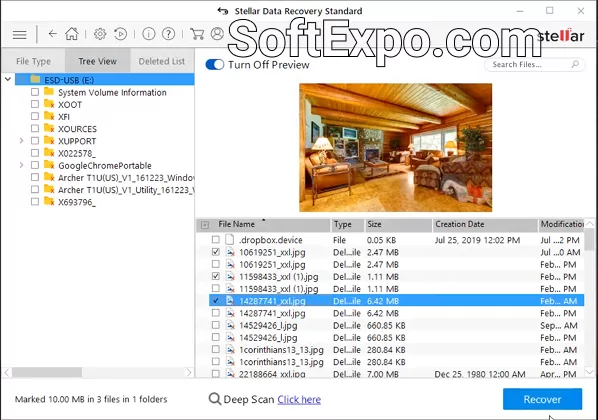
After the scan wraps up, Stellar serves you a neat list of all found files. But hold on — no need to drag back the digital junk. Preview your files first. Pictures, documents, you name it, just a quick peek to make sure you’re not bringing back ghost files.

Ready to save your precious files? Click “Recover” and then make a smart choice — save them somewhere other than the original drive. Otherwise, it’s like trying to patch a hole using the same water that’s leaking out. Pick a new folder or external drive to keep your recovered files safe and sound.

Don’t like Stellar? Don’t worry and don’t get hung up on one program. Just take a look at our Benchmarking & Monitoring section, where you’ll find not only alternatives to Stellar Data Recovery, but also other useful programs for your PC.
The secret sauce? Its robust scanning algorithms, broad device compatibility, and a no-fuss interface. Stellar tackles everything from accidentally formatted drives to virus attacks, regularly updating to keep pace with new tech challenges. For techies and everyday users alike, it’s a trusted sidekick in the battle against data loss.