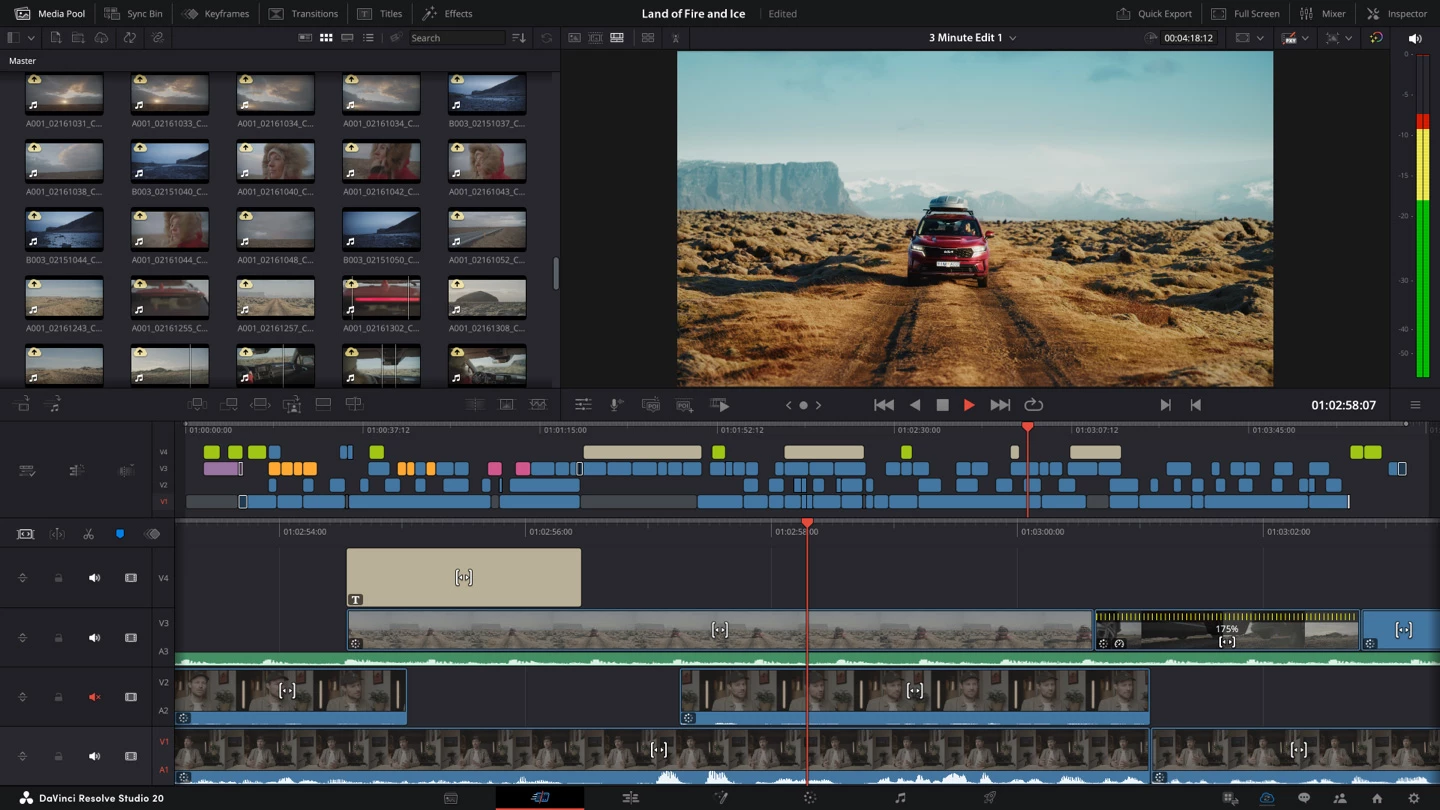
DaVinci Resolve Studio operates as a professional post-production environment that combines video editing, color grading, visual effects compositing, and audio mixing into a single desktop application. Content creators, narrative film editors, and professional colorists rely on this software to assemble footage, correct complex lighting issues, and deliver final master files. Instead of moving rendering pipelines between dedicated audio editors, visual effects programs, and timeline cutting tools, operators transition between specialized workspaces—known as pages—using tabs at the bottom of the screen. This unified structure ensures that changes made in the editing sequence instantly reflect in the color grading and audio mixing interfaces without external rendering.
The software demands a localized desktop environment to handle high-bitrate media files and heavy computational workloads. Browser-based video editors rely on remote server rendering and proxy generation, which introduces network latency when scrubbing through multi-track timelines or syncing large audio stems. A native Windows desktop application directly accesses local graphics hardware, system memory, and solid-state storage. This direct hardware integration allows editors to manipulate massive raw camera files, apply heavy spatial noise reduction, and preview complex node trees in real time without waiting for cloud uploads or remote server queues.
Real-world tasks within the application range from basic documentary assembly to detailed cinematic finishing. A user might start on the Media page to ingest formatting and sync secondary audio files, transition to the Edit page to arrange b-roll and trim dialogue gaps, move to the Color page to balance shadows and highlights using primary color wheels, and finish on the Fairlight page to normalize volume levels using track compression. Finally, operators move to the Deliver page to configure output encoding, utilizing presets for social media platforms or creating custom file packages with specific bitrates, audio bit depths, and color space tags. The workflow directly addresses the bottlenecks of modern video production by eliminating export and import cycles across different vendors, ensuring that raw pixel data remains mathematically intact from ingest to final rendering.
Key Features
- Node-Based Color Grading: Unlike strict layer-based correction systems, the Color page uses a node graph to process image data sequentially or in parallel. Editors isolate specific hues with HSL qualifiers, draw mask shapes over faces using power windows, and apply secondary adjustments without affecting the rest of the node tree. The interface includes native waveform monitors, vectorscopes, and histograms to ensure colors remain broadcast-safe during export.
- Magic Mask Tracking: Relying on localized neural engine processing, this tool isolates complex moving subjects like people, animals, or vehicles. Users draw a single stroke across the target, and the algorithm calculates boundaries across the clip duration, eliminating manual frame-by-frame rotoscoping. The resulting matte isolates the subject for targeted color adjustments or heavy background replacement.
- Fairlight Voice Isolation: The Fairlight audio page includes dedicated noise reduction tools designed specifically for human dialogue. By analyzing frequencies locally, the software strips away background hums, traffic noise, and room echo, isolating the primary speaker without degrading vocal clarity. Editors adjust the intensity via a single slider, replacing complex multi-band equalization routing.
- Fusion Visual Effects Compositing: Visual effects generation occurs in a dedicated 3D compositing space utilizing a node-based architecture. Users build text extrusions, generate particle fields, and track 3D camera movements directly linked to the edit timeline. The node structure allows users to pipe outputs from one mask directly into multiple effects, supporting 3D model imports and complex planar tracking operations.
- Multi-GPU Hardware Acceleration: The application actively distributes rendering and playback tasks across multiple graphics cards installed in the host machine. Users working on dedicated editing workstations can install a secondary graphics card to handle computing tasks while the primary card handles monitor outputs. This setup accelerates the decoding of highly compressed 10-bit media formats and speeds up final timeline delivery.
- SuperScale Image Upscaling: When dealing with mixed-resolution timelines, this algorithmic upscaling tool increases the pixel count of lower-resolution clips to match higher-resolution delivery formats. Instead of simply stretching the image, the processor calculates missing pixel data, sharpens specific edges, and applies native noise reduction. Editors routinely use this feature to upscale archived 1080p footage for matching native 4K delivery requirements.
How to Install DaVinci Resolve Studio on Windows
- Download the official Windows installer package directly from the developer's support center or product page.
- Locate the downloaded archive file on your local drive and extract the contents to a temporary folder to access the primary executable setup file.
- Run the installer application and follow the initial prompts, which will display a list of required software dependencies including the Blackmagic RAW Player, Fairlight audio accelerator utilities, and visual C++ redistributables.
- Keep all default dependency checkboxes selected, as the software relies on these background utilities to read specific camera files and process timeline audio correctly.
- Choose the primary solid-state drive path for the main installation directory, typically located in the default Program Files folder, to ensure fast application startup times.
- Click the install button, allow the process to copy all necessary program files, and then completely restart your Windows 10 or Windows 11 computer to finalize driver hooks and system registry entries.
- Launch the application from the newly created desktop shortcut and enter your purchased software license credential or insert your physical hardware dongle to authenticate the program and bypass the initial welcome screen.
DaVinci Resolve Studio Free vs. Paid
The developer operates an unusual pricing model where a highly capable free version exists alongside the fully featured Studio edition. The free application provides the core editing, color grading, and audio mixing tools without watermarks, restricted export lengths, or forced trial expiration dates. Independent creators often utilize this tier entirely for daily video production. However, it imposes strict structural limitations, restricting timeline delivery to 4K resolution at 60 frames per second. It limits hardware decoding on Windows, forcing the central processing unit to handle heavy compressed H.264 formats, and lacks the advanced neural engine tools required for automated subject tracking and dialogue isolation.
Upgrading to DaVinci Resolve Studio involves either a perpetual one-time purchase of $295 or a $30 monthly rental via cloud licensing. The paid tier unlocks timeline resolutions up to 32K at 120 frames per second and fully activates multi-GPU hardware acceleration for smoother playback of 10-bit files. Users who transition to the paid tier gain immediate access to advanced stereoscopic 3D grading, Dolby Vision HDR mastering tools, and dozens of exclusive visual effects modules including spatial noise reduction, film grain generators, and optical lens flare effects.
For independent editors cutting standard internet video, the free version handles basic assembly and color correction without issue. Professional post-production houses, full-time colorists, and editors working with high-end cinema camera formats purchase the Studio version to access the neural engine, accelerate render times, and deliver certified high dynamic range master files. The physical dongle version allows moving the license between offline computers, while the software code activates two machines simultaneously.
DaVinci Resolve Studio vs. Adobe Premiere Pro vs. VEGAS Pro
Adobe Premiere Pro operates strictly on a monthly or annual subscription model and utilizes a traditional layer-based timeline approach. Editors often choose Premiere Pro for its deep integration with After Effects through Dynamic Link, which fits heavily into motion graphics workflows. However, Premiere Pro relies on a fragmented ecosystem where audio mixing requires Adobe Audition and heavy color grading often necessitates third-party plugins. The interface heavily utilizes central processing unit caching, which can sometimes lead to playback drops when handling raw cinema formats without proxy files.
VEGAS Pro caters strictly to Windows users, focusing on an exceptionally fast, lightweight editing environment with highly flexible audio tracking directly on the timeline. Editors working on quick turnaround projects often prefer VEGAS Pro for its rapid trimming tools, intuitive crossfade generation, and lower hardware overhead. Despite these speed advantages in basic cutting, VEGAS Pro falls behind in high-end color grading precision and lacks an integrated node-based compositing environment for heavy visual effects generation.
DaVinci Resolve Studio excels when a project demands a strict, unified pipeline for color, sound, and visual effects without leaving the application window. By housing the Fusion compositing space and Fairlight audio mixer inside the same program structure, it eliminates round-trip rendering delays. Users choose this software over competitors to access the superior node-based color grading toolset, avoid mandatory subscription fees by utilizing the perpetual license option, and process heavy camera formats using direct hardware acceleration.
Common Issues and Fixes
- Media offline errors. The timeline displays bright red warning frames when the software loses the directory path to the source video files, often caused by changing hard drive letters or moving folders. To fix this, right-click the top-level bin in the media pool, select the relink option, and point the directory browser to the new disk location where the source files currently reside.
- GPU initialization failed or VRAM exhausted. The application crashes or displays a memory error when the graphics card runs out of video RAM or encounters outdated display drivers. Resolve this by downloading the latest official drivers from your graphics card manufacturer, then navigate to the Memory and GPU preferences to ensure CUDA or OpenCL processing is manually selected instead of auto-detect.
- Playback lag on high-resolution timelines. Scrubbing through timelines containing heavy visual effects, spatial noise reduction, or highly compressed 10-bit files causes the frame rate to drop and audio to stutter. To restore smooth playback, drop down the playback menu, set the timeline proxy resolution to half or quarter quality, and enable smart render caching to process heavy effects in the background.
- Missing audio during timeline playback. The timeline plays visually and waveform meters bounce, but no sound outputs through the computer speakers or headphones. Fix this by opening the main program preferences, navigating to the Video and Audio I/O tab, and manually changing the output device from the system default setting directly to your specific Windows audio interface or USB headphones. Saving the preferences and restarting the application forces the audio engine to reinitialize.
- Black screen missing font error. When importing third-party text templates or title macros, the screen turns entirely black if the required typography files are missing from the host operating system. To resolve this, identify the exact font name specified by the template creator, install the font file directly into Windows, and restart the application to restore text visibility.
Version 20.3.1 — December 2025
- Added support for searching effects using Chinese, Japanese, and Korean characters in the library.
- Improved the accuracy of viewer overlay positions in Fusion when applying specific transform operations.
- Improved stability by resolving a crash that occurred when viewing custom fields in the metadata panel.
- Fixed an issue where HDR10 metadata was not being correctly embedded during export.
- Fixed a bug affecting the display of viewer overlays on remote monitors during client review sessions.
- Fixed a masking issue in the MultiMerge tool that occurred when using concatenated transforms.
- Fixed signal output irregularities when monitoring stereoscopic 3D video.
- General performance and stability improvements.